Are you considering a ceiling texture for your home? Do you want to know the best ceiling textures options that are hot right now? Moreover, do you want to know all the types of ceiling textures, materials and tools you would need? Well, it turns out, you will also learn the pros and cons of each type of ceiling texture.
And do you know what the best part is? We even included instructions and videos on how to DIY textured effects on the ceiling. Ceiling design matters!
But first thing, first:
What is a ceiling texture or textured ceiling?
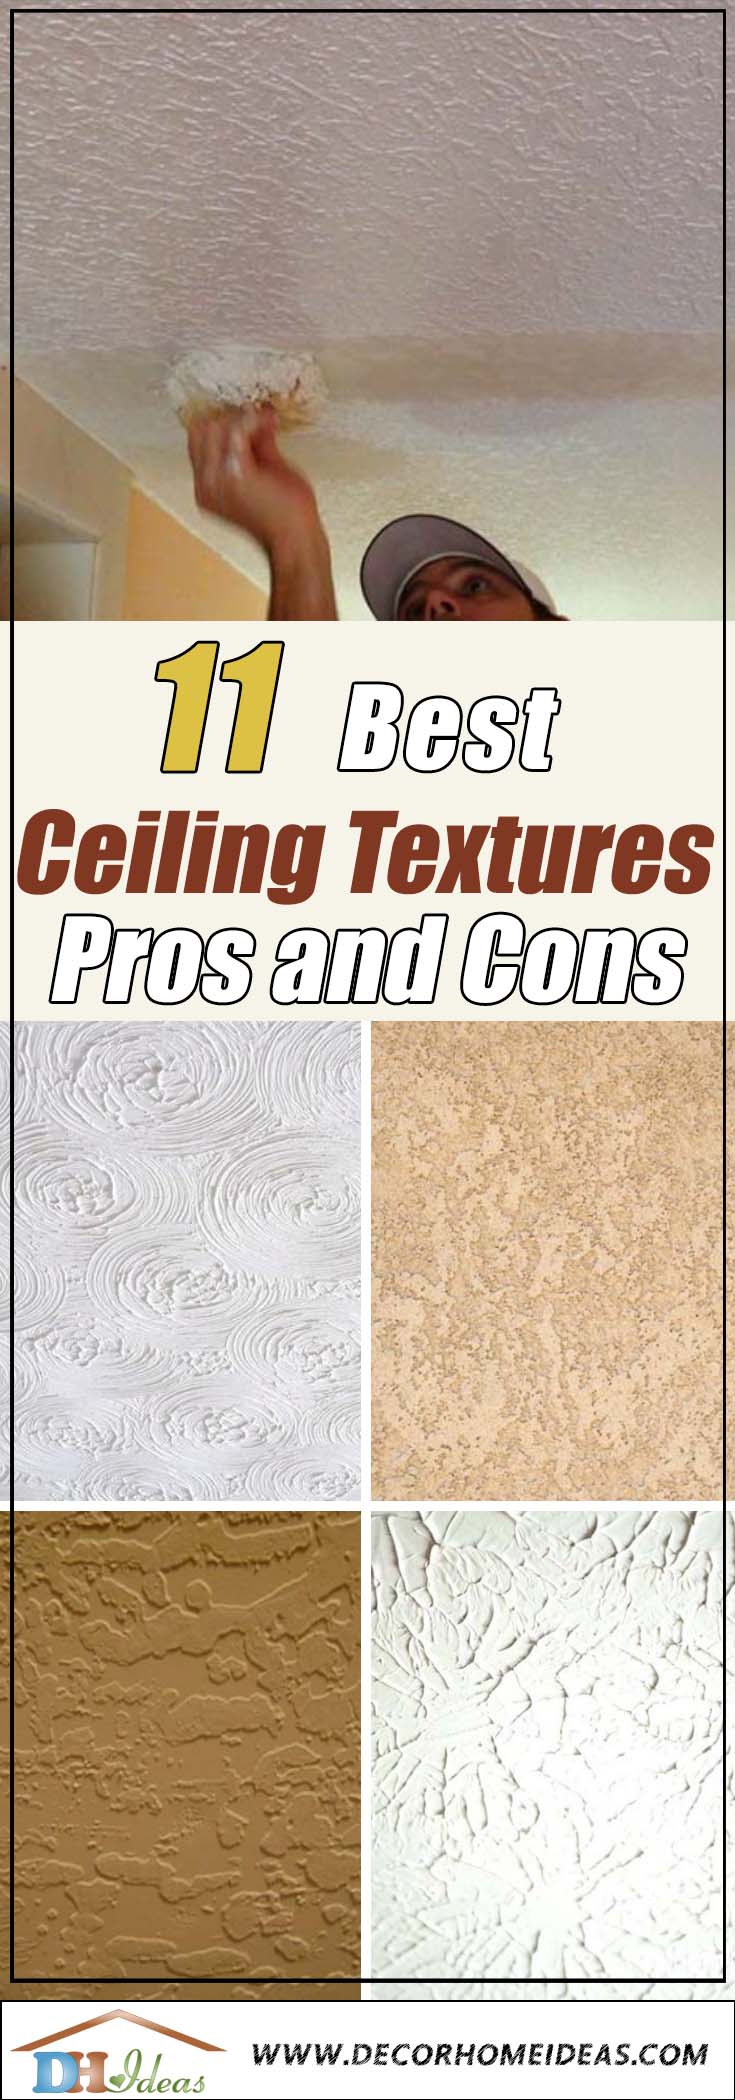
Ceiling textures, also commonly known as ‘popcorn ceilings’ are styles of drywall finishes, different from the widely known smooth ceilings ( where you can just apply ceiling paint ).
They use paint or spray so that the ceiling of a room has a certain irregular (or bumpy) pattern. In many regions they are the go-to style, because they have several advantages over smooth ceilings.
Textured ceilings were extremely common in the 70s, but declined in popularity ( mainly because they contained asbestos ) , before being brought back into the spotlight of modern homebuilding as new safer, cheaper and cleaner materials emerged.
Ceilings that are textured hide imperfections and are generally easier and cheaper to make (they usually require two layers of paint, instead of three), and deaden noise.
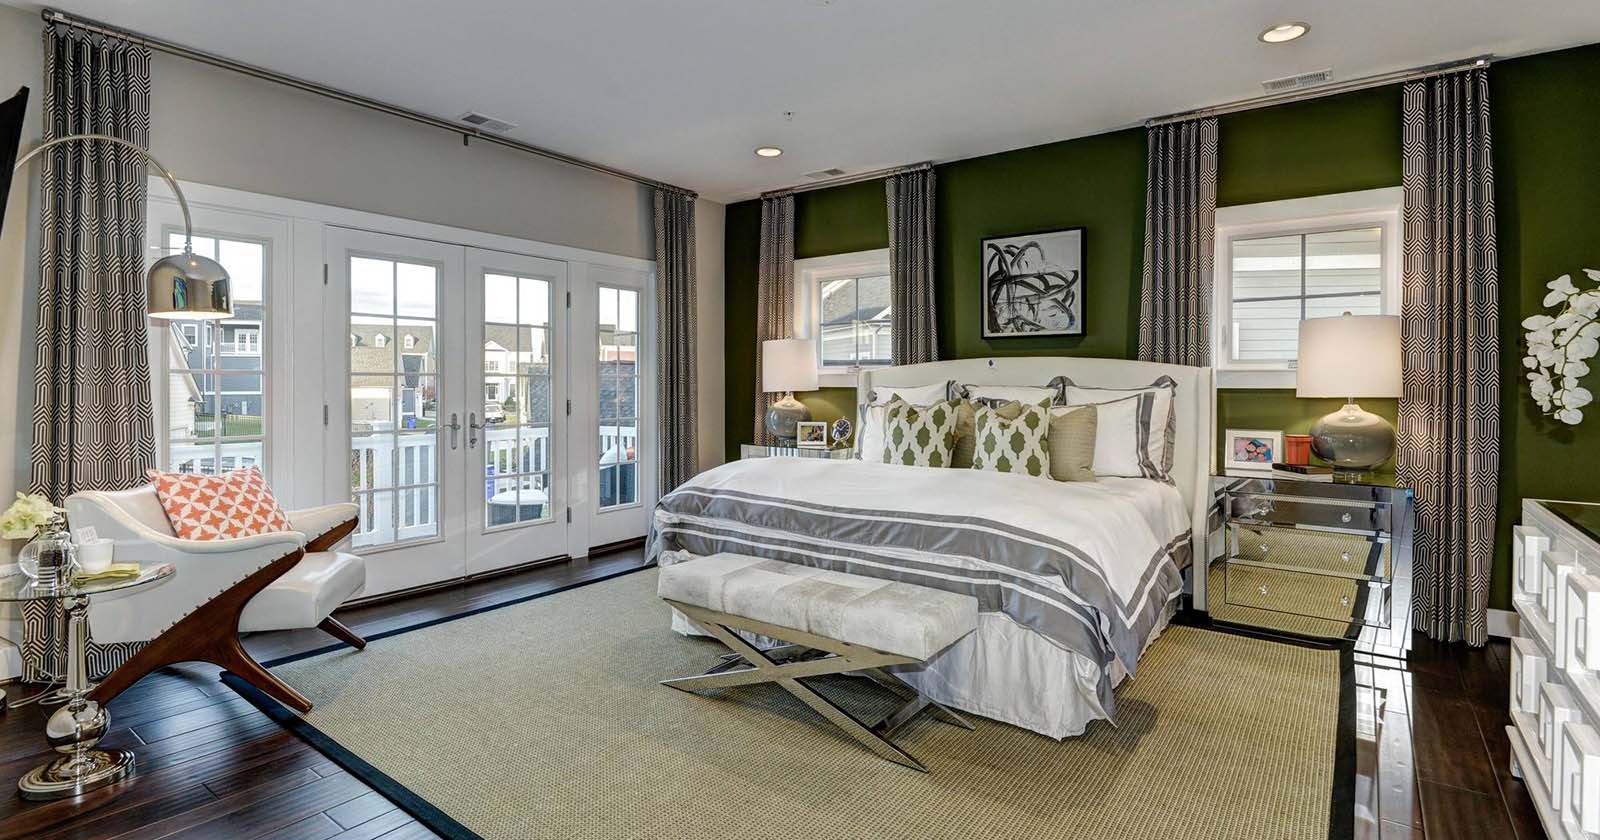
Don’t forget to PIN this image!
However, they are more difficult to clean and repair than smooth ceilings, don’t reflect as much light into the room and are not perfect for bathrooms and kitchens.
Both ceiling styles had ups and downs in popularity over the years.
However which one will look better is generally up to personal aesthetics, evaluation of the pros and cons specific to the individual, and the features of the room…
…and when it comes to personal taste no ceiling texture type could be named as the best one, but we will try to show you the most popular ones.
Nevertheless, it is a major decision for any homeowner, as the ceiling type may have a strong impact on the appearance of the room.
There are several main texture types, which are most commonly used and have the best appearance. They are varied in their method of production, difficulty, tools used, smoothness and looks.
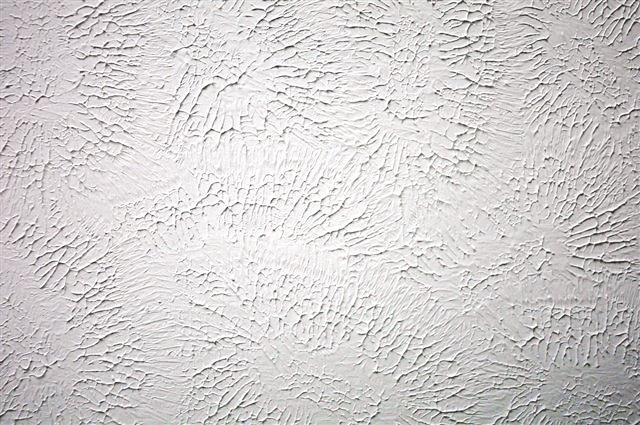
1. Skip Trowel

The Skip trowel texture relies heavily on how well you work with the trowel so make sure you are handy enough before trying that style for your home.
Frankly speaking, it’s not that hard to texture your ceiling yourself using a trowel.
Press the trowel against the wall at an angle, and move it around gently and randomly to produce an uneven texture.
The aggressiveness of the texture depends on the ratio of rough and smooth areas, and there are several different styles of finishes, such as the Old world, Spanish and Artisan styles.
The placement and the trowel angle vary to make those styles distinguishable from each other.
Different styles will give the room a different feel.
For example an Old World finish looks calmer and more relaxing, while a Spanish finish would add a sense of energy and direction.
You’re going to need a coarse sand, all purpose joint compound.
Even though Skip trowel texture is similar to Knockdown texture, they are not the same.
Skip trowel is more spaced and spread out than Knockdown.
Tools needed:
- Trowel or drywall knife
- Hawk
Materials needed:
- Premixed Textured Paint or Self-Mixing Paint
Here is a great video tutorial:
2. Orange Peel
Orange peel is a texturizer, usually found in a can, which sprays different sized ovals.
They are not raised enough to be unpleasant to the touch, and produce a more uniform feel and look than most of the other texture types.
Orange peel is easy to make: just spray it on the ceiling in short bursts from half a meter or more, then wait for it to dry, prime and paint.
It is a good idea to try the ceiling texture spray on a cardboard first and experiment to make sure you have chosen the best angle and distance.
Play around with it until you like the results
The orange peel texture add character to the surface and goes well with natural or softer colors.
However, it is difficult to clean, because there are tiny spaces between the ovals, which are almost impossible to reach.
For that reason the orange peel finish is better not used for a kitchen or bathroom.
Tools needed:
- Spray Gun
Materials needed:
- Orange peel spray texture
3. Knockdown Texture
Knockdown is a more voluminous texture than Orange peel.
It consists of wide blots of drywall mud (mixture), but it is still smooth as its elements have no edges.
It is made by laying a plaster foundation and then gently tapping all over the surface with a soft brush or a sponge.
This will make it uneven with deeper ‘craters’ and higher edges. A knockdown tool is then used to flatten the surface and remove the edges.
Alternately you can use a knife, a scraper or a trowel, but make sure not to press too much. The purpose of the final step is not to remove the edges altogether, but keep the ‘valleys’ in between.
This style adds warmth, depth and character, so it goes well with a living room or bedroom.
Tools needed:
- Spray Gun
- Sponge
Materials needed:
- Premixed Joint Compound
Another great video tutorial on knockdown ceiling texture:
4. Stippled Ceiling
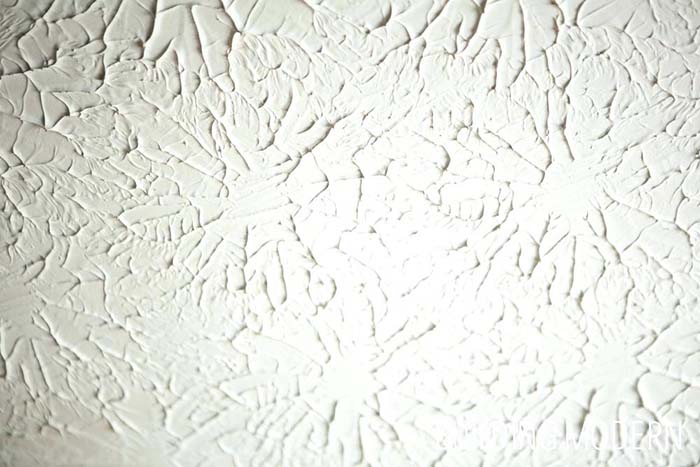
The Stipple ceiling or Slap brush finish texture type is made using the stomp brush (also called slap brush), a soft brush with long bristles, which you can use to create uneven shapes on the drywall.
This brush usually has a long handle so you can do much of the work even from ground level.
Start by applying the mixture with a roller or a paint gun.
Then press the brush against the ceiling, lift it back and proceed to move it across the ceiling until you have covered the whole surface in irregular shapes.
You can use a knockdown blade or a similar tool to press larger chunks, which don’t look stylish, but don’t forget to press the whole surface for a uniform look.
This style is easily one of the messiest, but it also helps greatly when covering imperfections in the ceiling.
Tools needed:
- Stomp Brush
Materials needed:
- Premixed Joint Compound
5. Swirl
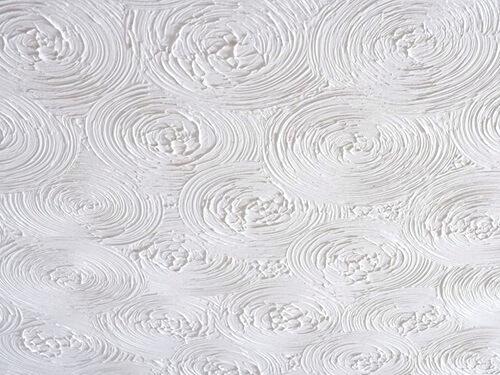
The Swirl ceiling is a way to texture a ceiling, which is very similar to the Skip trowel or Stippled ceiling texture.
The difference between the Swirl texture and the others is that it relies on circular notions to create round patterns, as opposed to the random shapes of the Skip trowel ceiling.
To make it, use a brush or a sponge for a rougher or smoother texture respectively.
Rub it in separate same-sized circles all around the surface.
The Swirl style makes for arguably the most visually pleasing ceiling texture of all and includes a notch of craftsmanship.
Tools and materials are the same as the Skip trowel.
6. Lace
The Lace texture takes a lot of time and effort than most, because it is the most beautiful and most artistic.
The technique, tools and materials are the same as the Skip trowel texture, but there is an extra element:
after applying the first layer of paint you need to wait for it to dry before applying a second one of different color and then using the trowel on it to create texture.
Make sure the lower layer has dried completely, then apply a second layer and use a tool of your choice to create some splotches.
Pay close attention when choosing which two colors to combine, because it is smarter to do that than to remove it and start over.
If you choose the colors right, however, you will certainly achieve a unique look for your ceiling.
Tools and materials are the same as Skip trowel.
7. Simple Texture With Brush
The brush is a reliable and extremely useful tool, but sometimes it is quite tricky to actually manage to produce the desired shape.
This texture finish is one of those, which don’t need much mastery to pull off, because you won’t need to stroke, just gently dab the drywall with it and create simple shapes.
Use drywall mud on the ceiling with a roller or a paint gun, then dab the brush softly.
Proceed to move it a few centimeters in any direction and dab it over and over until you have covered the whole ceiling.
As with any drywall ceiling you need to be careful with texturing because drywall ceiling texture could be ruined very easily.
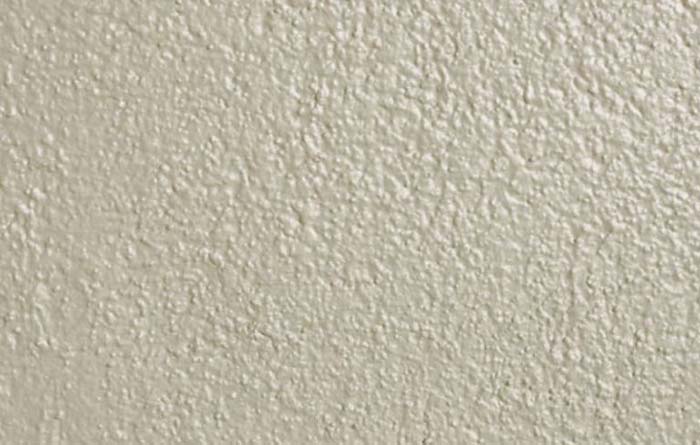
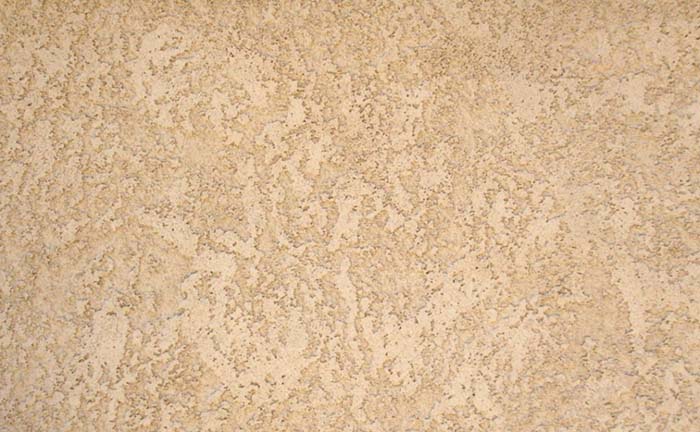
8. Spray Sand
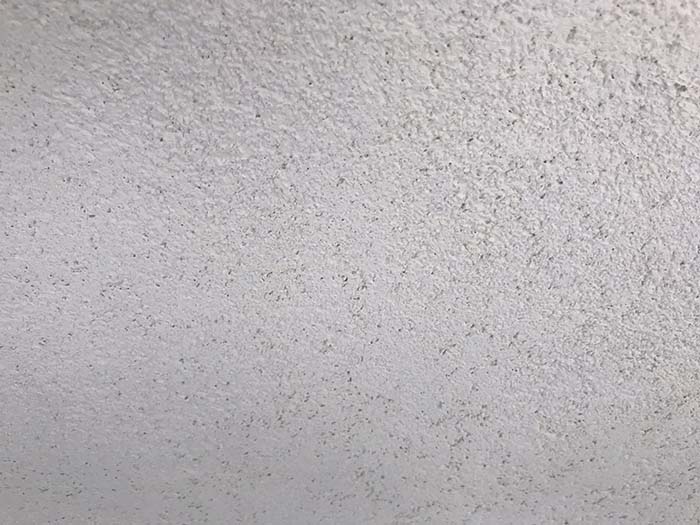
Spray sand, just like Orange peel, is a texture best done with a spray or a spraying tool, such as a hopper gun.
It is important to pay close attention to the all the corners and spaces you could have missed spraying, because, for it to look good, you need to cover the whole surface of the ceiling.
The main difference between it and Orange peel is that Spray sand ovals are finer in size, which makes it look less smooth.
It mainly has both the upsides and downsides of Orange peel, but is somewhat less commonly used, which could make it harder to find in some areas.
Tools and materials are the same as for the Orange peel.
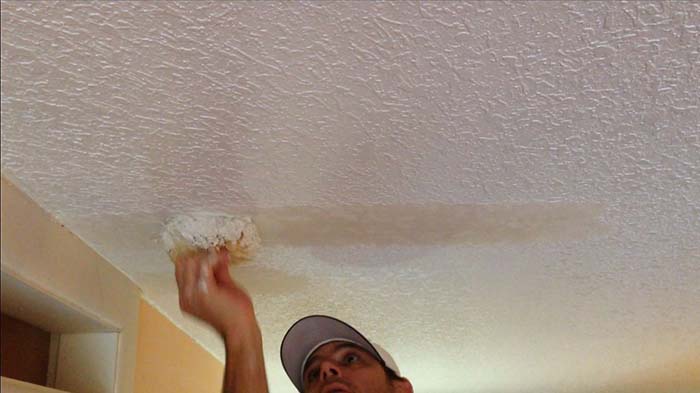
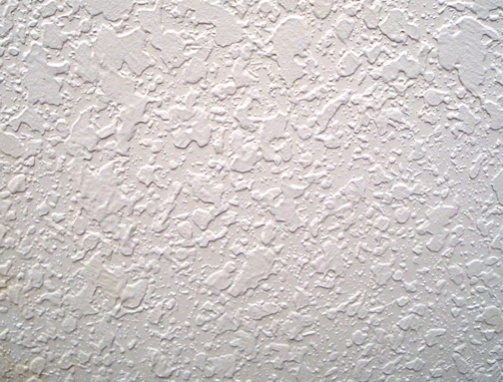
9. Popcorn Ceiling Texture
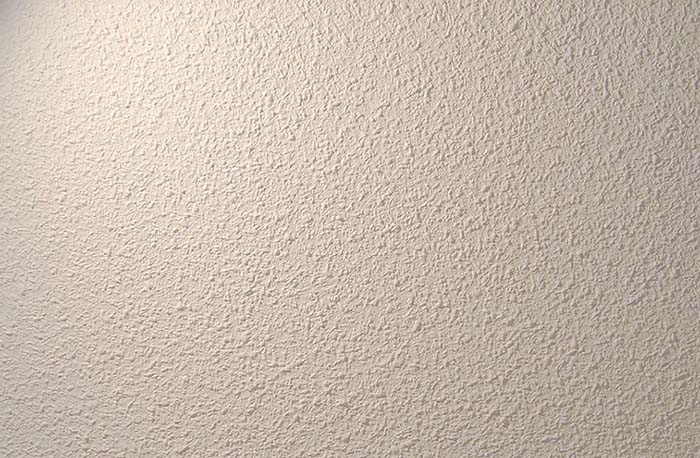
This classic defined ceiling textures for ages.
Keep in mind the popcorn texture is currently not being considered the most fashionable, but still has considerable advantages such as great sound proofing.
Its name comes from the popcorn-like elements it consists of, but in some cases it looks more like cottage cheese.
It is both the highest and deepest texture, which makes it fragile and easy to deform if pressed against.
Paint the ceiling in thick popcorn paint, and use a roller to directly produce the texture or a paintbrush to do it manually.
Avoid drawing shapes or patterns, because that would make the ceiling look uneven.
The Popcorn style has a retro charm and feels more unique now than ever before.
However, it can still collect dust and feel outdated for some.
Tools and materials are the same as Knockdown texture.
10. Stomp Texture
The stomp texture, also known a Crow’s foot is a type of texture, which uses a pattern brush to create.
It is considered to be either the same or a sub-type of the Stippled ceiling, because it suggests that the lines are shaped outward like a fan or a crow’s foot.
Tools and materials are the same as for Skip trowel. You can compliment the ceiling with textured walls. Wall texture could be used only as an accent.
11. Smooth Ceiling Texture
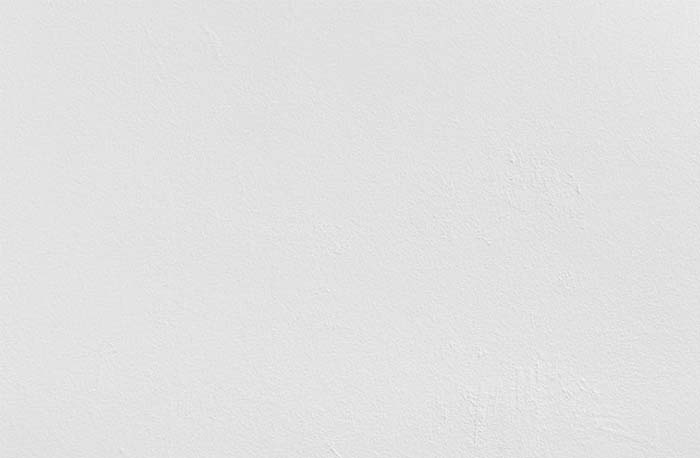
This texture is most people’s favorite because it’s cheaper and easy to apply. Aside from that, it can also give a consistent look to your room compared to other textures.
A smooth ceiling texture is also easier to remove if you need to redecorate or renovate. It could be applied to every room and in every color.
Tools:
- Paint brush or roller
Materials:
- Paint
Summary:
If you got confused reading about all the ceiling texture types, here is a quick guide with all the basics and main questions you need to ask yourself before starting, step by step:
- Should I have a smooth ceiling or a textured ceiling?
Depends on your aesthetics and style really.
Use smooth ceiling if you are going for a high-end look and bold colors, but use texture for more comforting, smooth and nuanced atmosphere, softer colors or coziness.
Both styles have been used historically and are still used around the globe, so none is universally found to be better or inferior.
- How does the texture cost compare to the smooth ceiling cost?
Smooth ceilings are more difficult to do both professionally and unprofessionally.
That is not always the case, but a smooth ceiling will normally cost more as it takes more effort and is more difficult to perfect.
- Can I use ceiling texture in all rooms of my house/apartment?
It is not really recommended for kitchens and bathrooms.
Water or any type of filth could splash there and, with most texture types, it will most probably be too difficult to fully removed;
Texture is, however, great for halls, living rooms, bedrooms, etc.
- Can I do it alone or should I call a professional?
Depending on the level of control you want, there are many steps in the process you can take yourself or decide to trust the shop: from premixed mud you can buy, to paying to have the whole work done for you.
Texturing your ceilings is certainly something you can try to do by yourself without a huge risk of mistake, but there is still some skill you will need.
- What is having a textured ceiling like in the long run?
Smooth ceilings, even if done well, could show imperfections over time.
Smooth ceilings are safer.
Many people actually decide on a textured ceiling to cover imperfections.
However, textured ceilings are more difficult to clean.
- Once I make a choice, is it forever?
You can turn a smooth ceiling in a textured one more easily than the reverse, but both can be done and won’t use too much trouble.
- Which is the best texture style?
All look fine in different circumstances, but to find the one, which will look great, you need to look through our galleries and pick your favorite.
Some are more relaxing and use wider shapes, while others create a dynamic feel with brush strokes.
Most importantly, trust your taste and artistic instincts to complement your home in the best way you can imagine.