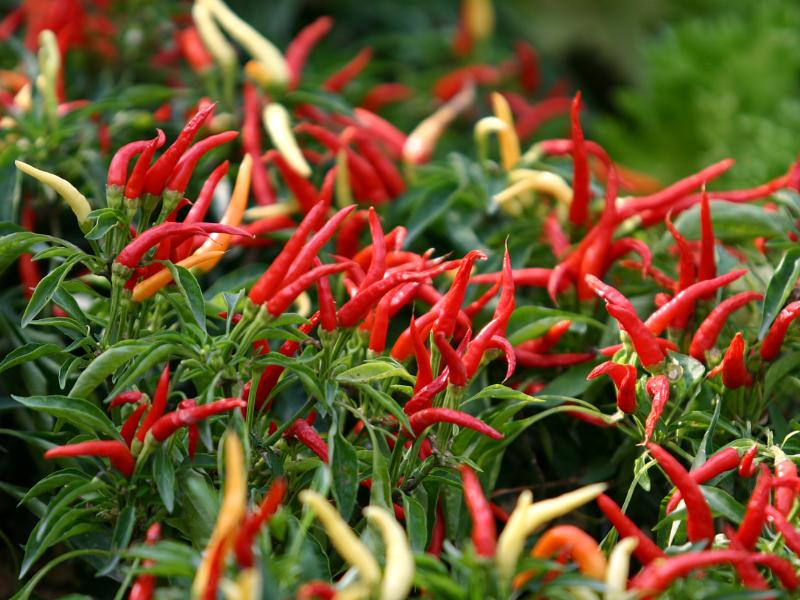
Want to spice up your garden? How about planting some chili peppers?
Chili plants are a delight to watch as they grow, and these spicy peppers will add color and vibrancy to your garden. From sowing to harvesting, these plants will make you cherish your gardening skills as you care for them through their growth.
Chili plants aren’t really hard to grow. However, there are crucial factors you need to take into account before planting them, such as the right soil type and right planting time, to succeed.
And that’s why we are here today!
This article will guide you through all the chili plant growing stages to help you grow those delicious chili peppers in your garden. We’ll provide information on handling each stage appropriately and solutions to any hindrances you may encounter.
Let’s get into the details!
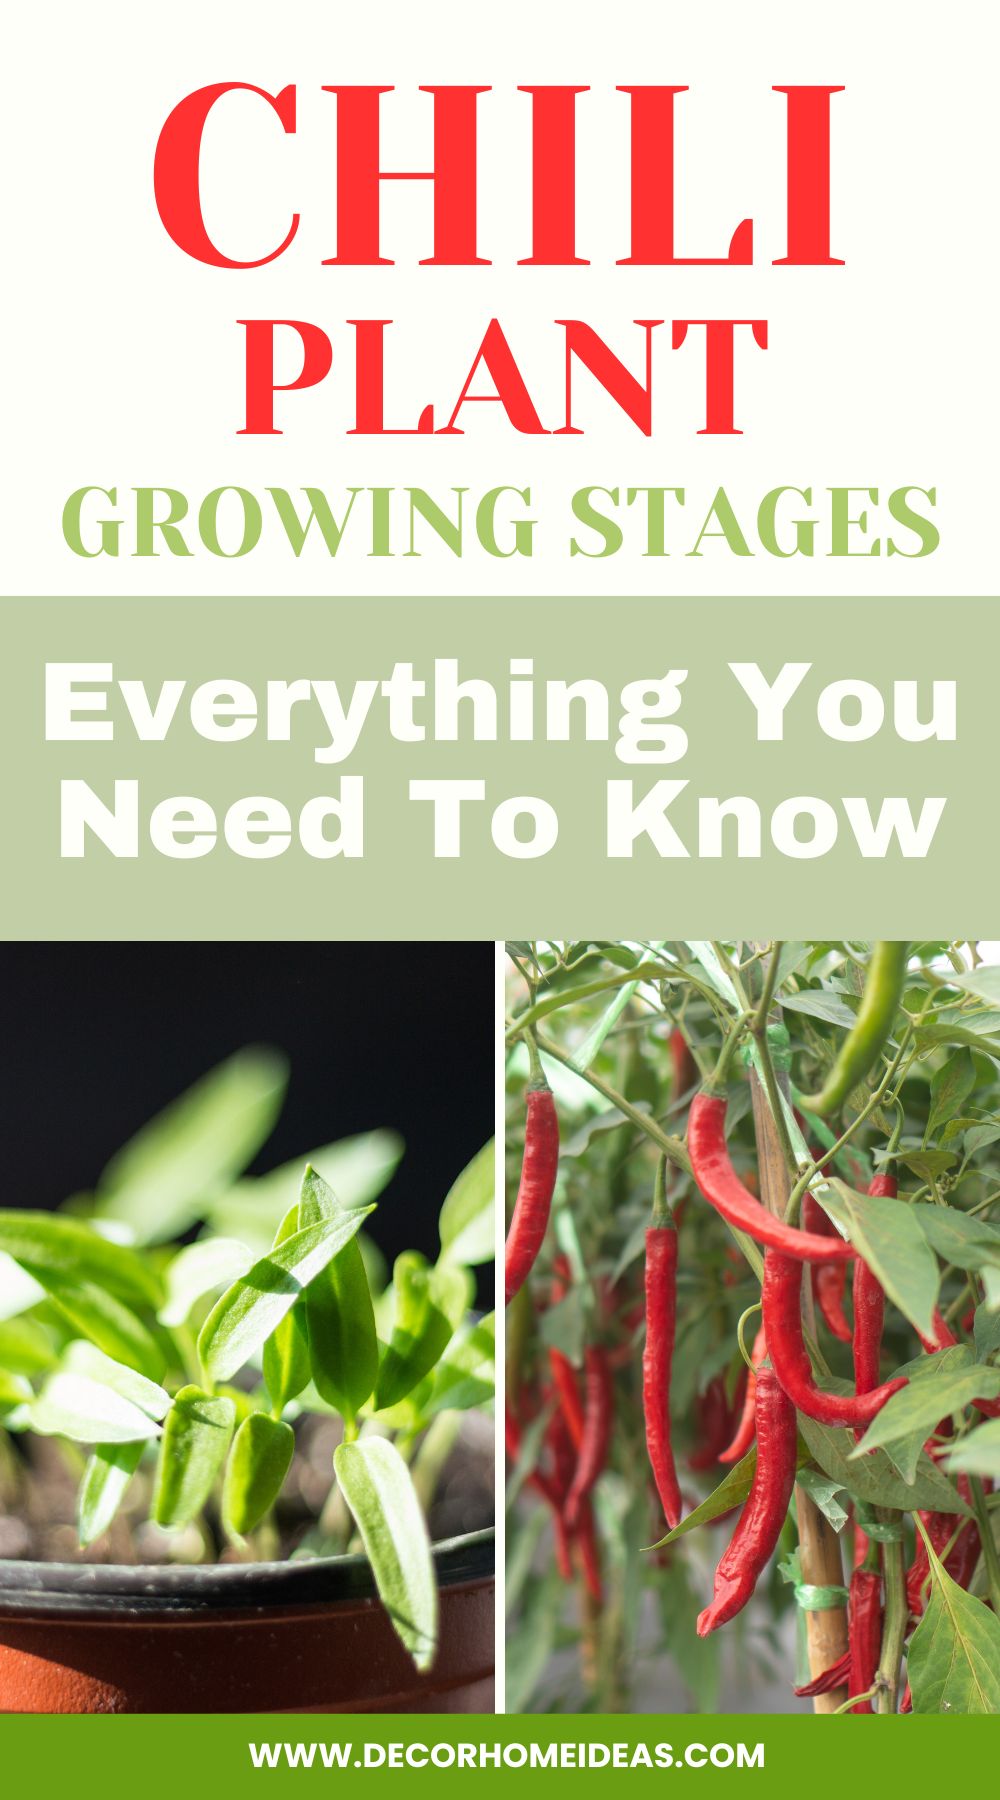
Chilli Plant Growing Stages
Scientifically called Capsicum Annun, chili plants have similar growth stages, whether grown in your apartment, greenhouse, or garden.

Here are the growing stages of chili plants:
- Sowing
- Seed germination
- Chili seedlings
- Flowering
- Maturation
- Harvesting
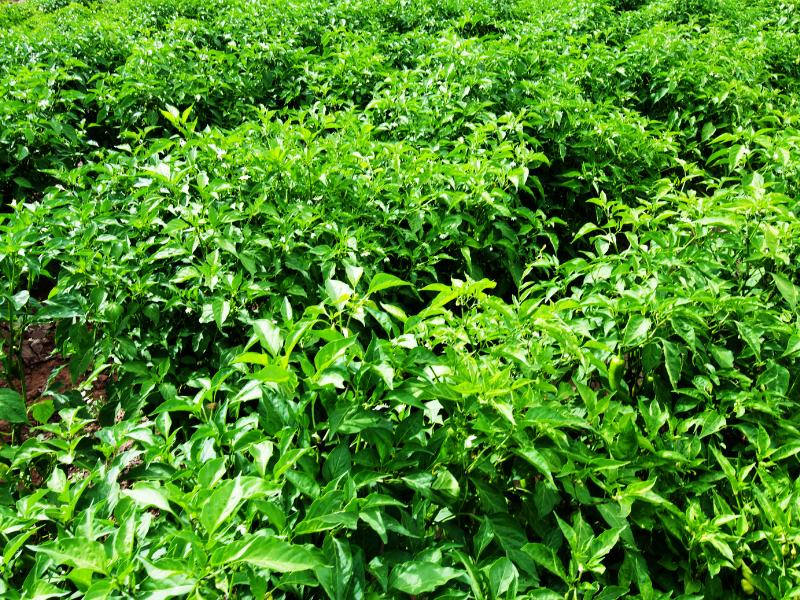
Sowing seeds directly into the soil is an ideal solution for people living in warm climatic regions. In contrast, if you live in a cold region, grow your plants inside before transplanting them to your garden when the soil has warmed up. This extends the growing season of chili plants and gives you an abundant harvest of chili peppers!
Whichever region you may be located in, your chili plants need a sunny location, moist soil, and fertilizer to boost growth during the growing season.
1. Sowing
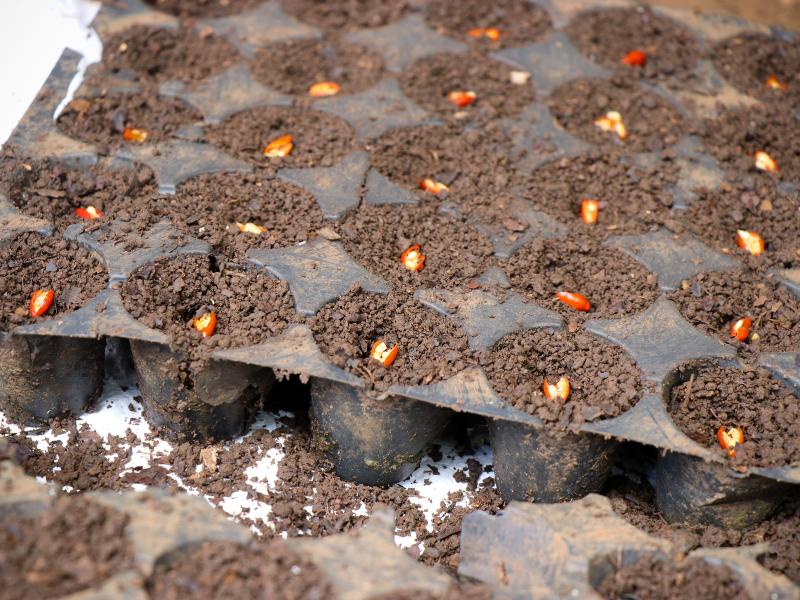
You can sow your chili seeds in two ways, directly into the ground or planting them in pots before you transplant them outside. If not, let your plants continue growing and developing in the containers.
As discussed earlier, if you live in a warm climatic region, you should sow the seeds directly into the soil. This is because the seeds can’t withstand frost. A good solution for this problem is investing in a heated propagator.
For seedlings grown in greenhouses, the best time to sow them is in late February and early March.
If you plan to grow your seeds inside and transplant them outside afterward, the ideal time for sowing them would be April or May. This gives the soil enough time to warm up and also enables your chili plants to have time to be established.
How to Sow Chili Seeds
First, let’s take a look at the essentials you will require for sowing the seeds:
- Seed tray
- Chili seeds
- A mixture of loam-based seed compost and vermiculite
Here is a step-by-step guide you can follow:
- Ensure your seed tray has drainage holes at the bottom. Alternatively, you could use small plastic cups.
- Take the compost and fill the tray up to ¾ full.
- Spread some chili seeds evenly on top of the soil.
- Cover the seeds with the remaining soil or a coco-peat.
- Moisten the soil and place the trays in a warm, sunny location. This is a crucial step for your seeds to germinate.
Pro tip:
- Wrap the seeds in a paper towel and sprinkle them with water daily to moisten them.
- Place your paper towel in a spot where the temperature is above 68℉. The chili seeds will start germinating in about 10 days.
- Transplant them into small containers and ensure to keep the soil moist.
2. Seed Germination
As discussed in the previous stage, moist soil and a temperature of around 60℉ is vital for germination.
Normally, the germination of chili seeds takes 7-10 days after sowing the seeds. Nonetheless, there are instances where it might take longer, so don’t panic when that happens. They can even take two weeks!
The type of chili seeds significantly determines how long it will take them to germinate. For example, Cayenne seeds only need a couple of days to germinate, while habanero seeds require about 3-4 weeks.
Avoid overwatering your seeds at all costs. The wet soil can drown them, and you’ll only be left with regrets when germination doesn’t happen.
It would be best to alternate the watering days or schedule.
Small sprouts indicate that your seeds have successfully germinated, and you should probably give yourself a pat on the back for a job well done!
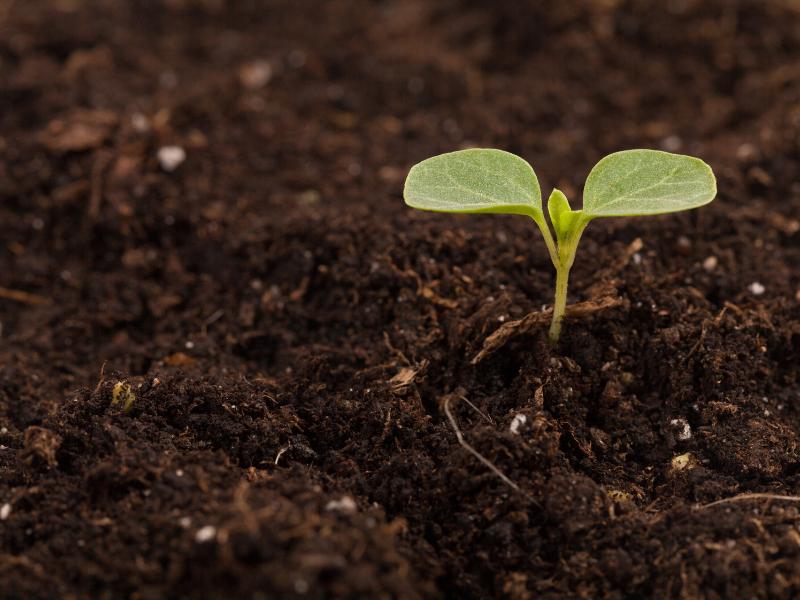
3. Sprouting
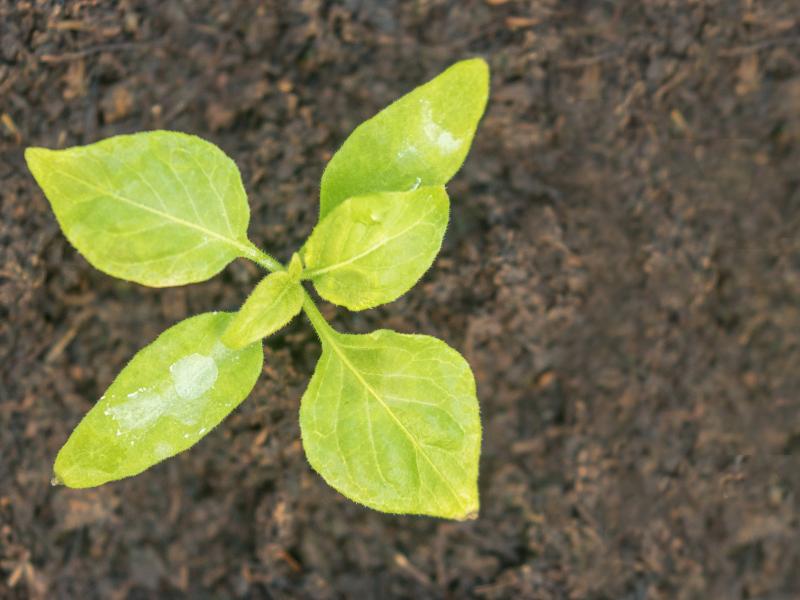
Green shoots will begin emerging from the soil and eventually develop into cotyledons, which are also referred to as false leaves.
After a week, a new pair of leaves called true first leaves will start forming.
Within no time, these small sprouts will have grown and developed, and you’ll have a jungle of green leaves in your garden or home!
Ensure the little sprouts receive at least six hours of sunlight daily for healthy growth.
Cut back on watering at this stage, but ensure the soil doesn’t dry up. To check if the soil needs watering, insert your finger into the top inch of the soil. If it’s dry, water your baby plant. Otherwise, leave it alone and change your watering schedule.
4. Chili Seedlings
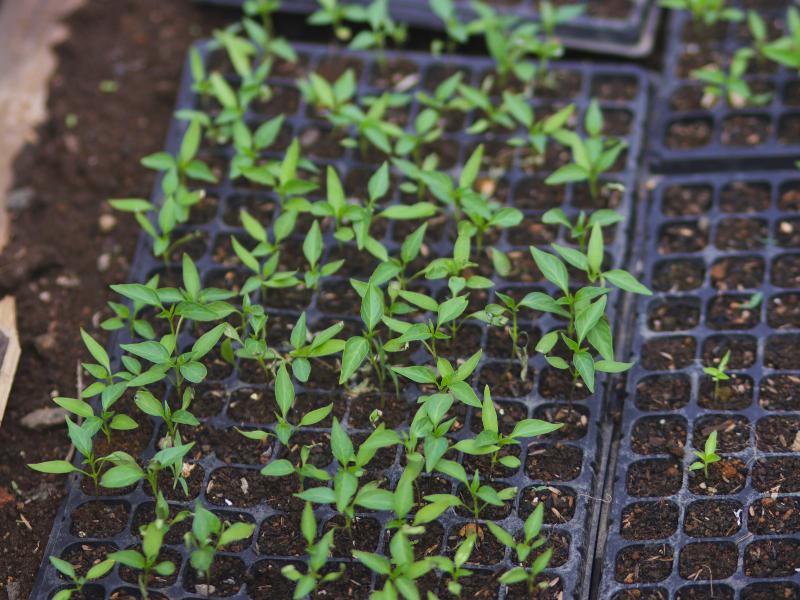
Your small chili plant will be mature enough to be transplanted or repotted at this stage since they require more space for further growth and development.
The perfect time to transplant your chili seedlings outside would be May, when the soil temperature is warm. Your seedlings will adapt perfectly to the environment at this time of the year!
Alternatively, you can repot your chili plant into a larger planting container. I recommend this option since it allows you to take your plant outside when the weather is favorable and back inside when it changes. Also, you can place your plant in a greenhouse.
A good sign of when your plant needs repotting is the emergence of roots out of drainage holes or a leggy or wilting plant that has already been provided with all the needed requirements, i.e., sunlight and water.
Transplanting Seedlings Indoors
At some point, you’ll need to transplant your seedlings into a new and bigger pot after they’ve outgrown their seedling tray. You may need to repot indoor seedlings a couple of times before eventually transplanting them outside.
Some essentials for repotting are 3-4 inch pots, a good potting mix, and probably some plant labels (these are optional).
Here is a detailed step-by-step guide to help you repot your chili plants:
- Water the soil before repotting to loosen it.
- Prepare your new potting soil by moistening it to make it damp for the seedlings. Spray the soil with neem oil or boiling water to kill any noticeable insect eggs.
- Fill the new pot with ¾ full of your new potting soil. Make a hole large enough to fit the seedling without damaging its roots. For best results, the hole should be at the center.
- Remove the seedling from its old pot. There are two ways to do this: use a spoon’s handle to gently push out the seedling by running it around the edges, or turn the pot upside-down and squeeze the seedling out.
- Place the seedling into its new pot and press the soil around it to make it firm. Fill the remaining gaps with the extra soil.
- Water your chili plant to assist it in adapting to its new environment.
Transplanting Seedlings Outdoors
As mentioned earlier, the ideal time to transplant chili seedlings outside is around May. But before that, you’ll have to repot your chili plant indoors severally before transplanting it. The process is similar. The only difference is you’ll require bigger pots each transplanting time.
If the climate in your region is different, wait three weeks after the last frost date to transplant it. This is the ideal time.
You’ll need a well-drained potting mix, a large planting container, fertilizer, and compost.
Chili plants require at least 8 hours of sunlight, so ensure you place your plant in a sunny location when you transplant it into your garden.
Here is a guideline on how to go about it:
- Put your plant outside for a few hours before transplanting to harden it. This helps your seedling to adapt to the day and night temperatures. Begin this procedure about 2 weeks before transplanting.
- Fill up your new container with the potting mix and leave at least two inches empty at the top. The soil should be damp, so ensure you water it.
- Boost your plant’s growth and development by adding fertilizer. I would recommend a nitrogen-based or potassium-based (or one that has both) fertilizer since it will aid with foliage and fruit production.
- Make a hole at the center of the potting mix where you’ll place your plant, and add some compost.
- Place your plant into the new container, and then fill the container with the rest of the potting mix.
- Add mulch or compost at the top. This helps regulate soil temperature and improves moisture retention, thus, protecting the roots.
- Indulge your plant with light watering to help it adapt to its new environment. Continue with the same regimen for a few days to give the roots easy access to water.
- Place your transplanted plant in a sunny spot. Chili plants require around eight hours of direct sunlight daily.
- Start a frequent watering routine for your plant. A wilting plant is usually a sign of an underwatered plant. Water your chili plant until you notice water coming out the bottom of the planting pot.
- Continue adding fertilizer as your plants continue growing. However, the fertilizer type is a crucial factor to consider. Liquid fertilizers, for instance, will need to be applied more often than granular ones.
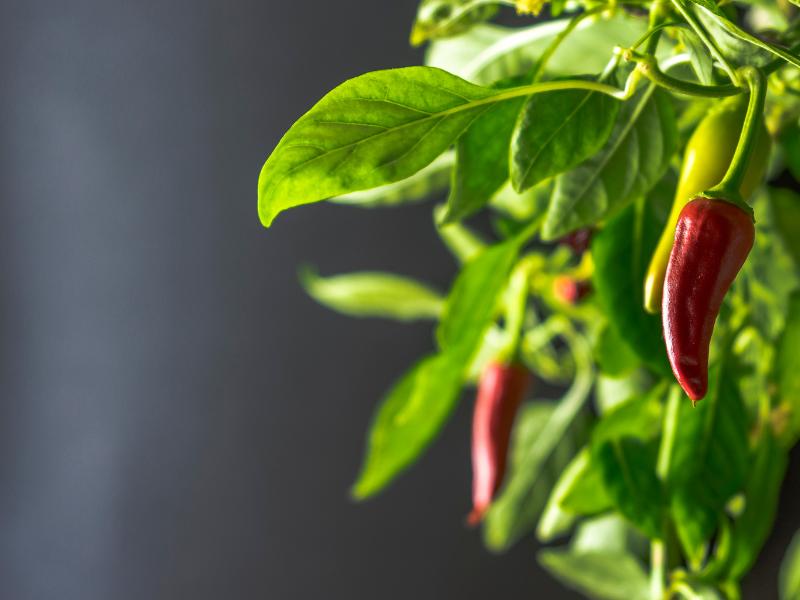
5. Flowering Stage
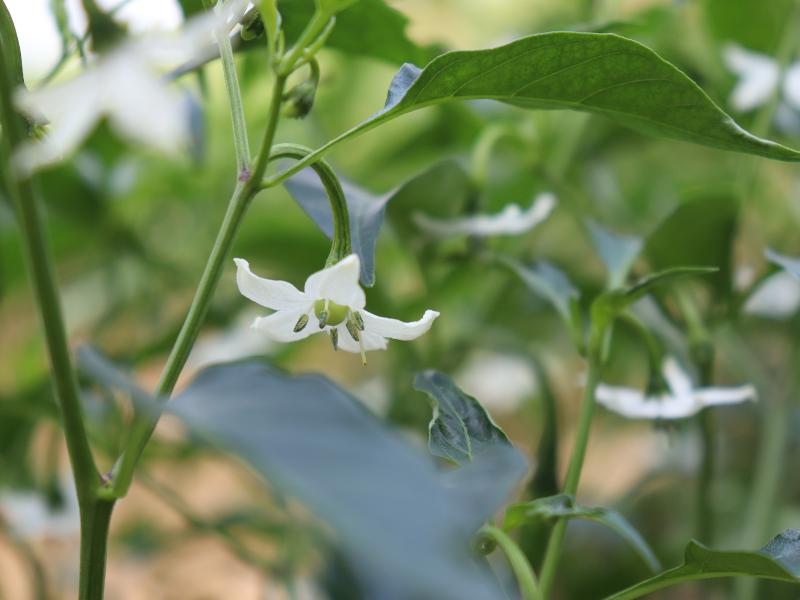
If you perform the previous steps correctly, you’ll start noticing some small, white chili flowers on your plant.
Eventually, these small flowers will turn into pepper plants!
For that to happen, however, pollination needs to take place. Pollination is usually conducted by pollinating insects, but you can also pollinate the flowers if your region has a low pollinating insect population.
You’ll need a pollinating brush to achieve this. However, some people prefer to do it manually by rubbing male and female flowers. Determining a male and female flower can be quite difficult for beginners, so I recommend using the pollinating brush.
Keep in mind that cross-pollination can happen between chili plant varieties. As such, ensure you grow different varieties separately if that’s not your intention.
Continue fertilizing and watering your chili plant. Avoid using tap water since it contains chlorine which can harm your plant. Instead, use rainwater or filtered/distilled water.
If you notice your chili plant flowers falling off, the issue might be a small container, overfertilizing, overwatering, or temperature changes.
Carefully observe your plant for these kinds of issues to ensure fruit and flower production is not hindered in any way.
6. Maturation
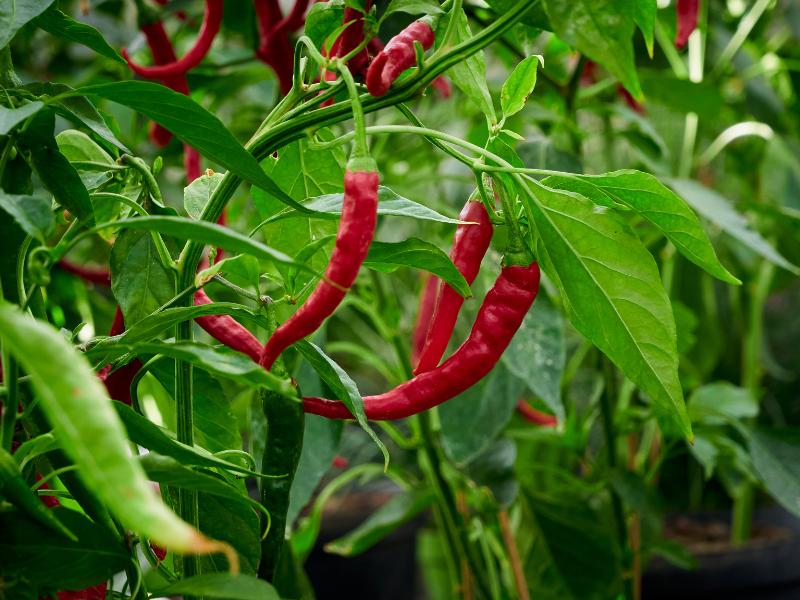
After your chili plant has been pollinated, fruits will begin showing before you even know it!
You’ll start noticing some flowers turning into small chilis while others continue to bloom and grow.
You can begin harvesting your plant, but ensure you continue with regular plant care. Peppers and chilis get spicier the more they are attached to the plant. Therefore, you should wait until the end of the growing season if you like them spicy!
7. Harvesting
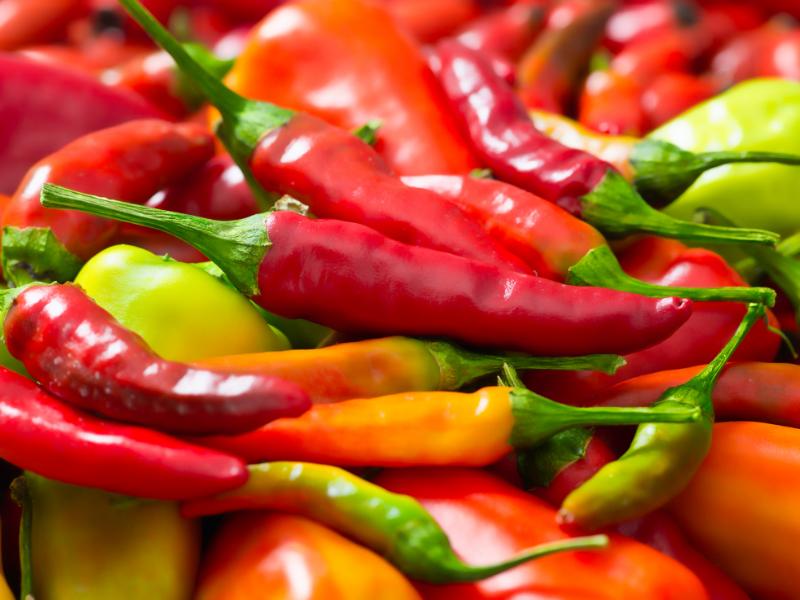
This is the last step of the chili growing stages. At this stage, your plant is almost at the end of its life cycle, and all flowers should have turned into peppers. The only thing left to do is to harvest them!
As mentioned earlier, the more the peppers stay attached to the plant, the spicier they get, so your preference will determine when you want to harvest them.
Use a knife or pruning equipment to cut the peppers as you harvest.
Avoid plucking the peppers using your hands! This can lead to broken branches and inhibit the formation of new blooms and fruits. That’s why cutting them is the best option.
Additionally, remember to wear gloves when working with spicy peppers. You don’t want a case where you accidentally rub your eyes with fingers that come into contact with peppers. You won’t like the burning sensation at all!
Keep in mind that each chili variety has its own unique harvesting time. Bell peppers, for example, can take about 60 days to fully mature after transplanting, while green chilis take about 75 days.
Common Problems When Growing A Chili Plant
This section will cover some issues you may encounter with chili plants and their solutions as well.
Seeds not germinating: Ensure your seeds are planted in a place with warm temperatures and moist soil.
Leggy seedlings: This is an indicator that your seedlings require more water and space.
Flowers falling off: Some factors associated with flowers falling are overwatering, overfertilizing, and temperature fluctuations. Remember, if there aren’t any flowers, you won’t get any chilis.
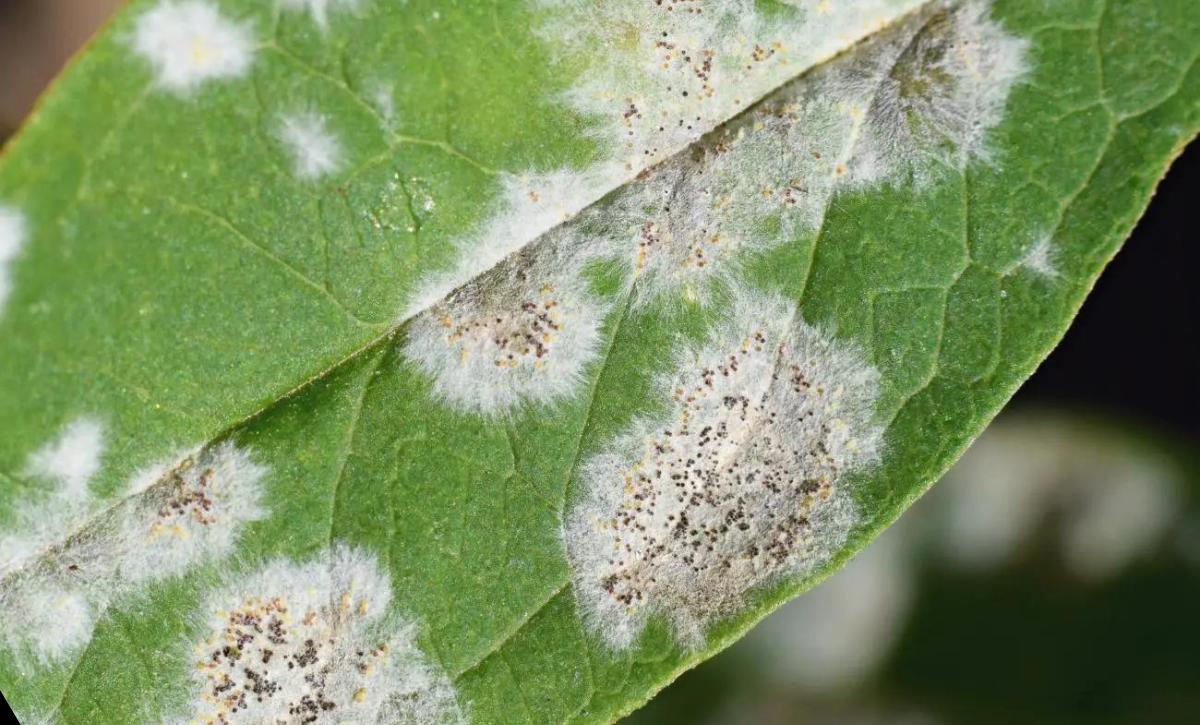
Powdery mildew: This is a fungal infection caused by high humidity and temperatures. It’s usually manifested through white patches on the plant’s foliage. Use a fungicide to treat it.
Aphids: These are pests that can cause a lot of damage to your chili plant. Control them using pesticides or remove them by hand.
Yellow leaves: Yellowing of leaves can be caused by several things. Some of the main reasons include pest infestation, lack of nutrients in the soil, and poor drainage.
Bacterial leaf spot: This is caused by Pseudomonas bacteria. They burrow holes in the plant’s foliage and leave small spots. Avoid splashing water onto the leaves to get them wet. Improve air circulation by providing adequate space between your plants. Finally, ensure the soil doesn’t get wet. Don’t let it dry completely, though! The soil should be moist.
Spider mites: If you notice some small webs on your chili plant, it’s probably being affected by spider mites. Spray or rub neem oil to treat your plant.
Common Asked Questions
1. How long will it take for a chili plant to mature?
Each chili plant variety has a different time to mature. However, the average time for chili plants to grow is 80-120 days after sowing.
2. How will I know my chilis are ripe?
Ripe chilis typically have a vibrant red color. However, different chili plant varieties have different colors. For example, ghost peppers can be orange, white, yellow, or red, so it might not be easy to know when to harvest them.
Assuming you know which chili plant variety you are growing, ripe chilis have an intense color and a firm structure. So, it should be that difficult to know!
Soft and wrinkly peppers are usually overripe. You can still eat them, but they’ll be extremely hot!
3. How do I handle a wilting chili plant?
Wilting of chili plants is caused by a number of reasons. It could be caused by poor drainage in your soil or underwatering your plant. Ensure you use well-drained soil and water your plant often.
The lack of essential nutrients in the soil required for growth and fruit production is also another cause of wilting chili plants. Feed your plant with a fertilizer low in nitrogen and high in potassium. For liquid fertilizers, the application should be done weekly. Ensure to always follow the instructions on the package.
Low temperatures are another cause of wilting in chili plants. Ensure your plant is placed in a spot with warm temperatures.
Lastly, wilting can be a result of a small container. Small containers inhibit normal nutrient and water intake since the plant is root-bound. Repot your plant in a larger container to solve this issue.
Final Remarks
Chili plants are rich in capsaicin, which provides us with numerous health benefits. They are also an excellent way to add vibrancy and color to your garden.
Chili plants don’t have complicated requirements for them to grow. Ensure the soil is moist and the temperature is warm. Also, add fertilizer to boost growth and development!
Nothing is satisfying as watching the chili plant that you’re taking care of mature and produce delicious peppers. Harvesting them will be the peak of your joy!
Whether it’s in spicy jams or salads, chilis are always a delight to have. I hope this article helps you in your chili plant-growing journey.
Ciao! Till next time!