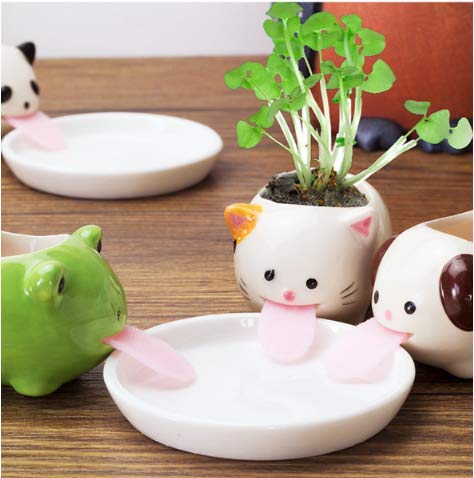
Have you already seen these cute and very functional animal planters? If you haven’t, check out here how lovely they are!
What is their function?
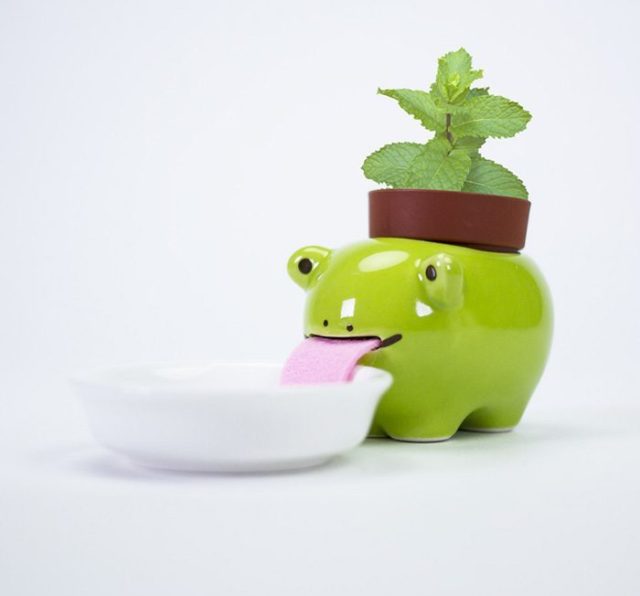
They are plant saviors! If you are regularly on the rush or you are going on a vacation and keep on forgetting watering your plants, these pots will be an appreciated acquisition!

You can purchase them on Amazon and choose among various sweet animal shapes. They are hydrating themselves through their tongue which absorbs water from a small bowl.
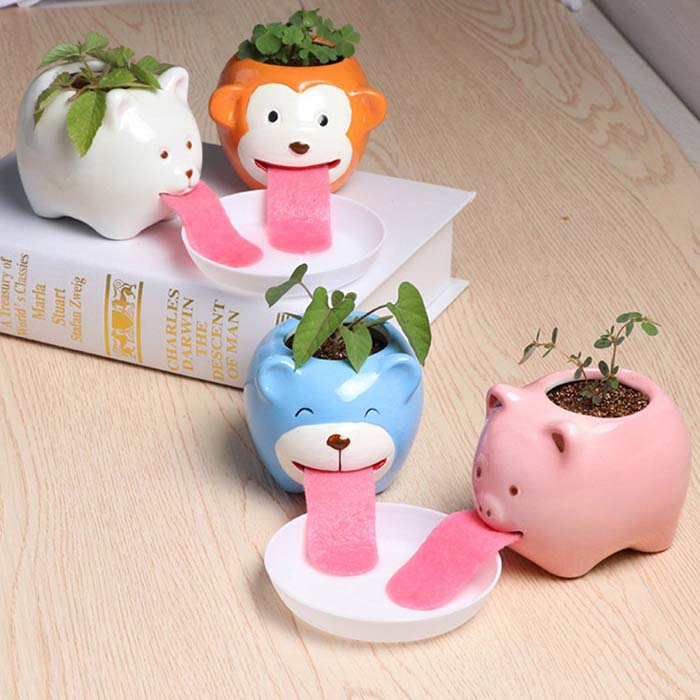
That tongue is connected to the soil of the plant and thus your plant gets the water it needs. These planters could create a lovely collection on your shelf so you may buy all of the shapes offered.
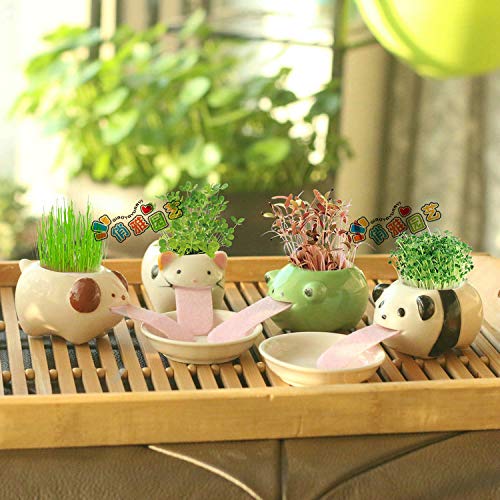
Once received, each set contains a ceramic planter, soil, seeds and a water bowl.
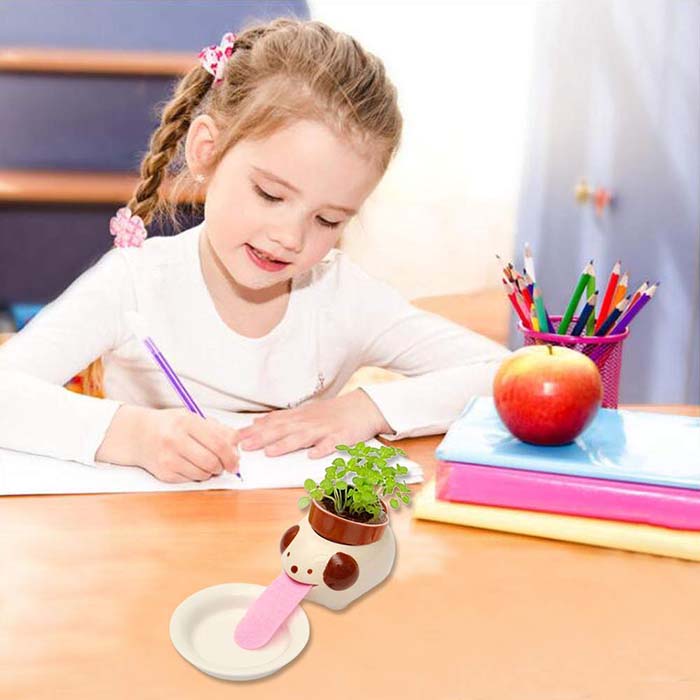
As cute as these are, they are small so we decided to look on the Internet and find ideas for creating similar self-watering pots but of a bigger size.
There were several suggestions so we summarized them for you in this post.
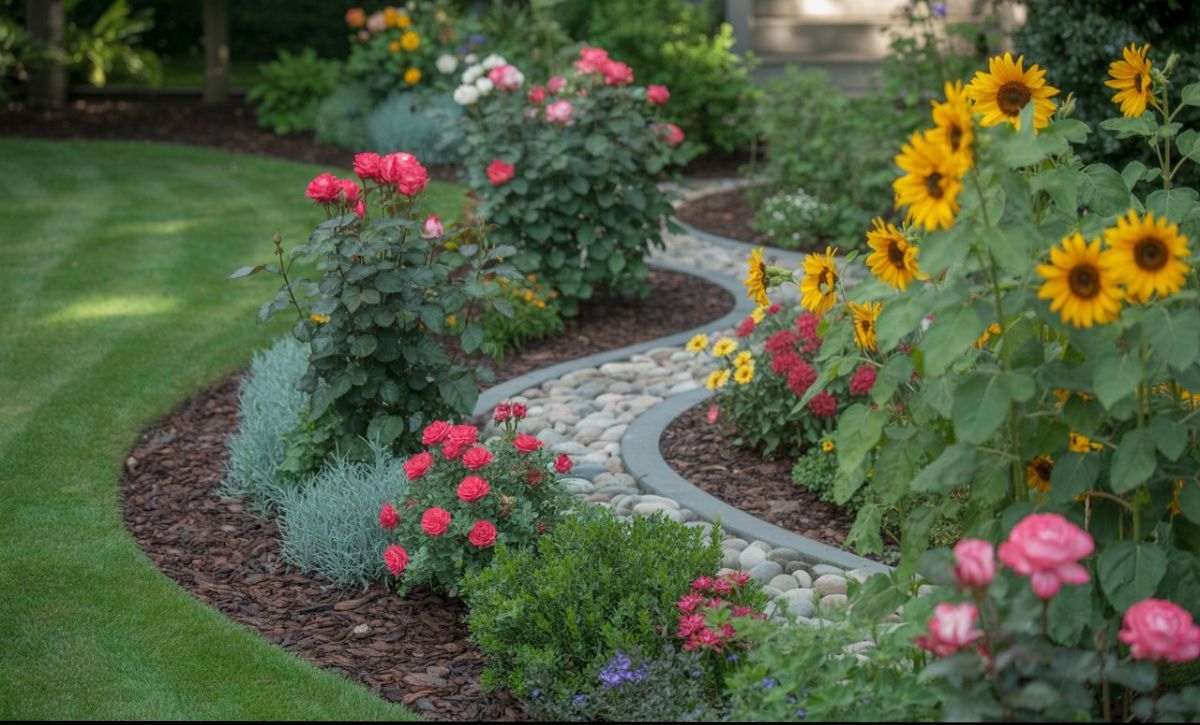
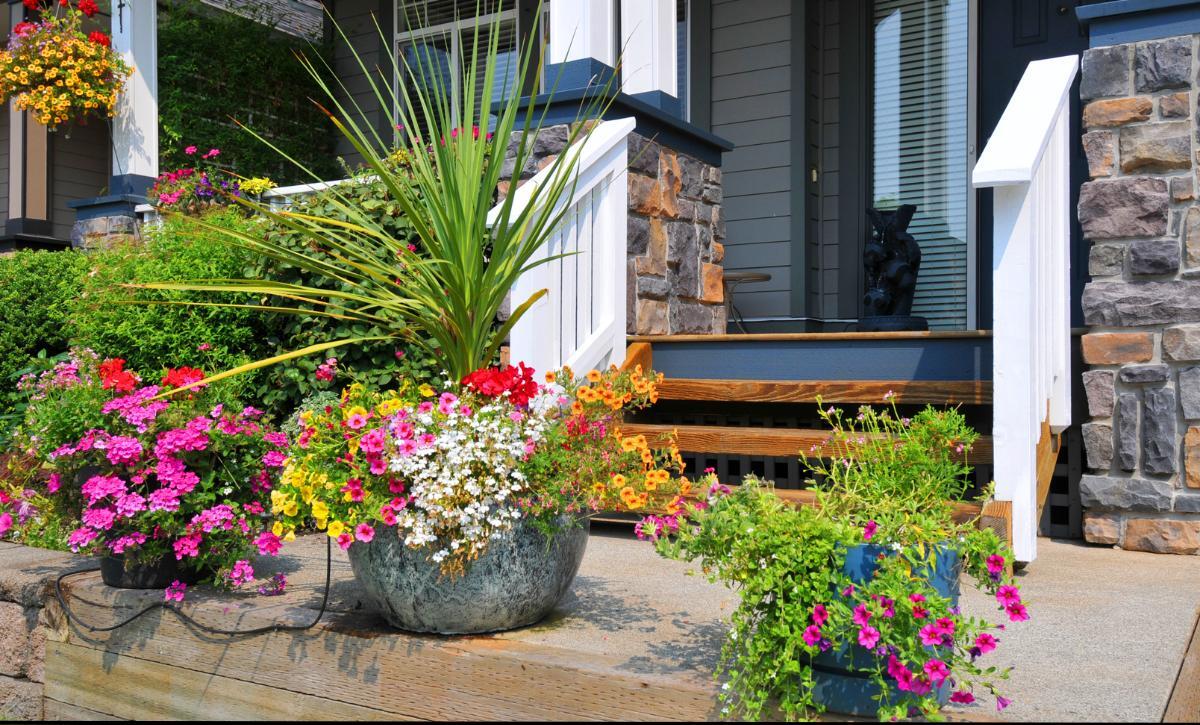
Definitely, it is not difficult to make a self-watering pot and the advantage is that you can decide the size and the shape of it. Besides the idea for cute animals, you can consider making a pot decorated with flowers, shells or in the shape of a favorite cartoon character.

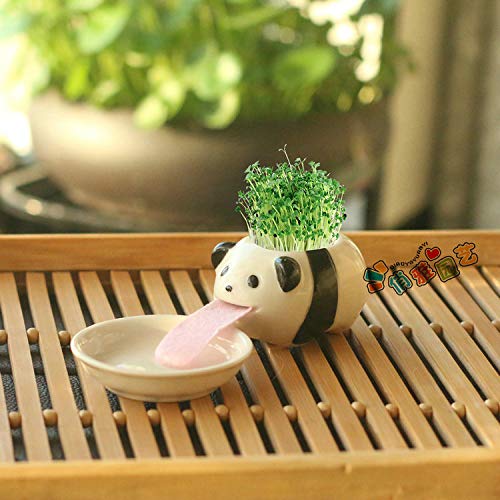
Regardless of the shape, they must have the so-called “tongue” to create a way for water supply to your plant.
You are going to need polymer clay, cold porcelain or any other material suitable for sculpturing which is water-resistant.
The tongue is made of felt. The rest of the materials depend on the decoration you would like to make – different paint colors, seashells, paper or felt flowers, etc.
First, decide which plant of yours you would like to place in a self-watering pot. Its existing pot would define the size of the self-watering one.
Tear a piece from the clay, spread it evenly until you form a thick layer, approximately ½ wider than the width of the existing pot. Start placing it around the pot of your plant to create the round shape of the pot sides.
Take your plant pot away and start creating the bottom of your future pot. You can model it in advance by spreading clay evenly in a circular shape or you can form it directly at the bottom of your future pot.
At that point you can start using your fingers and intuition to refine the shapes of the sculpture.
If you are going to make an animal pot, start forming the head of the chosen creature. Take another piece from the clay, form a ball and shape the ears, the nose; make indents for the eyes.
The final part from this step is to make a slot where you would put the self-watering tongue through.
Measure the approximate length of the tongue using your existing pot as an example. It should measure the distance from the slot to the table plus allowance of maximum 1-2 inches for the part dipped in the water bowl.
It won’t be a problem if you have measured longer than you would actually need as you can trim the excess later on. Create a cardboard tongue template using the measures you have taken. Put that cardboard tongue through the mouth. Widen a bit the slot so that you can easily put through the felt piece afterward.
Attach the head to the base part of the pot and take a good look at all sides. If there is too much clay or the pot is too big or small, you can remove or add until you are satisfied with the shape.
If you are going to create a regular shape of pot that you will decorate additionally, you definitely need to make a slot for the self-watering pot. Choose where its place will be and make a slot following the steps above.
After you have finished the pot, you can use the remaining clay to make a bowl for water. Bear in mind that it shouldn’t be high, on the contrary- it should better be wider. You can also use a deep plate from your household that you do not use anymore.
Now you need to follow the instructions from the material manufacturer regarding the way and the needed time for drying.
After the pot has dried, you can start decorating it. Paint the animal pot in the colors you want. If you had made a regular pot, you can use one base color and glue colorful shells or felt flowers on. Another idea is to paint the pot in different colors. We leave that part to your imagination.
How are we going to make the self-watering tongue? Here we suggest two materials – felt and a kitchen sponge! The tongue of the original animal pots is made of felt. It absorbs water well, as well as the kitchen sponge also does, so why not give it a try?
Place your pattern over the sponge, outline it and then cut. Put it through the created slot. One of its ends should lie exactly beneath the plant (at the center of the pot bottom), the other one should sit in the water bowl. Cut if the tongue is longer than you need. Place your plant in the new pot, fill in the bowl with water and enjoy the invention you have made yourself!