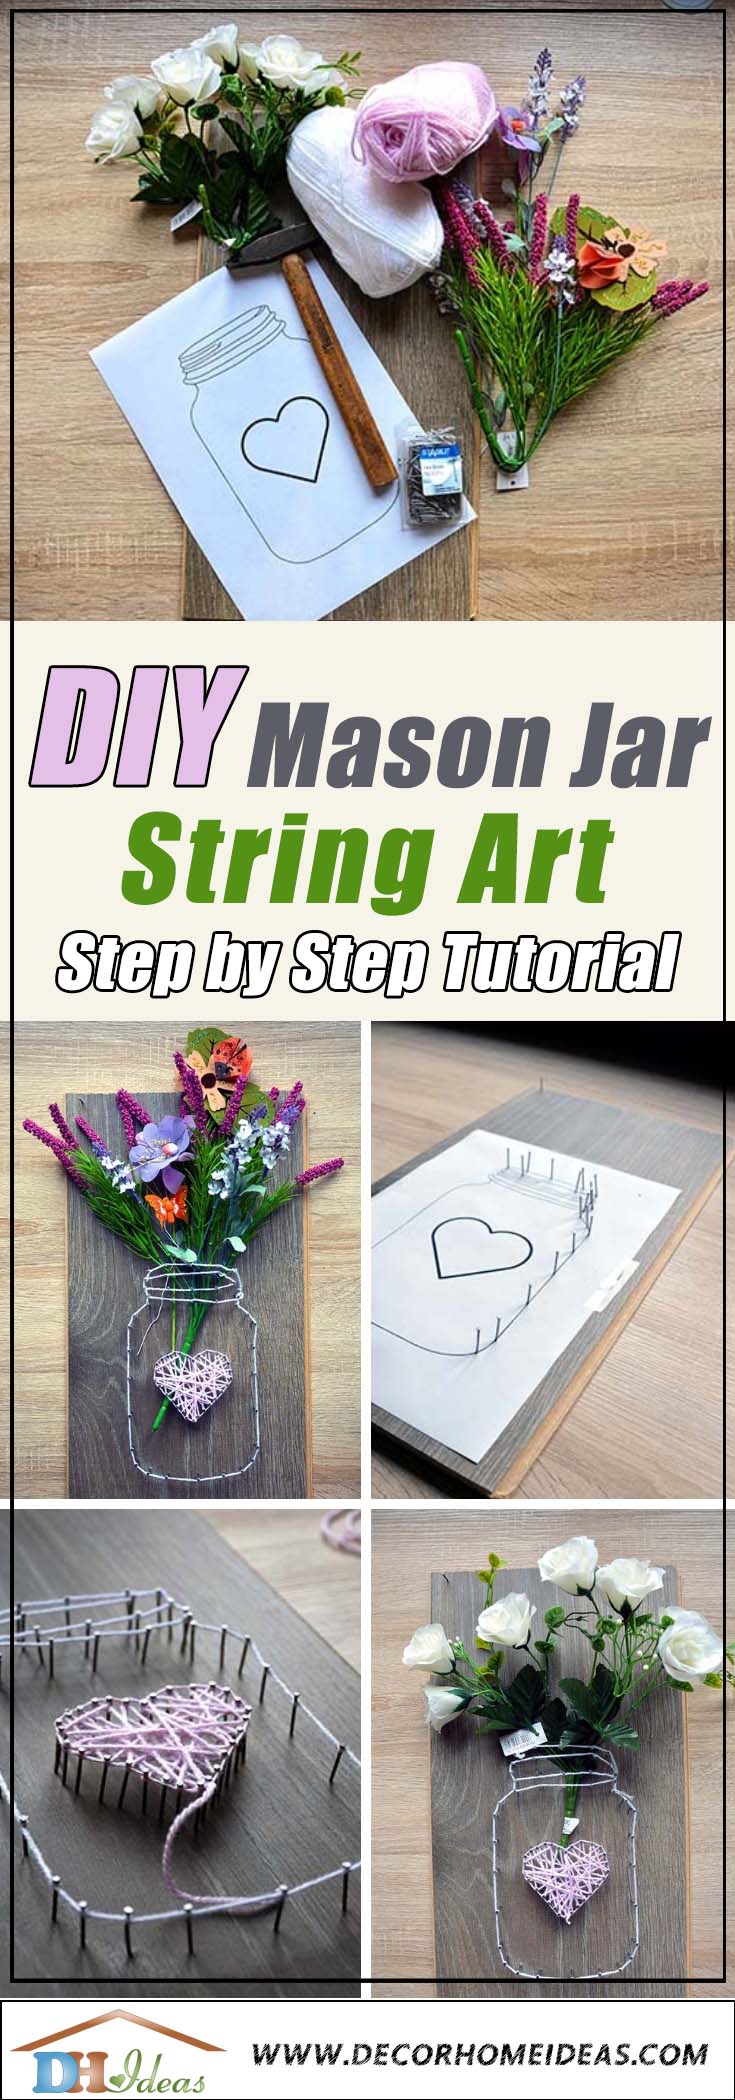
I am pretty sure that everyone has seen some eye-catching Mason jar string art design ideas on Pinterest or somewhere else. Once I started to search for some of those, I was basically stunned by
Sometimes I think the string art is too difficult for me, however, you can’t be 100% sure if you don’t try. That’s why I decided to give it a go.
It took me some solid time to create a Mason jar string art that really looks nice but I am getting better and better.
Here are some of my ideas that I want to share with you. Hope you’ll get inspired by them!
Before to start, I just want to tell you that there is an option to buy a Mason jar string art kit right from the shop, check out the link, however I’ve decided to be a bold DIY warrior. 🙂
Let’s have a look at each step of my DIY Mason jar string art process.
Preparation:
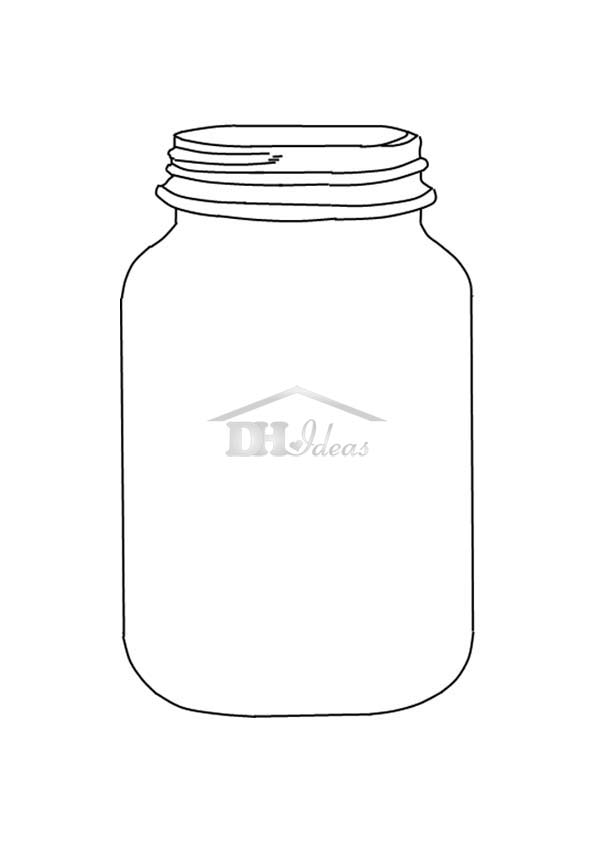
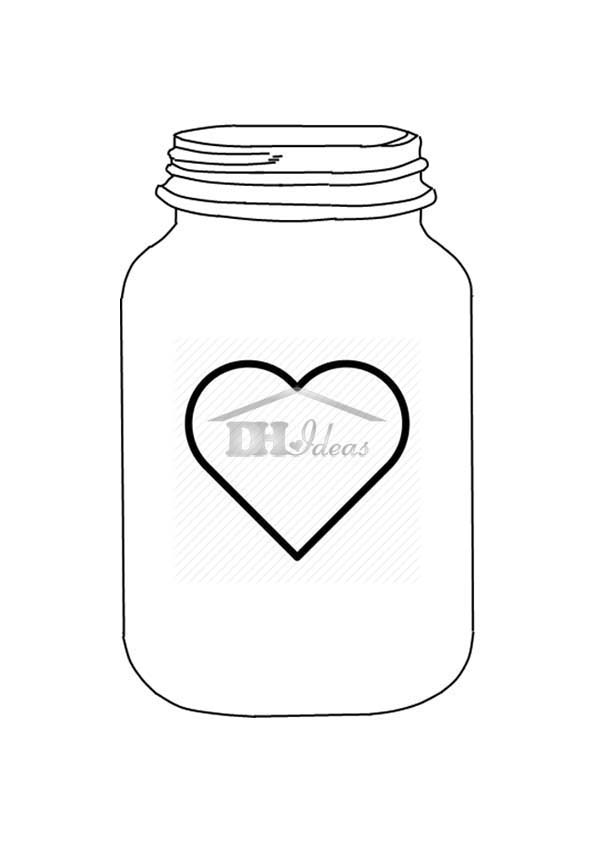
First, I had to find a Mason jar template that I could use. Believe it or not, that was quite a difficult task. (For your own convenience, we have prepared 30 String Art patterns which you can download for free.)
So after 2 hours of searching, I finally found what I have been looking for (and now I do not even remember where I found it) 🙂 As I browsed tens if not hundreds of pages until I finally found something that would do the job.
If you prefer watching the video here it is:
I thought a simple Mason jar is a very boring string art project. That’s why I added a cute heart in the middle. ( so original, right? ). There was a bit of a fitting process but finally, I had what I want! H
By the way, you can download the single Mason jar pattern and the Mason jar + heart pattern at the end of this post where there is a direct download link.
Once I had the ideal template, I started to plan the yarn color and the flowers.
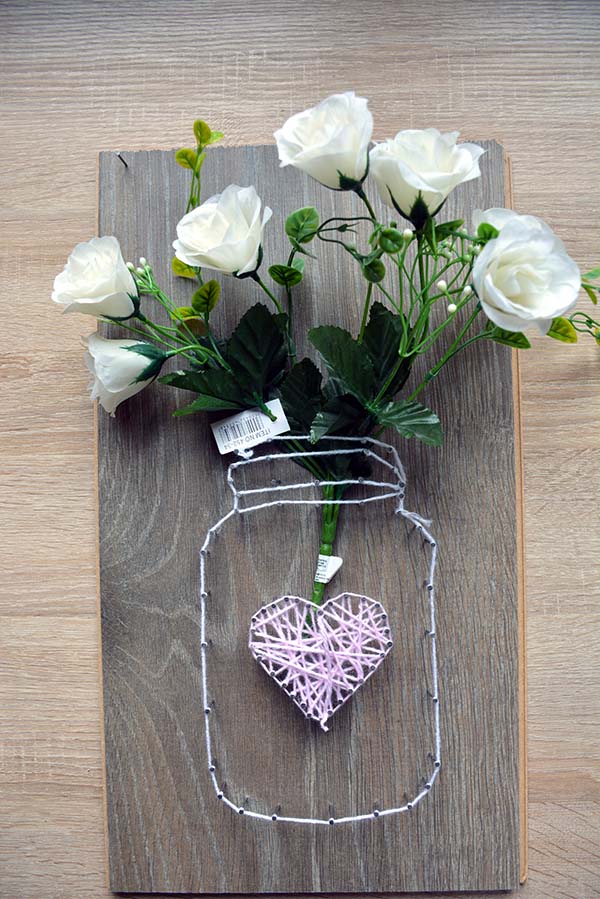
At home, I’ve found two types of artificial flowers – white roses and alpine flowers, both of which seemed very appropriate (you’ll see the final result in a little while). By the way, you can buy another type of faux florals to fit your interior and personal taste.
As for the yarn, I chose a lucent yarn in white and pink color, but you can customize by choosing
The next essential thing is the wooden pad – its kind, size and color. The Mason jar string art template can increase or decrease in the printing process so that it stays symmetrically on the pad. I had a 10×18 inch wooden pad and I used it to fit both the Mason jar and the flowers.
You can buy a wooden pad in almost every Dollar shop or you can simply use an old chopping board you don’t use anymore.
Before starting the project, place the Mason jar string art on the wooden pad and add the flowers the way you would like them to be arranged to make sure their dimensions are fitting well.
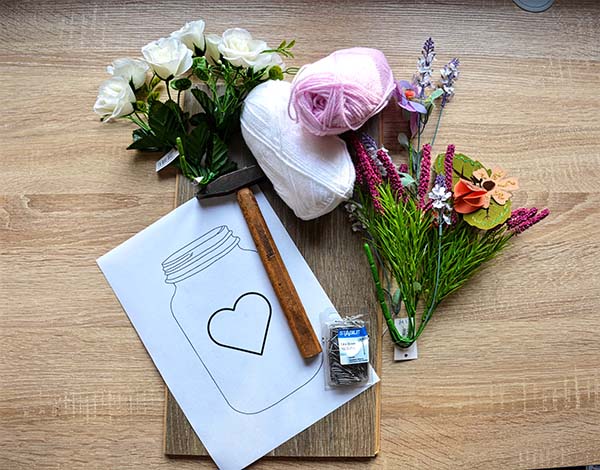
After these important notes, I guess we are ready to start creating but let’s take a look at the list of the materials needed for the Mason jar string art project.
Materials needed:
- Mason Jar String Art Pattern – download it HERE
- Computer and a printer to print it ( if you do not have a printer at home, you can copy from the computer screen – quite primitive option but it works great).
- Wood board – 10×18 inch is perfect
- Wire nails – I used approx. 80-100 pcs ( Nickel colored if possible )
- Hammer
- Tape
- 2 rolls of yarn – white and pink
- Faux flowers
- Scissors
Once you have everything prepared, it’s time to start with the creative part!
1. Place the wooden pad on a table or a flat surface.
2. On the lower part place the Mason jar template.
3. Stick the paper template to the wooden pad and make sure it does not move.
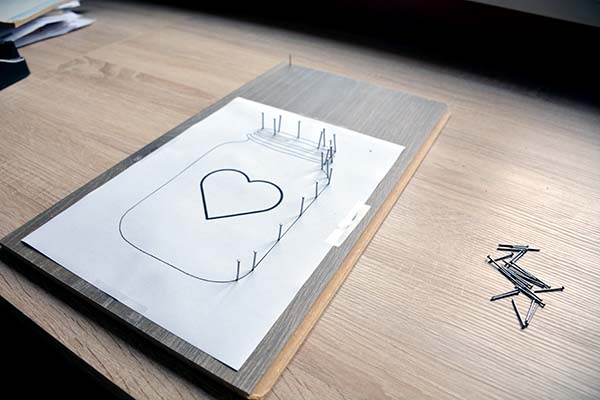
4. Start to hammer nails from the top left by following the contour. There are not exact rules and defined places, just trust your gut, where you have curves. Try to imagine how the yarn runs on the nails so that you can capture the contour more accurately.
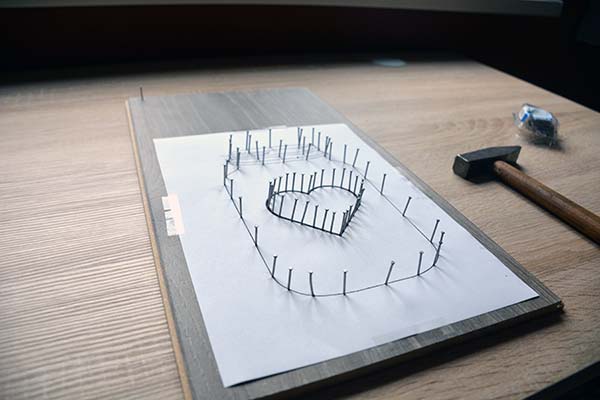
5. Once you hammer all the nails of the Mason jar, do the same with the heart in the center. Here it is better to crumble more often because you will make your heart not just with a contour but also thick colored.
Do not worry if the nails are not quite straight or even, it is important to keep the contour (and keep your fingers as well)!
6. Start with yarn straining on the nails, starting again from the top left of the Mason jar. Make a node on the very first nail, so that it does not untie. You need to wrap the string around each nail before moving to the next one.
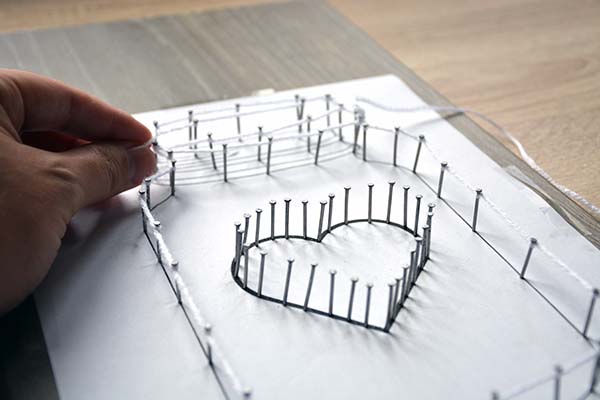
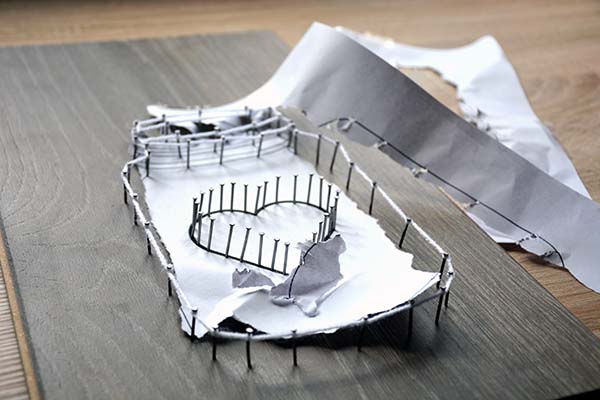
7. Remove the paper template.
8. Stretch the pink yarn across opposite nails by gradually
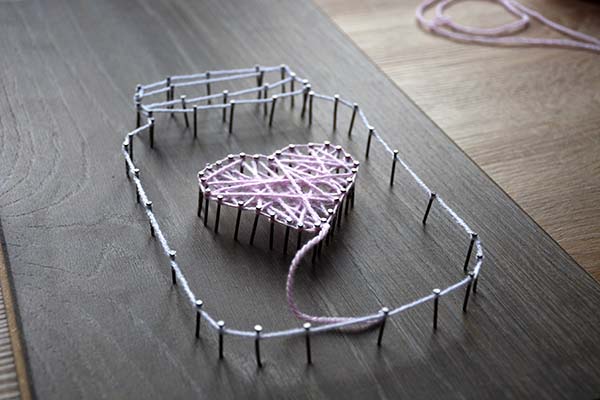
9. Arrange the flowers to your liking. 😉
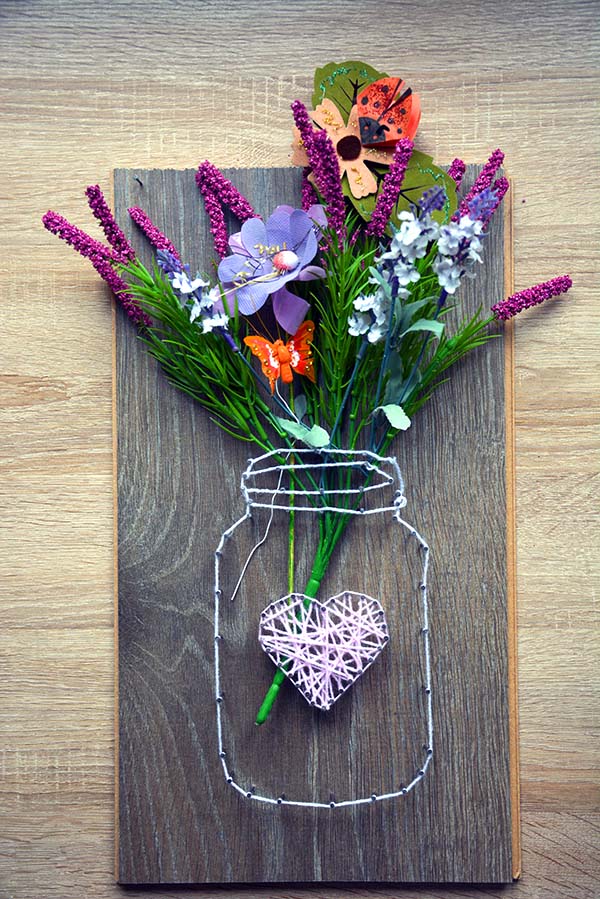
It’s beautiful, isn’t it? You can easily customize this string art project by choosing yarn in a different color or by switching the heart with the first letter of your name. Let your creativity run wild!
I haven’t forgot my promise, here are the links for direct download of the Mason Jar String Art Pattern:
Have you tried some other string art ideas? Show us!