One way to uplift the look of appliances and tools is to paint them. Since many of these appliances are made from metal, painting them may prove to be a bit challenging.
This is because painting metals is different from painting other surfaces.
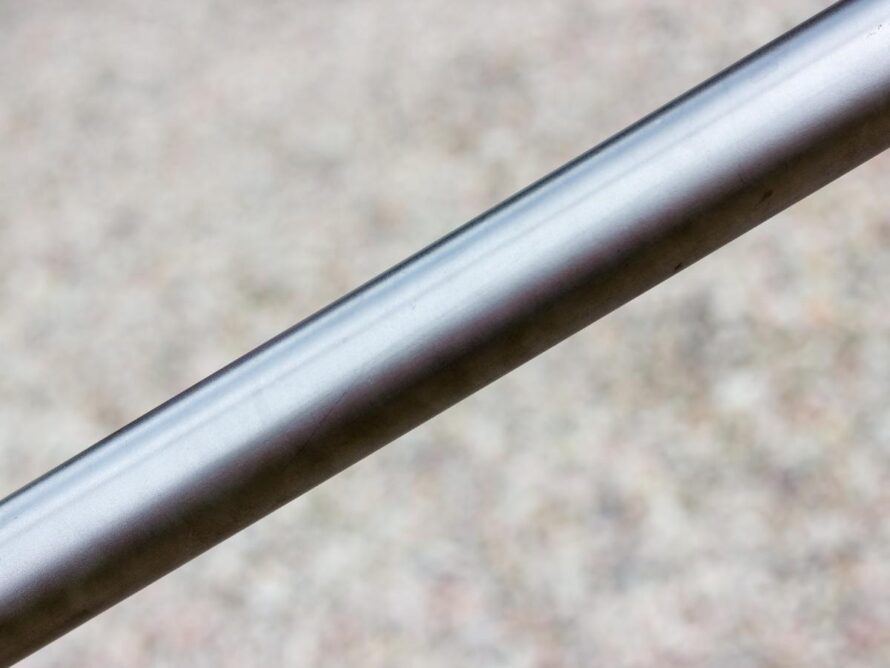
Unlike plaster and wood, paint doesn’t stick well to metal surfaces. Additionally, metal is also prone to chemical reactions like oxidation and rusting.

As such, it’s essential to use paint specially formulated for metals to control weathering and rusting and ensure the paint sticks well.
Types of Metal Paint
Metal paints may either be oil-based or water-based in spray-can or brush-on versions. While oil-based paint may be trickier to work with, it has longer-lasting results. Water-based acrylic paintings, on the other hand, are easier to work with but more challenging to find in spray form, especially for exterior use.
Here is a look at how the two paint types work.
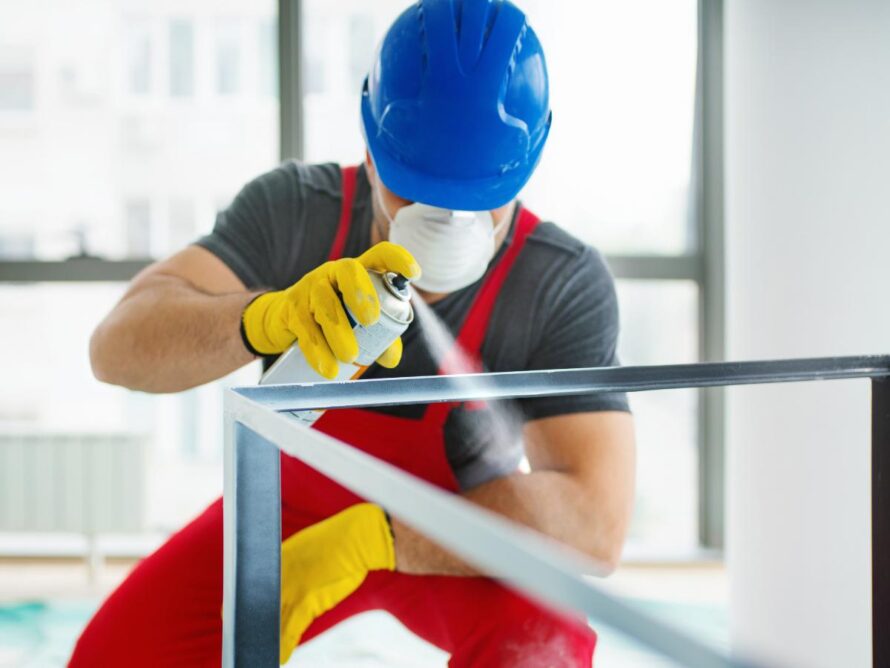
Spray-can Paint
This is the easiest paint to use when spraying metal. It works well on metal items with many contours, such as wrought-iron fences, railings, or even patio furniture. However, spray-can paints neither produce smooth nor uniform finishes like brush-on paints. You may also need to paint several coats before you get the desired finish.
Good ventilation and a respirator are crucial when using this type of paint. Most spray-can paints are oil-based; finding a water-based spray paint may be difficult.
Brush-on Paint
Using a brush to paint your metal appliances or items may take considerably longer, but the finish is smoother and more durable than spray cans. A variety of water-based and oil-based brush-on paints are available.
Preparation
Using a primer is crucial when painting metals if you want good results. If the metal surface has been previously painted, you must remove the old paint. You also need to clean the metal out of any dirt, grease and debris using a scuffing pad, sandpaper or a wire-brush tool.
If the surface is smooth and has no blemishes, you’ll still need to scuff it up with sandpaper so that the primer can easily adhere to it. The sandpaper or scuffing pad will also help clear any metal imperfections.
Safety Considerations
Safety is paramount when taking on a DIY project. Wear a dust mask or respirator, gloves, and protective goggles. Work in a well-ventilated area to minimize any effects the paint may have on you. When removing rust using a wire rotary tool, wear earplugs to prevent ear damage.
Requirements
Tools
- Earplugs
- Googles
- Scuffing pads
- Shop rags
- Dust mask or respirator
- Wire brush or wire brush drill attachment
- Natural bristle paint brush (optional)
Materials
- Acetone
- Water-based acrylic paint or oil-based paint made for metal
- Rust remover (optional)
- Mineral spirits (optional)
Instructions
1. Identify the Metal
Just like when painting any other metal surface, it’s essential to identify the metal your washer and dryer are made of before painting it. Different metals will require different primers. The two main distinctions are ferrous (iron-based) and non-ferrous metals.
Ferrous metals include cast iron, steel, and wrought iron. As they’re iron-based, ferrous metals are susceptible to rust. If the area was previously painted, you’ll likely notice signs of rust on the chipped paint.
Non-ferrous metals include zinc, copper, aluminum, and stainless steel. These metals use a primer different from that used for iron-based metals. For ferrous metals treated with a thin outer layer of zinc to prevent rusting, you can use the same primer as non-ferrous metals during the priming process.
2. Remove Old Paint and Rust
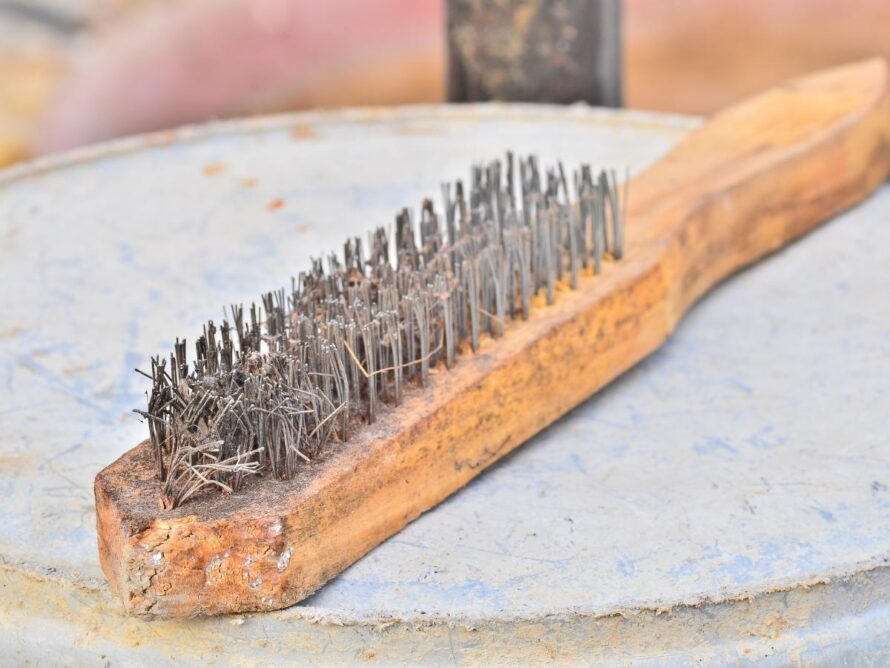
Using a wire brush, remove any loose or flaking paint, ensuring you remove as much surface rust as possible in the process.
If you notice a handheld wire brush is ineffective, consider using a grill by attaching a grill wire brush attachment. This is especially true for highly degraded surfaces.
If the rust has spread deep into the metal’s surface, soak the object in an appropriate rust remover and follow the manufacturer’s instructions to remove the rust. Once you’ve removed the rust, wipe the surface with a clean, damp cloth to remove any leftover rust, dust, or debris.
Wipe the metal with a shop rag dipped in acetone to remove any leftover grease. Once the acetone dries, it’s time to scuff up.
3. Scuff Up the Metal
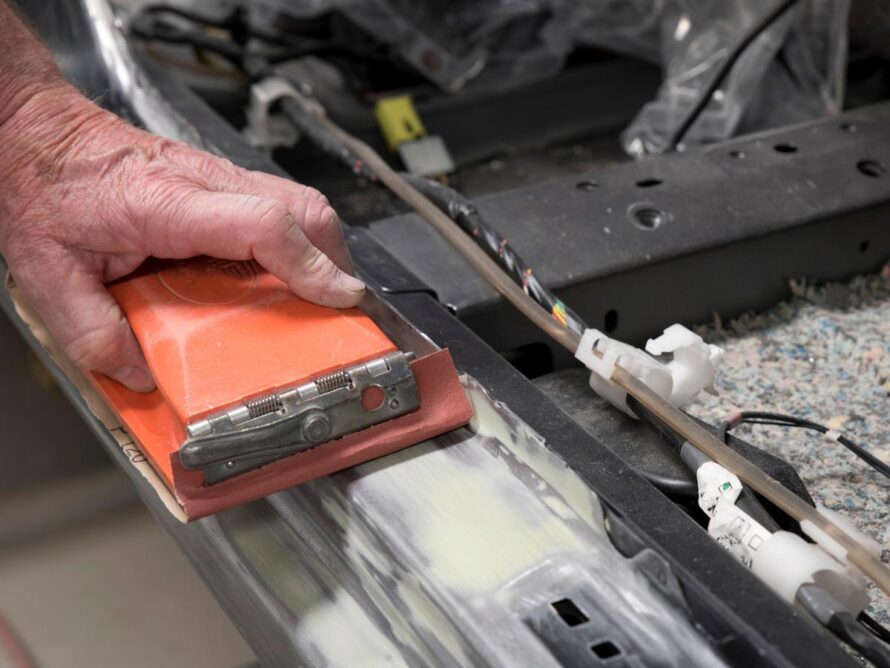
Once you’ve cleared the paint and scrubbed the metal until smooth, use a scuffing pad to rub along the metal. This will etch the surface of the metal, allowing the primer to stick more effectively.
Full sanding of the surface is usually unnecessary unless the metal is badly corroded. When working with galvanized metal, full sanding can remove the zinc layer and make the metal even more susceptible to rusting in the future.
4. Prime the Metal
As previously stated, priming metal before painting is crucial. It will prevent rust from quickly bleeding through the new paint. Primer also increases the effectiveness of the paint by making it easily stick to the metal.
If you could not remove all the rust on the metal in the previous step, you could coat it with a zinc chromate primer specially formulated for coating rust.
Once you’ve coated the surface with this primer, apply a second coat of self-etching primer. The primer should be designated for the type of metal you have, either ferrous or non-ferrous, and incorporate a self-etching component.
Ensure you read the label on the paint to confirm that metals are the intended surface. Lastly, you need to verify that the primer is compatible with the paint you are planning to use since, like paints, primers can be oil-based or water-based.
Follow the instructions on the primer paint closely, as they have varying drying and cure times. Straying away from the instructions could ruin the whole process. If you’re using the metal or equipment outdoors, use two layers of primer to help delay the oxidation process on the metal.
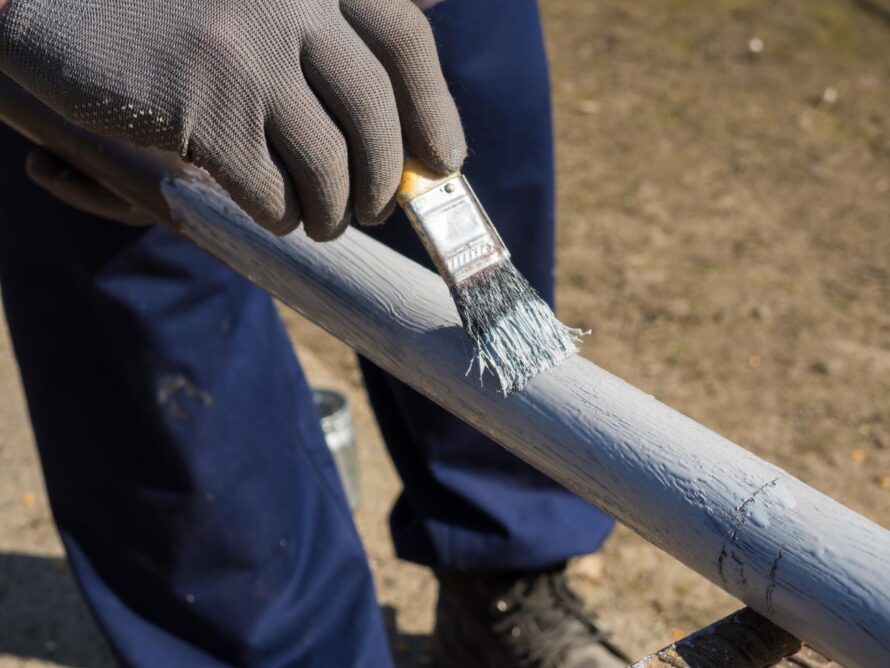
5. Apply Paint
If you’re wondering whether to use a paintbrush or spray paint for your metal surfaces, using a spray paint can is the easiest way to paint such surfaces. Even though it’s faster, it doesn’t create a smooth or high-quality finish.
Here’s a guide on how to use spray paint:
I. Shake the can thoroughly to mix the paint.
II. Hold the can about 6 to 12 inches from the metal object you want to paint. This will prevent the paint from pooling. Start spraying the metal using long, sweeping motions (don’t hold it in one spot for too long). If you notice excessive dripping in the spraying process, wipe the paint clean and start the process again.
III. For optimal results, apply three thin coats of spray paint and let them dry before applying the fourth layer.
IV. When using oil-based paint, you can combine spray paint with brush-on paint for a longer-lasting finish. Painting the metal object creates a thicker surface that is likely to last longer.
For paintbrush painting, follow the following instructions:
I. Mix the paint following the manufacturer’s instructions on the brochure or label purchased with the paint. If the paint still feels too thick, you may need to use mineral spirits to thin it down.
II. Once the paint has reached a desirable consistency, use a high-quality natural bristle brush to paint a thin layer on the object. Pro tip: Oil-based paints have a dry, smooth finish, so you don’t need to worry about brush strokes as the paint dries if you use a high-quality natural bristle brush.
6. Let the Paint Cure
Once you’ve painted the metal, it will take about 36 to 48 hours to cure. When drying, ensure the object is in a well-ventilated area that is not affected by direct sunlight or extreme temperatures.
When to Seek Professional Expertise
If your items have extreme amounts of rust, you may need to contact a professional painter to examine them and see if the metal is salvageable or if they can be restored.
You can take your washing machine and other metallic equipment to an auto body shop to have professional work done on them. While you are likely to get a high-quality finish from professional contractors, it may be a bit costly.