I’ve been looking at spring centerpieces on Pinterest for so long and finally decided to create one by myself.

Don’t forget to PIN this image!
I’ve been looking at spring centerpieces on Pinterest for so long and finally decided to create one by myself.
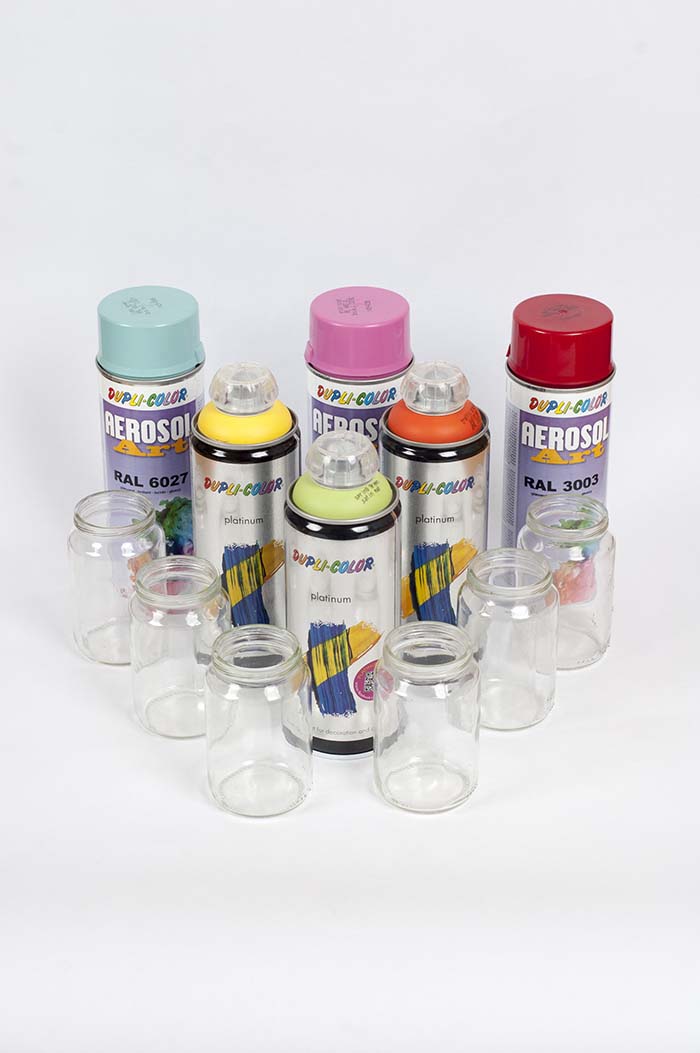
I’m not pretending to be very creative, but I had some paint left from my Valentine’s Day Mason Jars project and bought some more baby pastel colors to have 6 different colors.
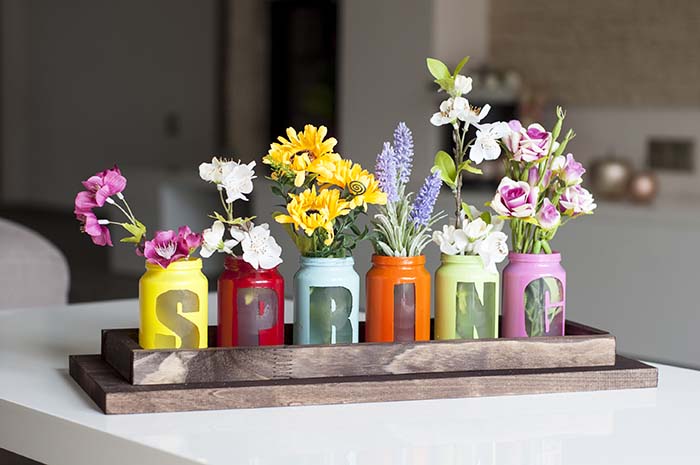
Why 6? Because I wanted to create the word “SPRING” ( I was thinking “EASTER”, but selected the more broad “SPRING” ) in 6 different colors for each letter.
I also thought putting some lights in the jars would be cool, but later on, I didn’t like the result, so lights are not needed for this project.
Step-by-step tutorial:
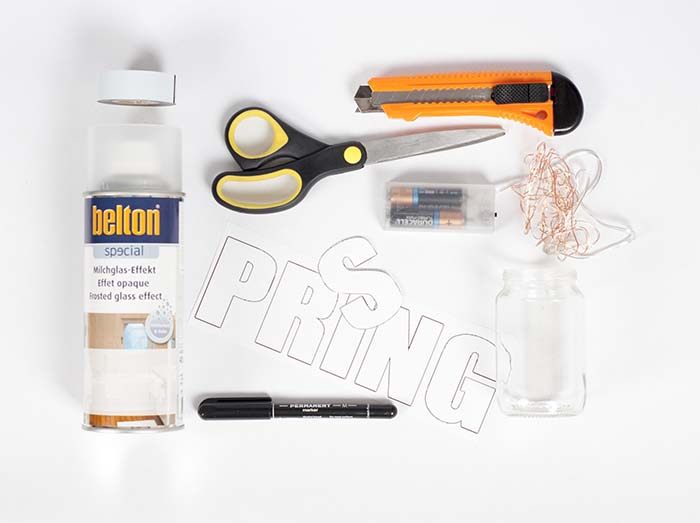
Materials needed:
- Spray Paint – choose a color of your choice ( 6 different colors preferably bright pastel colors)
- Letters Template – you can create your own and print it
- Matte Spray – if your jars are not matte finished, you would need a spray to make them frosted
- Mini Jars of your choice (any glass jar would work)
- Tape (I did choose electrical one)
LED string lights (with batteries)– not needed- Permanent Marker
- Box Cutter Knife (or a very sharp kitchen knife)
- Scissors
Additional supplies for the wooden tray (not required): wooden plate, 0.5×1″ wood, sandpaper, stain, glue and/or nails
Step 1:
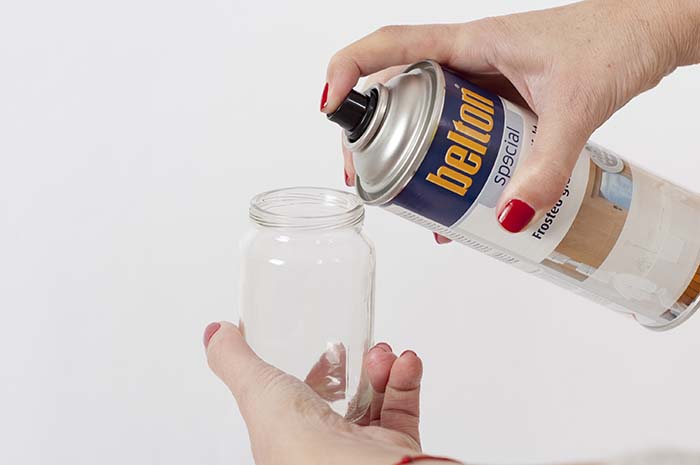
Spray paint jars on the inside with the matte spray and let them dry! It’s a little tricky to make it smooth so probably you would need some time to get used to it and create a perfect frosted jar.
Don’t worry, most of the jar will be painted later, so you don’t need to be perfect with this part of the project.
Step 2:
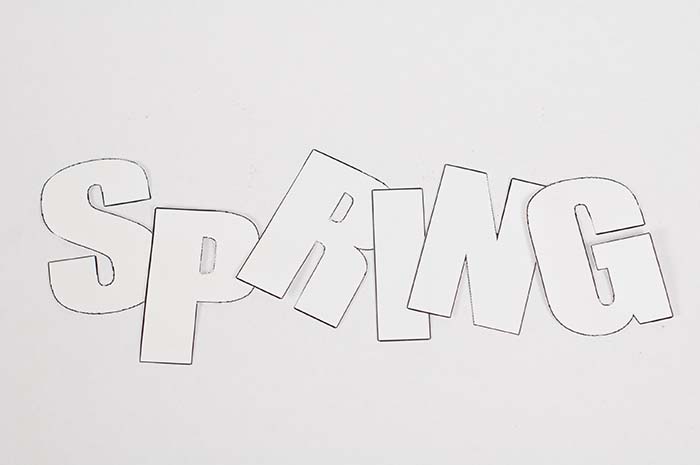
Print the letters and cut them with the scissors. You can create any word, “SPRING” is just an example.
Step 3:
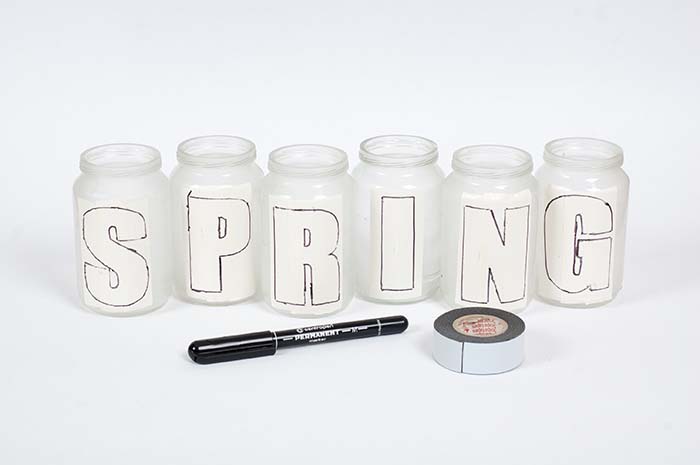
Stick a few tape strips of the patch vertically onto each jar so that it can fully hold the letter.
Make sure that the patch is tightly glued, otherwise, the paint will come in, which you must then clean.
Put the letter on the strips of tape by holding it with one hand centered and upright, and with the other hand using the marker, outline the contour.
Step 4:
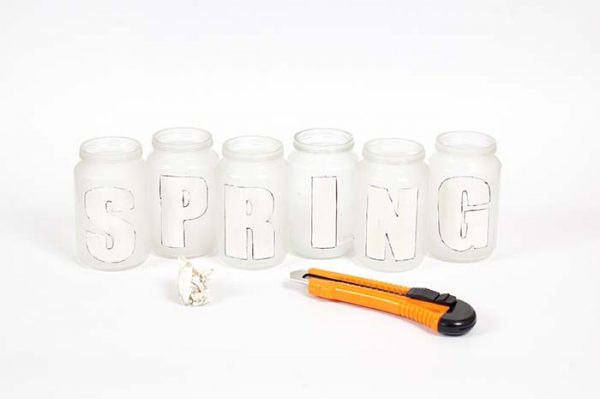
Cut the letter along the contour with the box cutter knife. Be careful, this process requires lots of precision and attention.
Make sure you won’t ruin your letter pattern and cut some of your fingers with the knife.
After cutting all letters along the contour, gently peel off the patch around them.
Now you are ready for the fun part – painting!
Step 5:
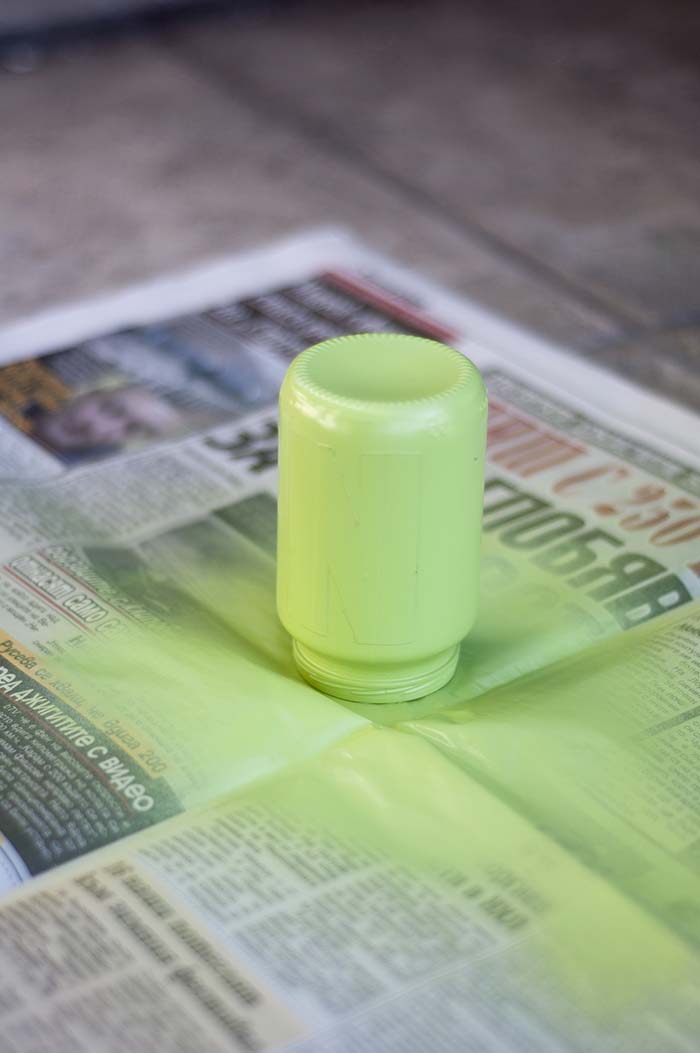
Put the jar on a newspaper so that you protect the surrounding surface. It’s not very easy to remove this paint if you accidentally spray over some other surfaces.
Keep in mind that the spray tends to glide, so, in order to make it even, you can first try a piece of wood or another useless object to get used to the force of pressure.
After finish with the painting, wait for the jar to dry out (at least for 24 hours) and if necessary, you can make a second layer.
Be careful with the black permanent marker that can be easily degraded by the chemicals in the paint and starts leaking on the already painted surface.
Therefore, it is nice to cut the contour with the knife on the inside of the heart so that no marker remains on the tape.
Step 6:
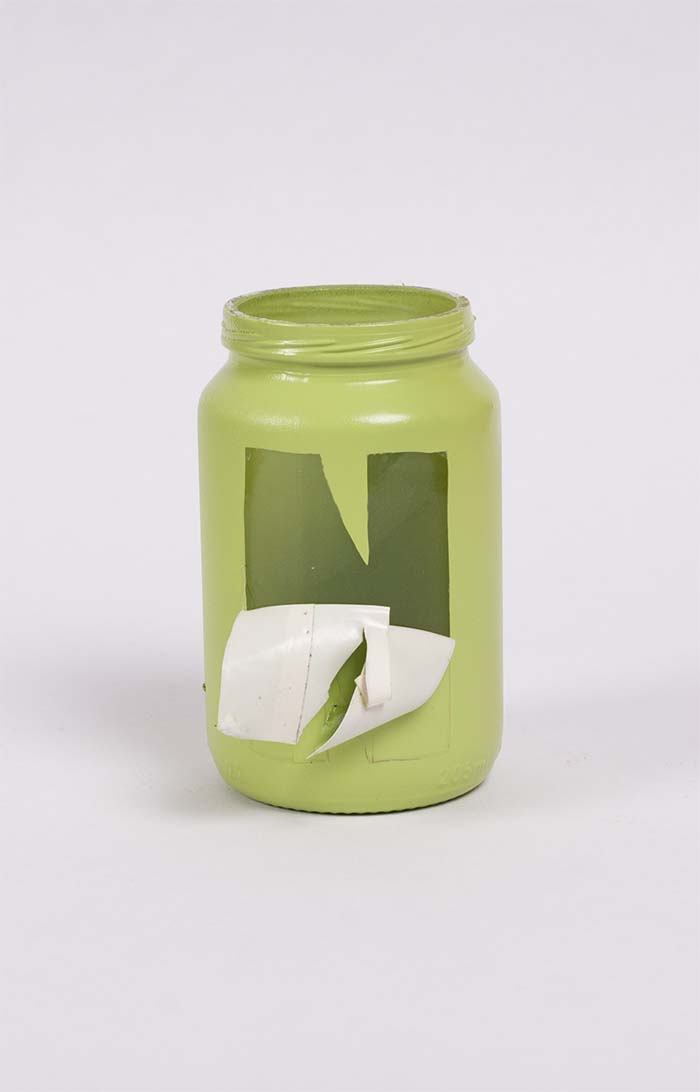
Once you’re done with painting, gently peel off the patch to leave only the shape of the letter.
Step 7:
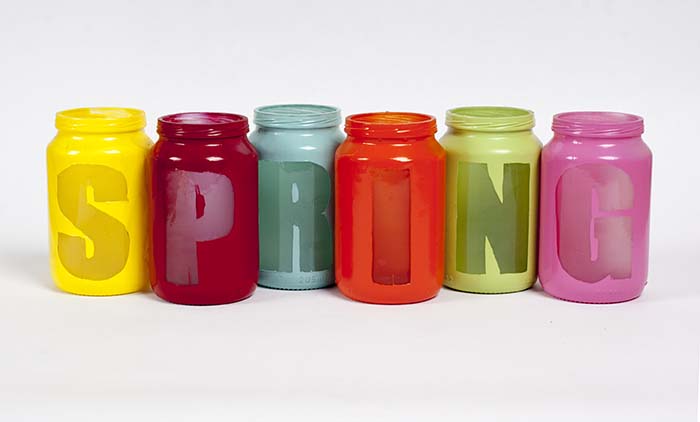
Now you have all 6 jars with letters painted and ready to decorate with flowers.
Step 8:
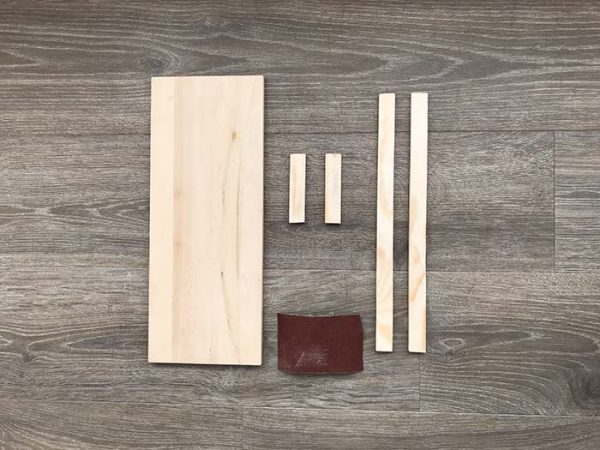
You can buy some wooden tray or try to make one, like I did. It’s not very difficult. Just cut the wood to appropriate dimensions, stain it and glue all the pieces together.
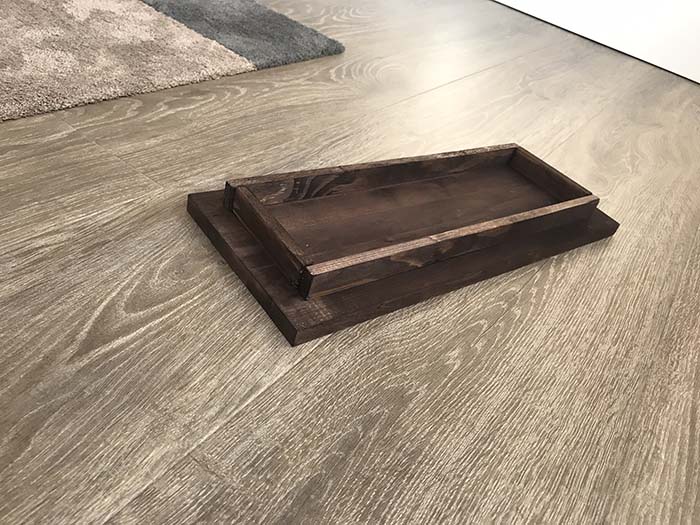
Here is my wooden tray.
Step 9:
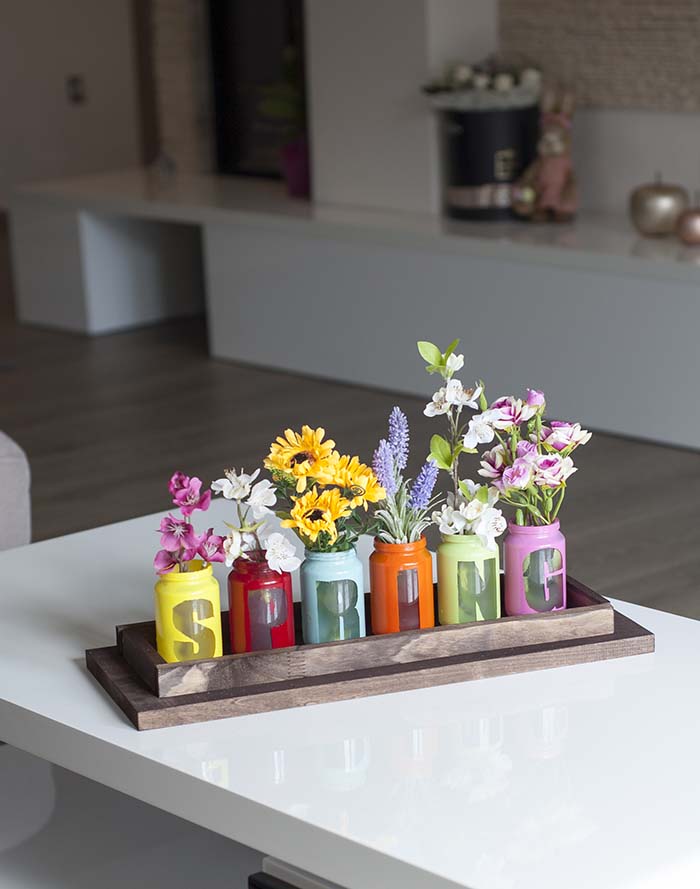
Decorate with some flowers. I’ve got some faux flowers, but you can use fresh spring flowers if you like.
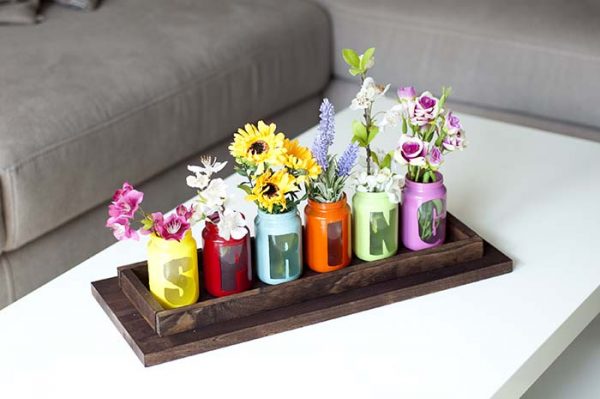
…and here is the final result.
I hope you enjoyed it! You can see more Spring Centerpieces Ideas here.