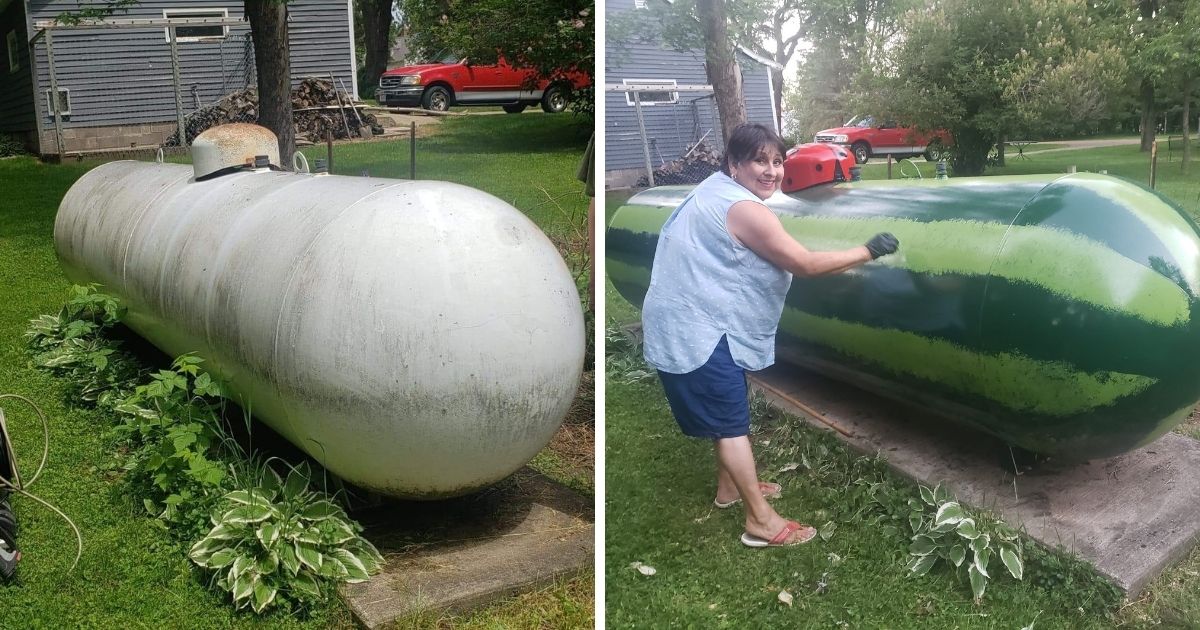
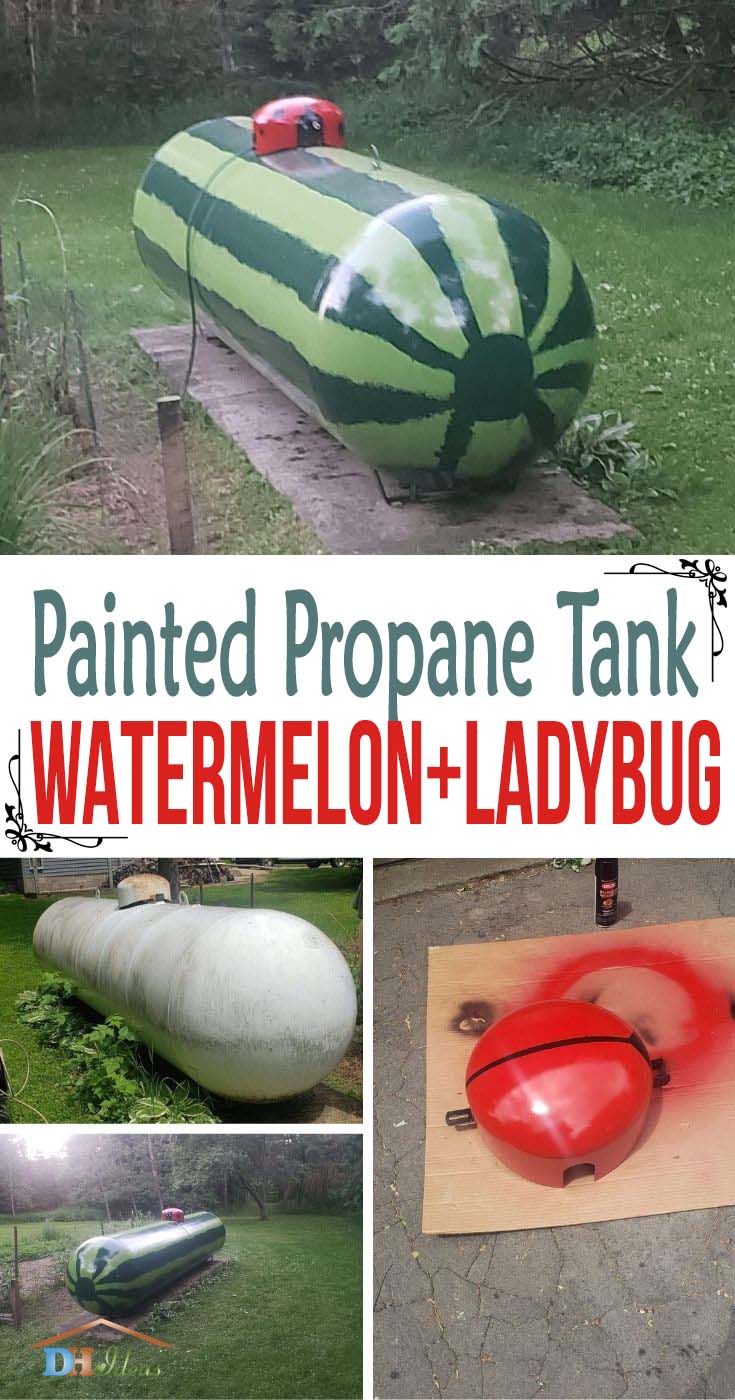
This is one of the most adorable designs you’ll see on a propane tank. If you have an eye-sore like this or just some older propane tanks for a gas grill that are looking unsightly, why not paint them?
Painting a propane tank isn’t any more difficult than painting other metal pieces. Yes, there are some rules you should follow and we’ll cover those as we go along.
The reward is turning what could be an eyesore into a wonderful work of art and a project you’ll be proud to show off.
Let’s take a look at what the original poster ( Kelly Windsor McRae ) wrote about her project and then take a deep dive into how she did it.
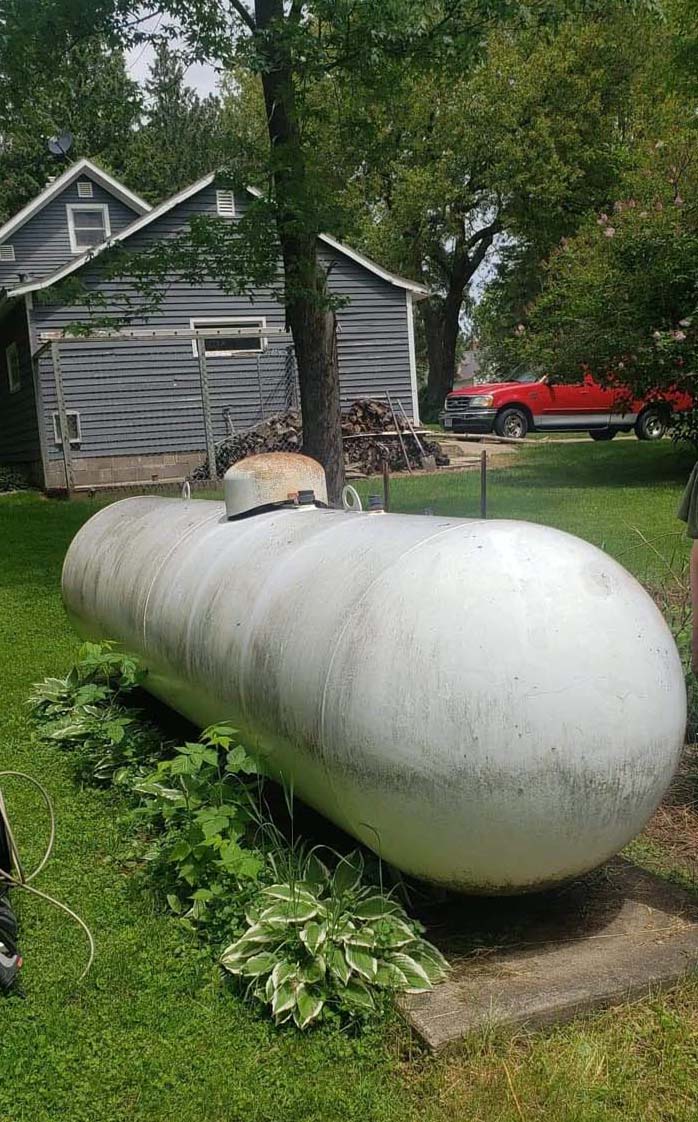
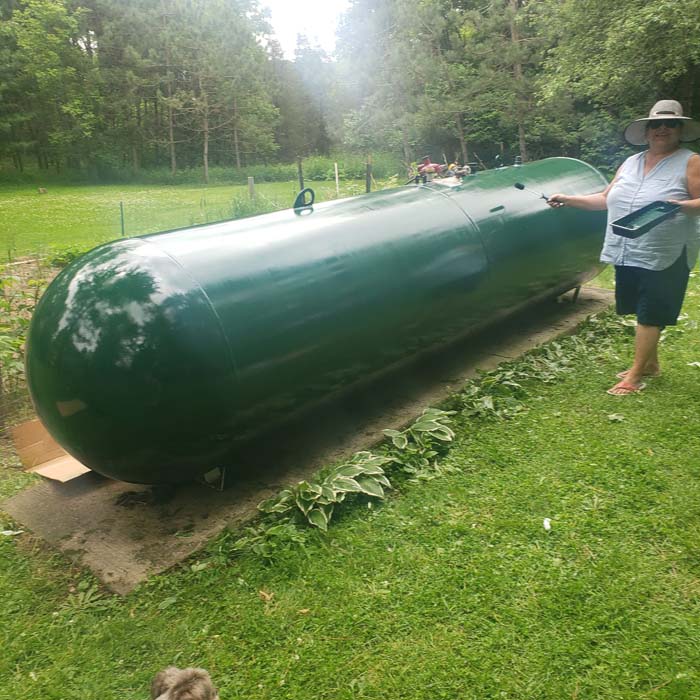
“I had such an eyesore next to my vegetable garden, (propane tank) Called my l.p. company and asked if I could paint it. She informed me, if we own the tank we can paint it. Also, if it gets more than 8 hours of ![]() sun you can only paint with a light color. Well, lucky for us we live in the woods and my tank only gets 4-5 hours of sun.
sun you can only paint with a light color. Well, lucky for us we live in the woods and my tank only gets 4-5 hours of sun.
I also was told to use metal paint, Rustoleum paint brand, is the popular brand, Ace metal paint is $20 00 less a gallon, and worked great!
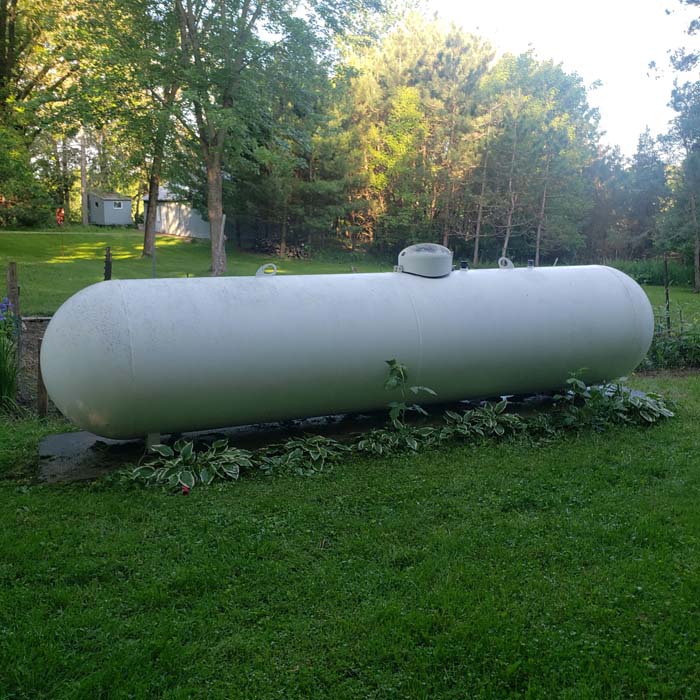
****I got permission from my LP company. I live in Wisconsin in the middle of the woods,my tank only gets 4 -5 hours of sun in the summer. In the Winter it gets more sun, however, it’s only 30゚and below,
It’s also a 1000 gallon tank and we do not fill it to the brim. They allow expansion. I’ve done all my research. I suggest all of you to do your research, if you want to do the same project.
Thank you all for your kind kind words!![]()
![]()
![]() It was such a fun project!!
It was such a fun project!!![]()
![]()
![]()
So happy how it turned out!!![]()
![]()
![]()
I got my idea from Pinterest!!![]() “
“
Let’s see how and how you do try something similar.
Materials Needed
Sanding Block. 60 or 80 Grit
Cleaning Supplies. Detergent, water, metal brush for rust.
Metal Primer.
Paint. The rule of thumb is to paint it a light reflective color. As you can tell, this isn’t the case here. You’ll read in the OP’s description that her home is in a wooded area with only four to five hours of sunlight in the summer. The National Fire Protection Agency in the United States has set guidelines on what colors are generally allowed.
The heat of the sun will cause the tank to expand and contract. This can be a fire hazard if not taken seriously. You can still get creative, but be sure you stay safe.
The only type of paint you should be using are those that are designed for metal surfaces. If you have ever tried to paint a steel framed bicycle or metal patio furniture, you’ll know why. These paints have a rust inhibitor. They keep the metal from rusting and they keep the paint from peeling off.
Check with your local hardware store. They’ll guide you towards paints that have been developed specifically for propane tanks.
Now that you’ve got all of your materials together, let’s get to work.
1. Sand the Tank
Use a wire brush for removing any tough rust spots. Give the entire tank a thorough sanding to remove built up dirt. This is when you want to make sure your tank is in good condition.
2. Thoroughly Clean Your Tank
Once you’ve sanded it smooth, clean the surface of debris. Use what you have. A pressure washer, rags. A natural degreaser and good rinse will work wonders.
Don’t be quick about this. Any remaining dirt can cause your paint to peel. Once it’s clean and rinsed, let it dry completely.
3. Prime the Surface or Don’t
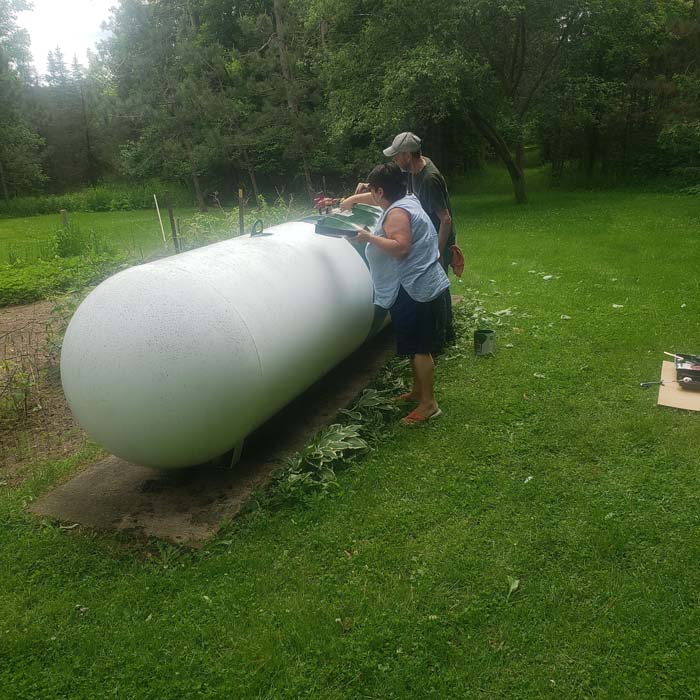
Optional: The dome cover was removed before painting on the primer. Apply the primer using a side-to-side motion. Follow the primer’s instructions on how to apply it to the top and underneath. Be sure and cover rust spots completely.
4. Paint the Tank
This is where you and the original poster will probably part ways. Remember that she had permission to paint her tank a dark color because of where she’s located and how much sun she gets. However, there’s nothing stopping you from painting a brightly colored fun and funky design on your tank. Minions, cows, and yellow submarines are very popular with the “tank” crowd.
5. Paint the Dome Cover
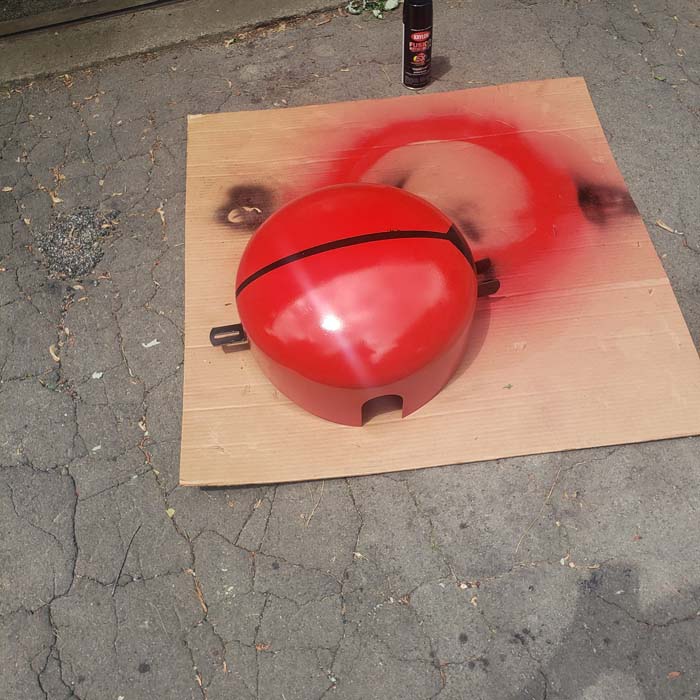
The adorable ladybug gets special attention. It’s a stripe of black with a base coat of red. Black spots are added using a basic circle stencil.
6. Add Stripes
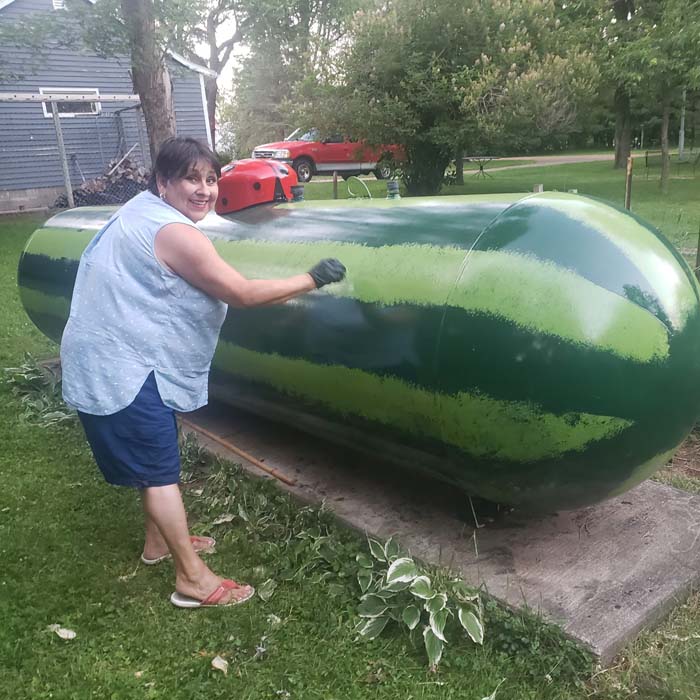
You can see she went over the original dark green with a lighter yellow-green. One of the easiest ways to do this and save on sponges is by painting the stripe and then, using a plastic bag or plastic wrap, remove paint using the same dabbing motion you would if you were applying a marbling effect.
You may or may not have to apply a sealant over your piece. It will depend on the paint’s instructions.
7. Reattach the Dome Cover
It’s time to introduce the ladybug to her new home. The final step in this project was reattaching the dome cover. Note how a couple of eyes were painted on the front of the dome. Someone is always watching the house!
8. Close-Up of the Dome Cover
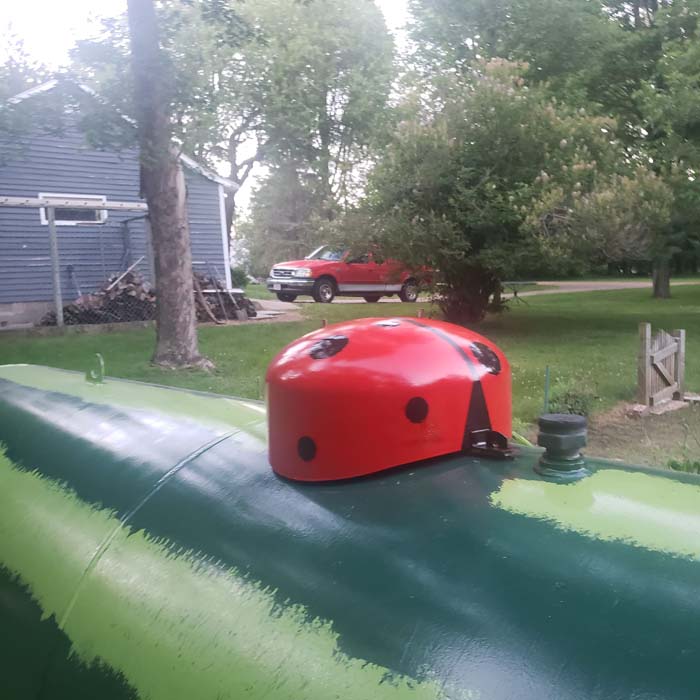
Here’s a closer picture of the ladybug. You can try other types of woodland creatures like a rabbit or duck. The cap is easy to remove so you can easily change the look just by painting this one piece.
You can also see how the light green paint was smudged off to give it a more natural look.
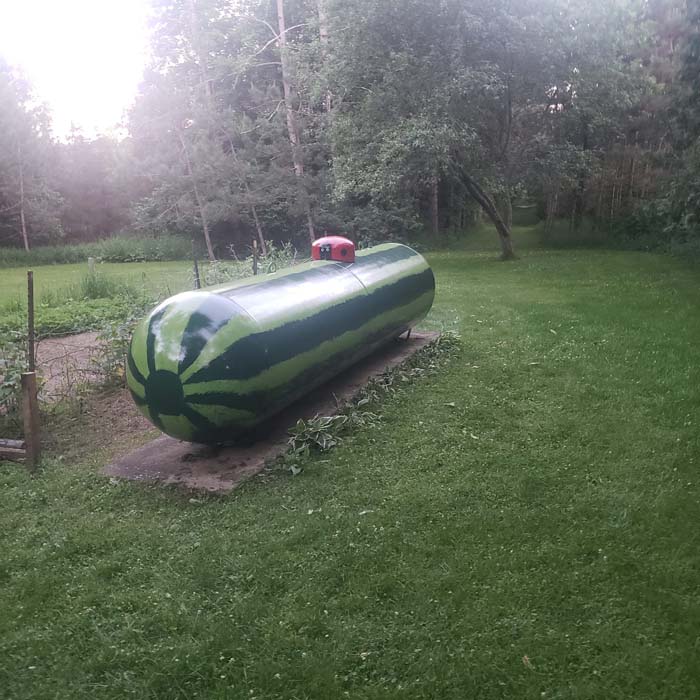
9. The Finished Piece!
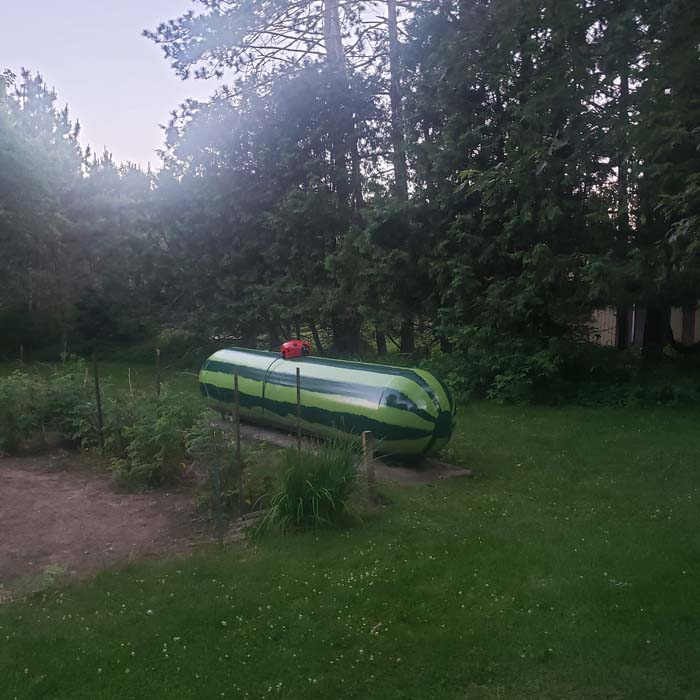
It’s a fun way to turn an eyesore into a fun piece of whimsy in your garden.
Are you ready to give it a try?
Project created by: Kelly McRae