Its the most magical time of the year and you are looking for your annual Christmas tree to fit perfectly in your home, you want to stand out from your friends and family so you go on Pinterest for new ideas and DIY’s that other people have tried because you really want something special, but what if I told you that I have the perfect idea right here, that is easy and simple to do and will work in any home.
The best part? It requires little to no effort and is cheap to create which fits every holiday budget since you already have so much else to worry about.
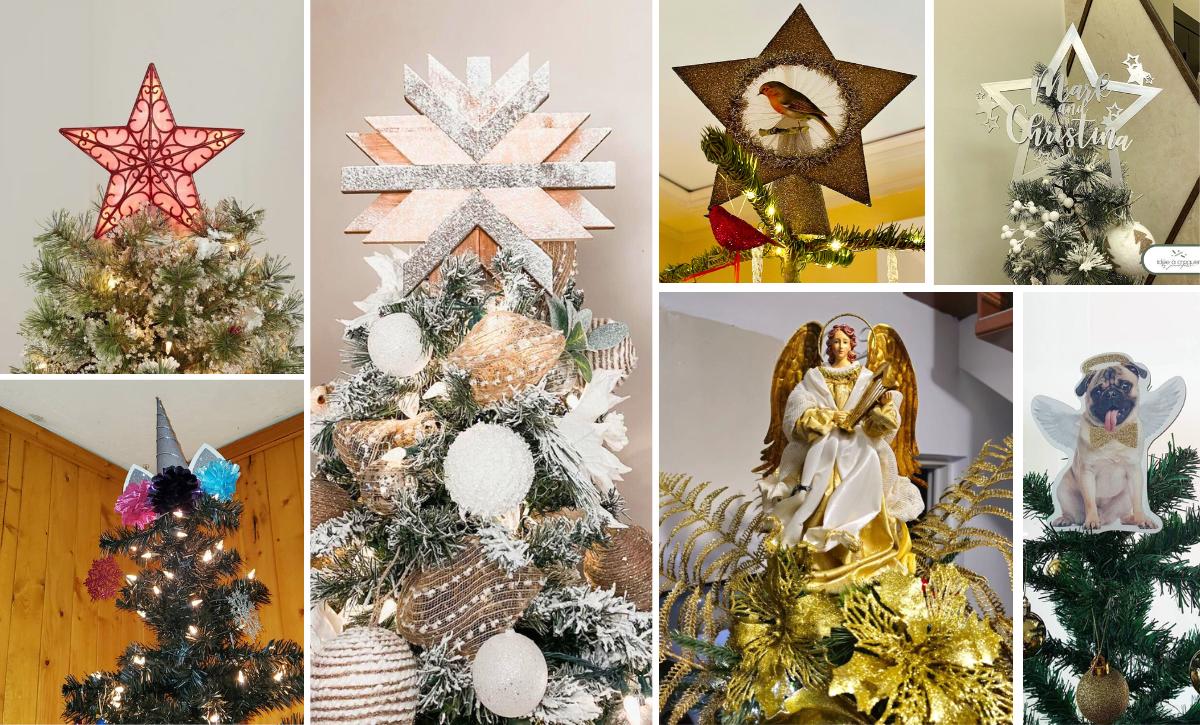
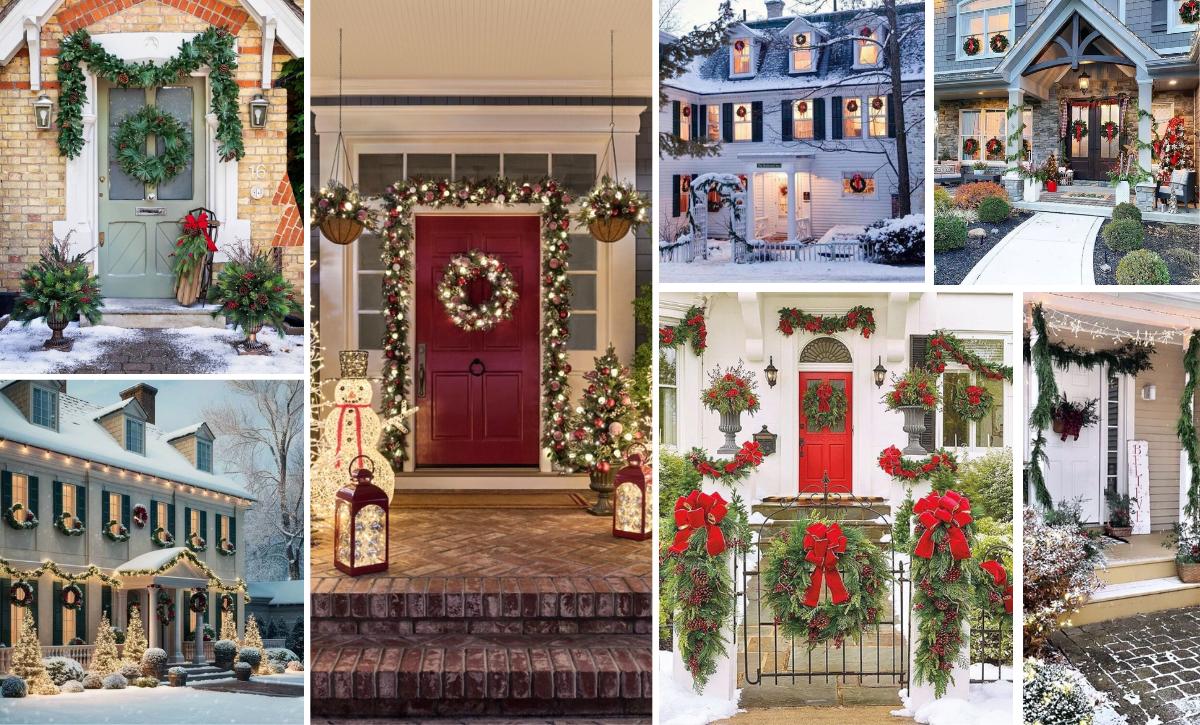
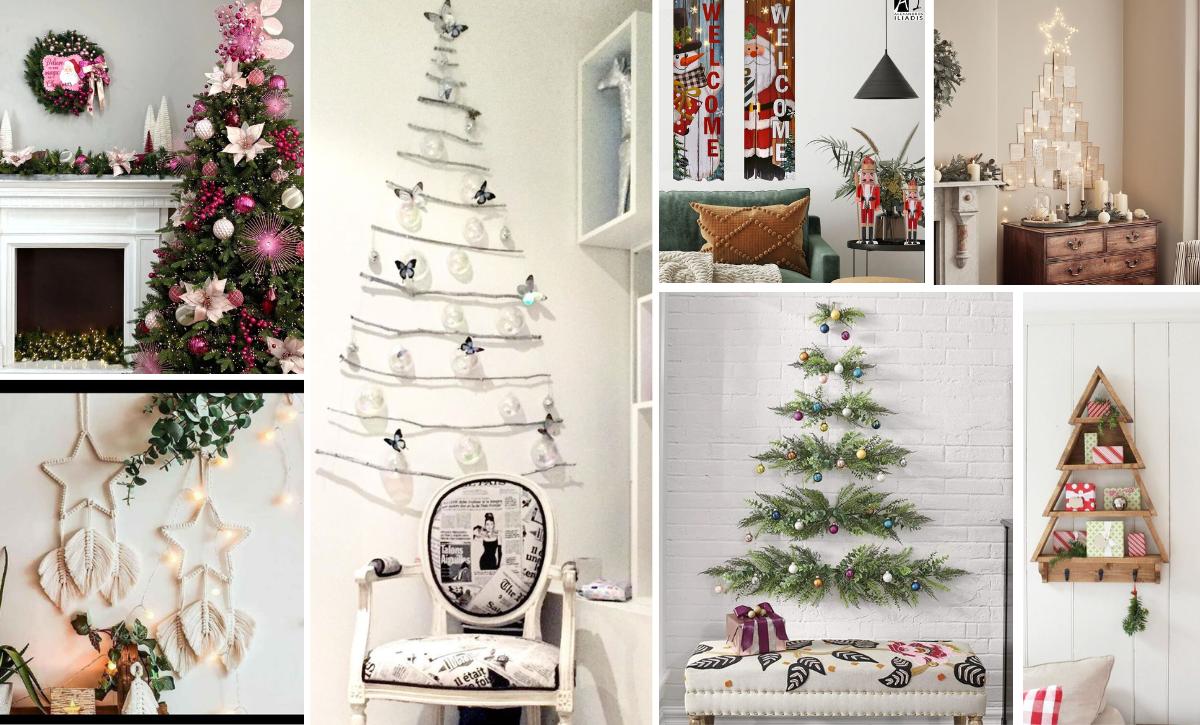
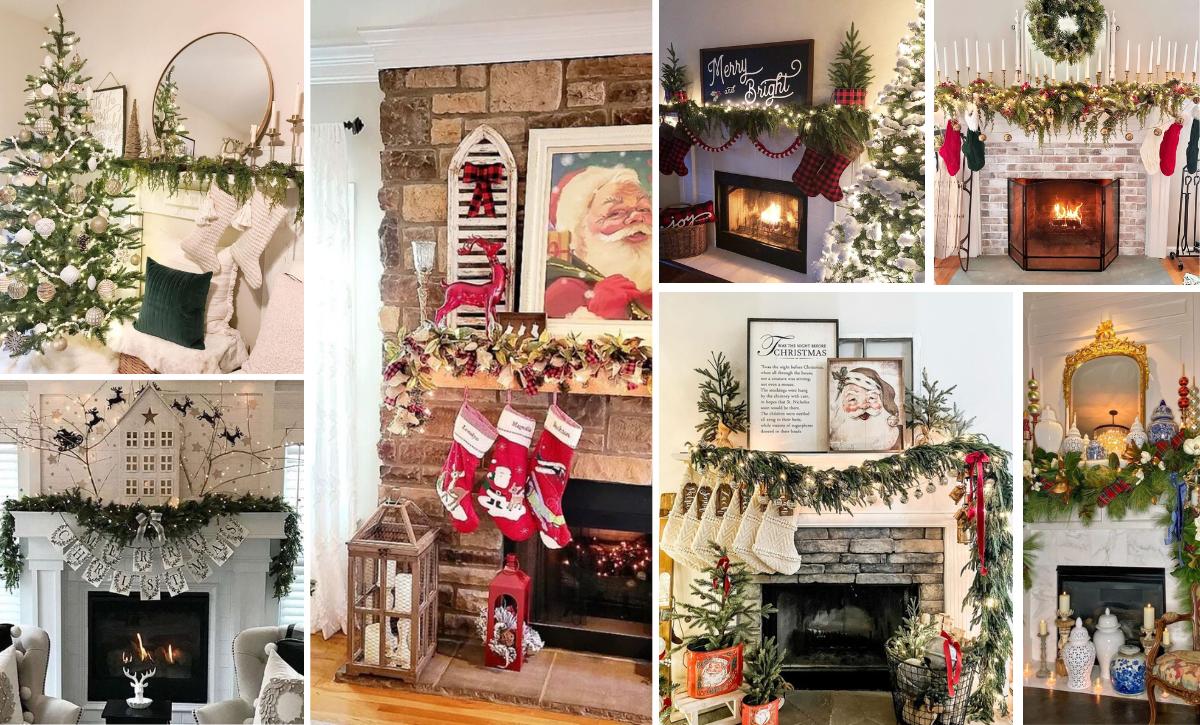
This year I was thinking about something different for the holidays, so I started looking for unique Christmas trees that I could get inspired from.
I was really impressed by all the ideas and designs created by all the people around the world. There are Christmas trees made out of pallets, books, garlands and even pillows.
You could see all these brilliant ideas here: 30+ Unique Christmas Trees ( Ideas & Designs ) – it’s my list of the most creative ones.
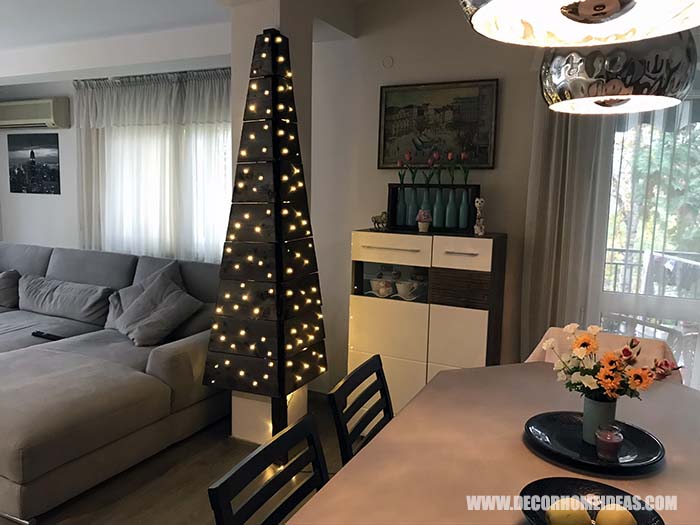
Anyway, I posted this photo:
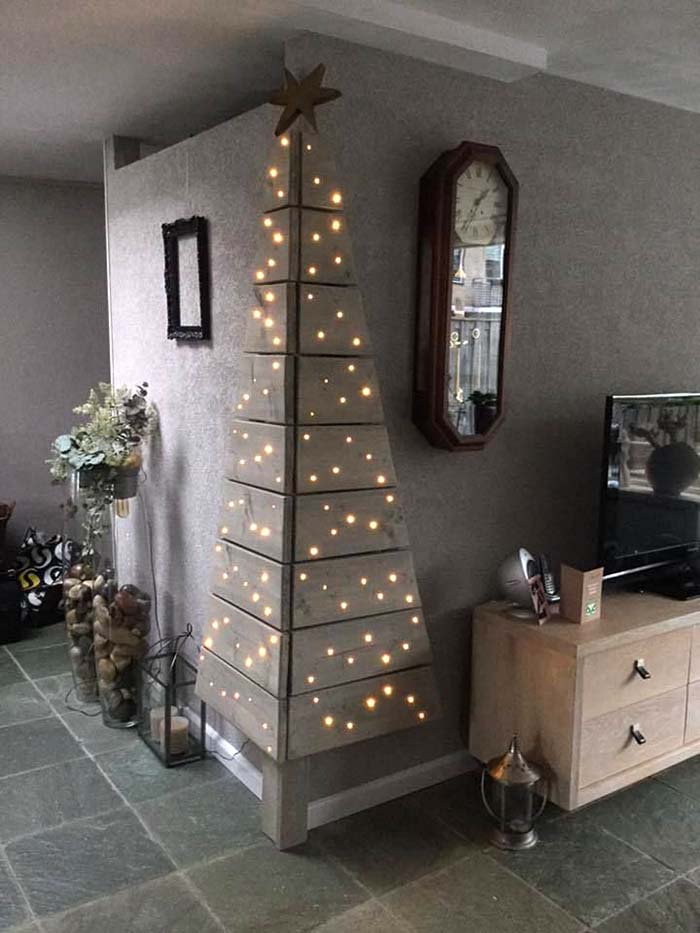
to our Decor Home Ideas Facebook page and people really liked it. They were asking where to buy a Christmas tree like this or at least get instructions on how to DIY.
Despite the fact that I tried really hard to find out more about this photo and who might be the author, all I have found are websites that are resharing it without any link to the original source.
I thought the photo had enough details for me to make the same Christmas tree so I have made one myself and will share step by step instructions on how to DIY.
If you prefer watching a video here it is:
The first thing to do was getting some material proportions from the photo to have the base. It looks like the whole tree is 6.5 ft ( 2 m ) tall.
The column is 4 in x 4 in ( 80 x 80 mm ), but I used smaller one and it turn out great.
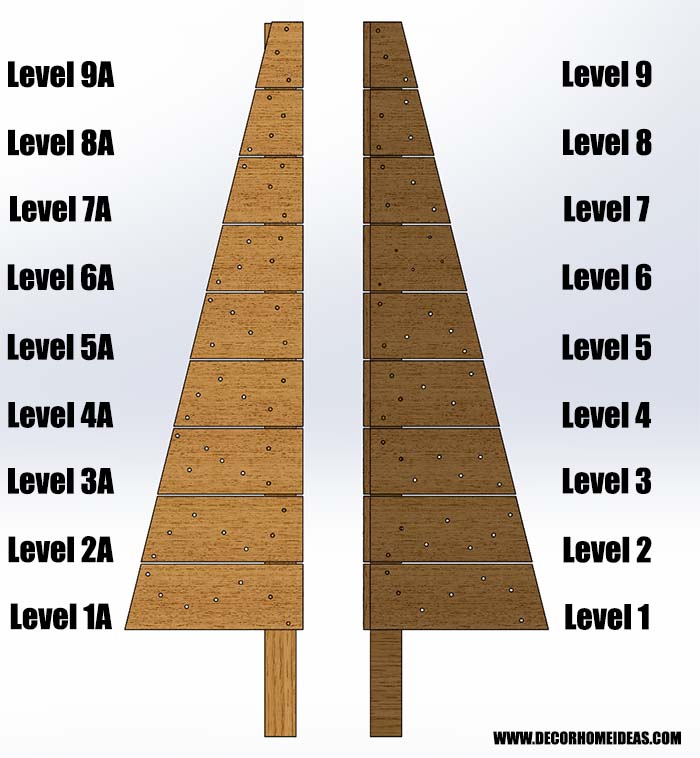
The Christmas tree is made out of 9 leveled boards and the first one at the bottom is 20 in ( 50 cm ) long. Boards are 8 in ( 20 cm ) wide and 3/4 in. thick.
Here is the Christmas tree 3D blueprint view:
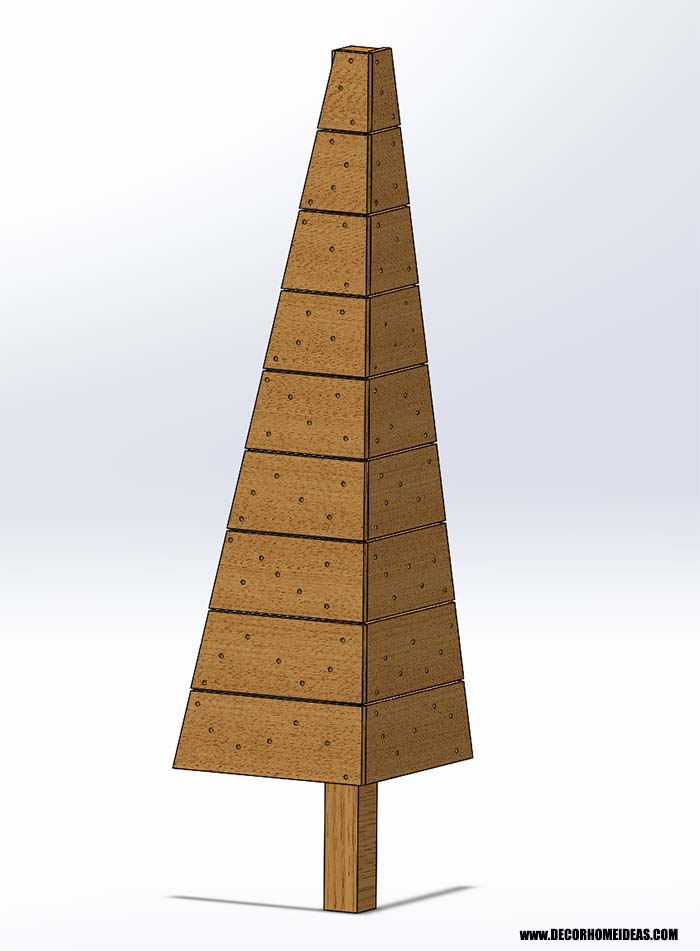
After completing the blueprint I have enough information about the materials needed and their sizing.
So get in the car and head to your local hardware store and let’s get what we need!
Materials:
- 1 in. x 8 in. x 8 ft. ( 2x19x250 Whitewood Boards ) or whatever color of your choice – you can also paint them to whatever color of your choice as well! – 3 pcs
- 4 in. x 4 in. x 8 ft. – Pressure-Treated Timber wood ( You will only need one of these for the “base” of your tree ) – 1 pcs
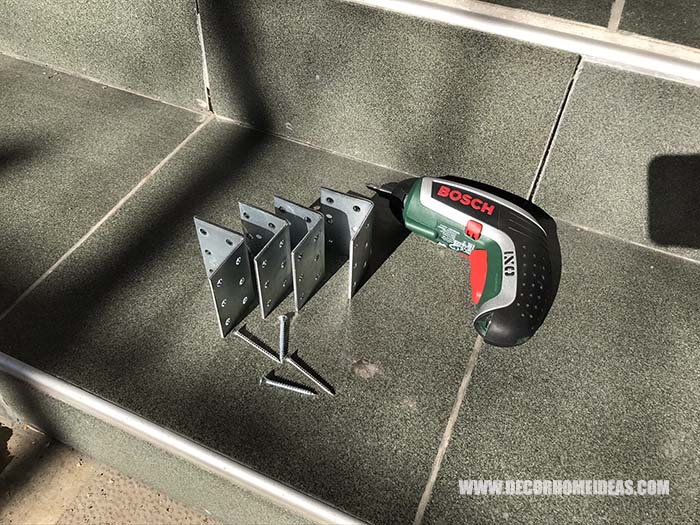
- L-shaped metal brackets 1 in x 1 in – 18 pcs.
- Screws 5/8’’-16mm for the boards – 36 pcs
- Screws 1-1/4’’-30mm for the post 36 pcs
- LED Christmas Lights ( whether you want color or just good old fashioned white lights. Whichever you chose you will need at least 200 lights on a strand to fit the tree. ) – 200 pcs
- Wood stain
- Wood wax
Tools:
- Table or Circular Saw
- Drill Press or Hand Drill
- Drills – size adjusted to LED lights
- Right angle
- Pencil
- Screwdriver
- Tape Measure
- Brush or Roller
- Sandpaper
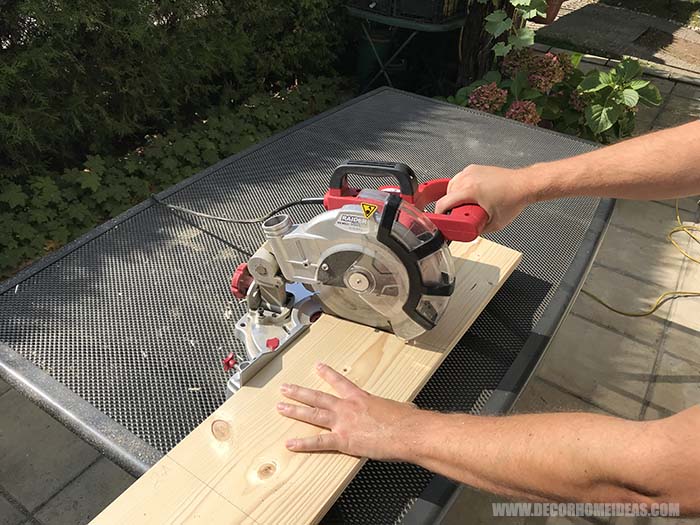
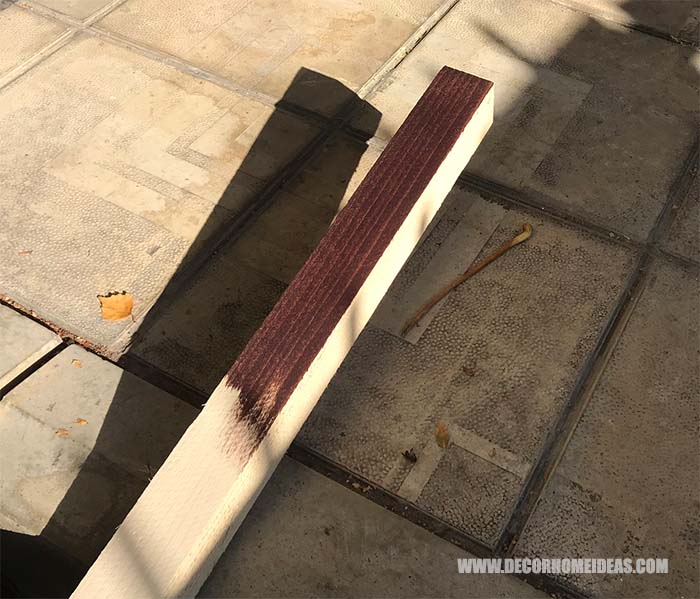
1. First cut the timber and boards, the post should be cut at 6.5 ft ( 2m ). Leave at least 12 inches (30 cm )from the floor so that there is room from the first board.
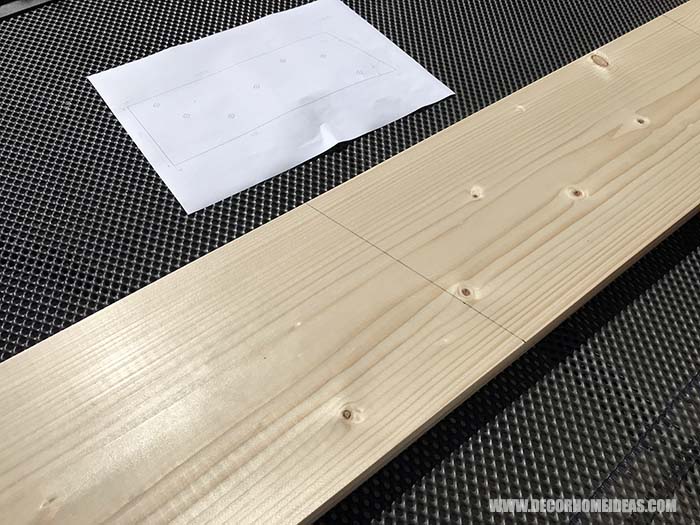
2. Now you will want to start cutting all of the 18 boards. I highly recommend labeling the boards so that you can easily keep track of which piece you are working on, along with keeping them together with their pair.
The best way to do this is 1A to 9A and so forth. (also I suggest buying the lights ahead of time that way you can measure the diameter and pre-cut out the holes for the bulbs to fit perfectly in your wood boards.
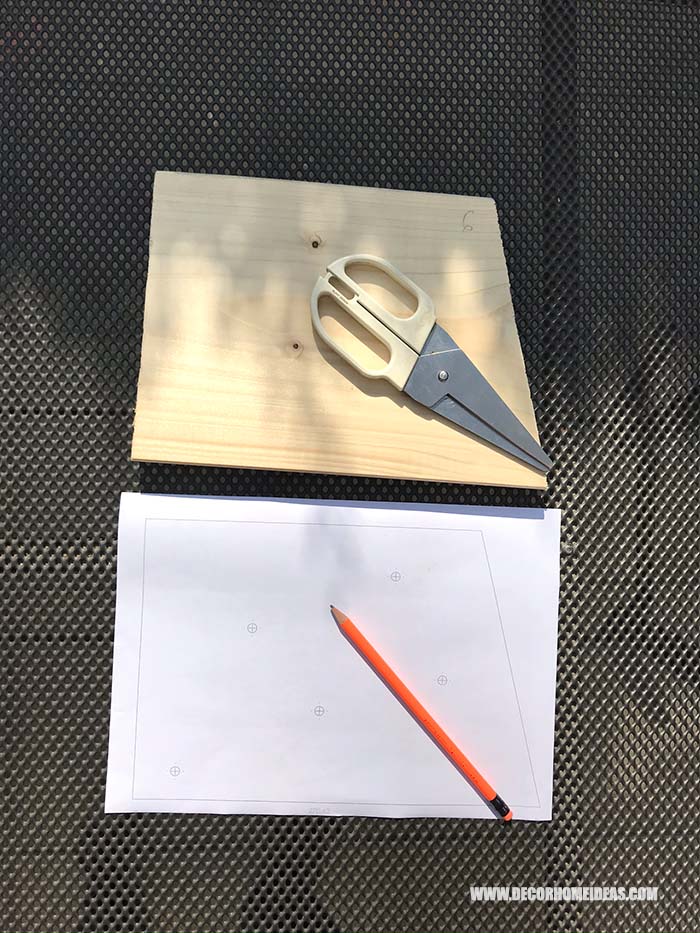
I have prepared the blueprints in pdf format so you can just download and print them:
Whitewood Boards Blueprints Link
These blueprints are tailored as per my LED Christmas lights where the bulbs are 1/4 in ( 6 mm ).
Important: You should get the lights first to measure the diameter of the bulb so that you can use the same drill size. When you match them the bulbs will fit perfectly in the holes and you won’t need to use any glue to stick them to the boards.
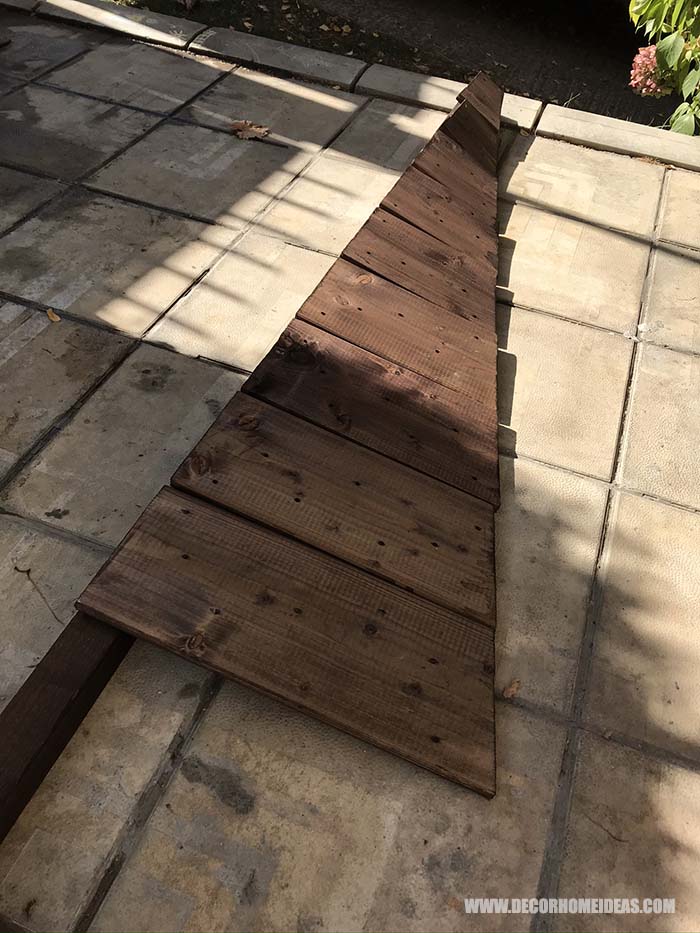
You can cut each piece separately ( then you will need a lot more Whitewood boards than 3 ) or you can cut them as I did.
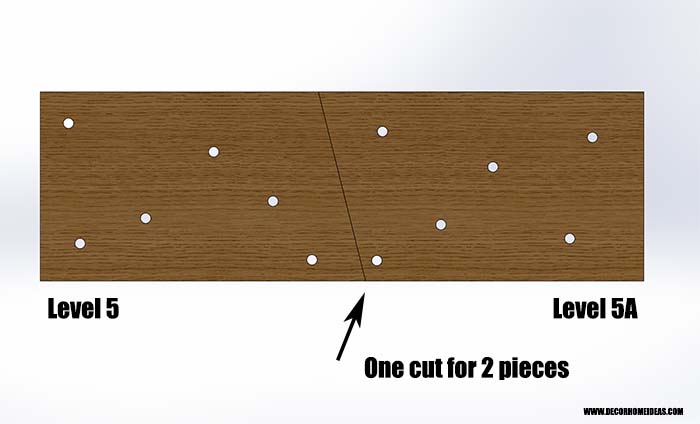
Making just one cut for two pieces on the same level. In the above example, I cut level 5 and 5A with one cut. Then just flip level 5A and it’s ready.

This is how they look stacked.

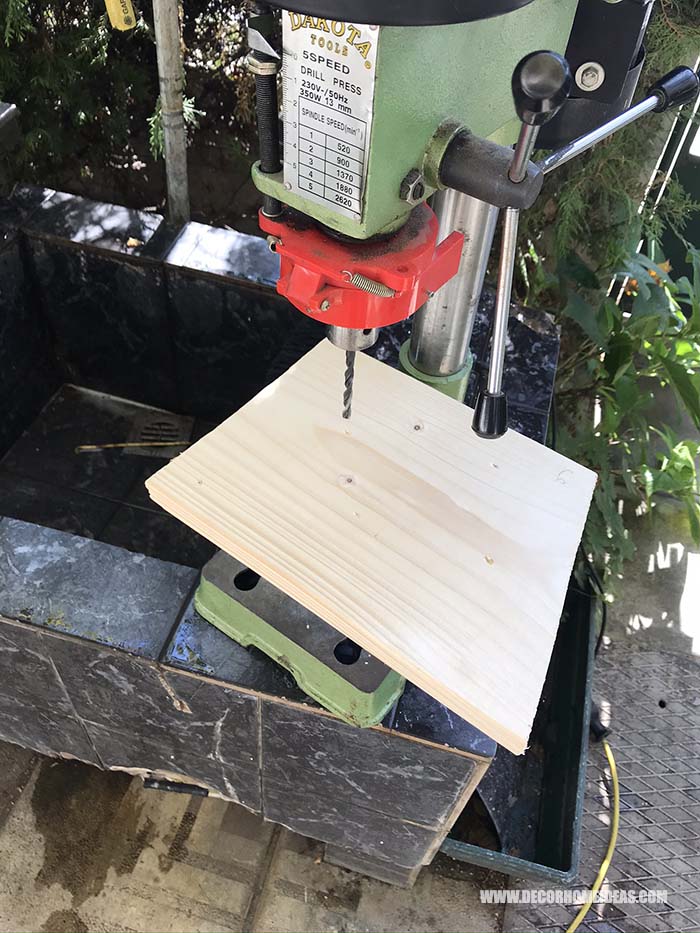
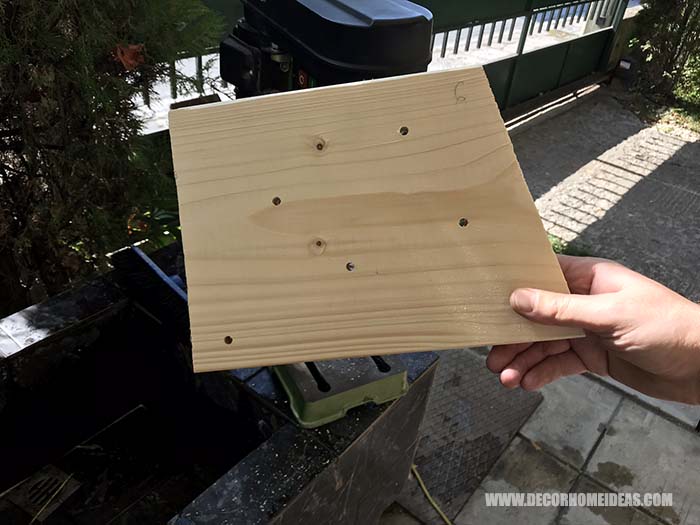
When you have all of the 18 boards cut you can start drilling following my line ( pattern ) across the Christmas tree.
3. When you start cutting the holes for the bulbs the quickest way to go about it is cutting your holes on 1A and then flipping the board, laying it on top of the uncut wood that matches it and drilling holes in the same spots so that when you flip it is gives a perfect pattern for your lights.
Some of the holes are more than 5 in ( 12,5 cm ) away from the previous on the pattern line so if your LED Christmas lights are having shorter distance between the bulbs you should leave some of the bulbs on the back of the board and use the next. The best option is to get lights with at least 5 in ( 12.5 cm ) between the bulbs.
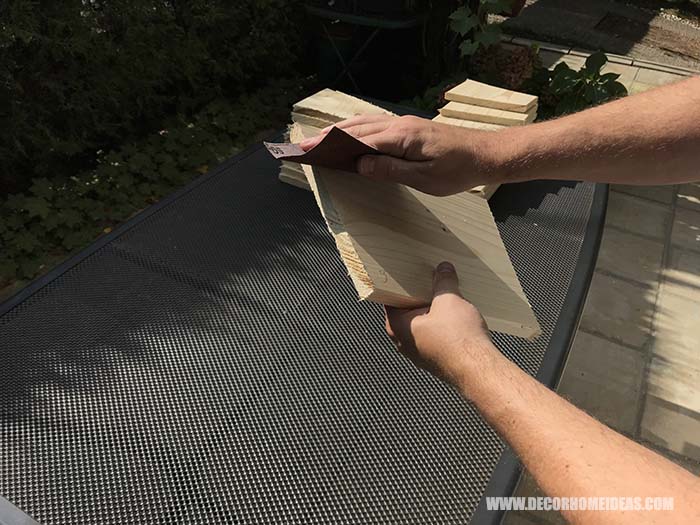
When you drilled all the holes you can start sanding the wood to make it smoother. You can start with grit size 120 and go down to 240.
4. Once you are finished drilling the holes for your lights you can then stain your wood with the color stain of your choice that best fits your home or style you are going for.
It’s best to do at least two coats and wait 1-2 hours between coats when painting them so you don’t get a sticky build-up.
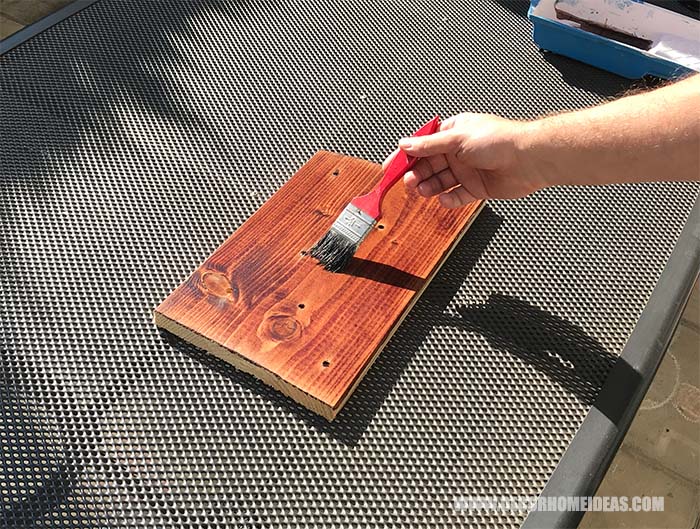
I’ve chosen dark wood as it’s what I like the most.
You can totally skip this step and leave the wood color as it is.
5. Once your stain is dry, you can then apply the wax so that it is protected and more durable against chips and also so that you can clean it.
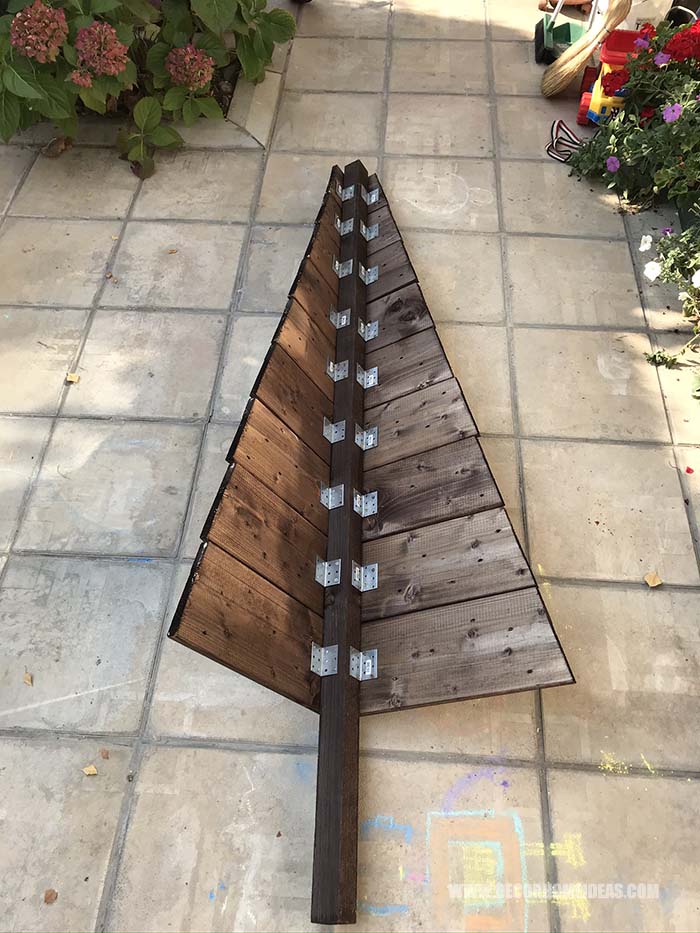
Now it’s time to start mounting each board to it’s place on the post. I started from the bottom.
6. Leave 12 in ( 30 cm ) from the ground or floor and put the first board horizontally on the right side. Labeled Level 1.
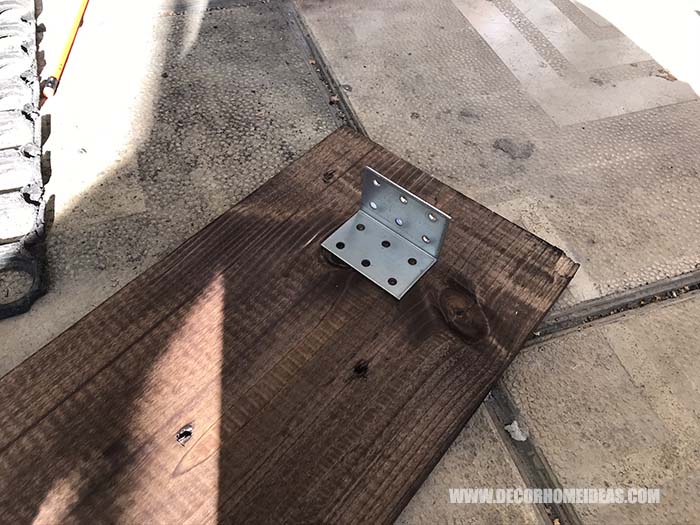
7. Use an L-shaped metal bracket holder and attach it to your post. Use 5/8″- 16 mm screws to attach the metal bracket to the board and 1-1/4″- 30 mm screws to attach it to the post.
You can use a right angle at this point to make sure that all the metal brackets are straight and congruent with the others.

Important: If there is a hole for a light that is to be covered by the post, you need to put the string of lights first and then tighten the screws.
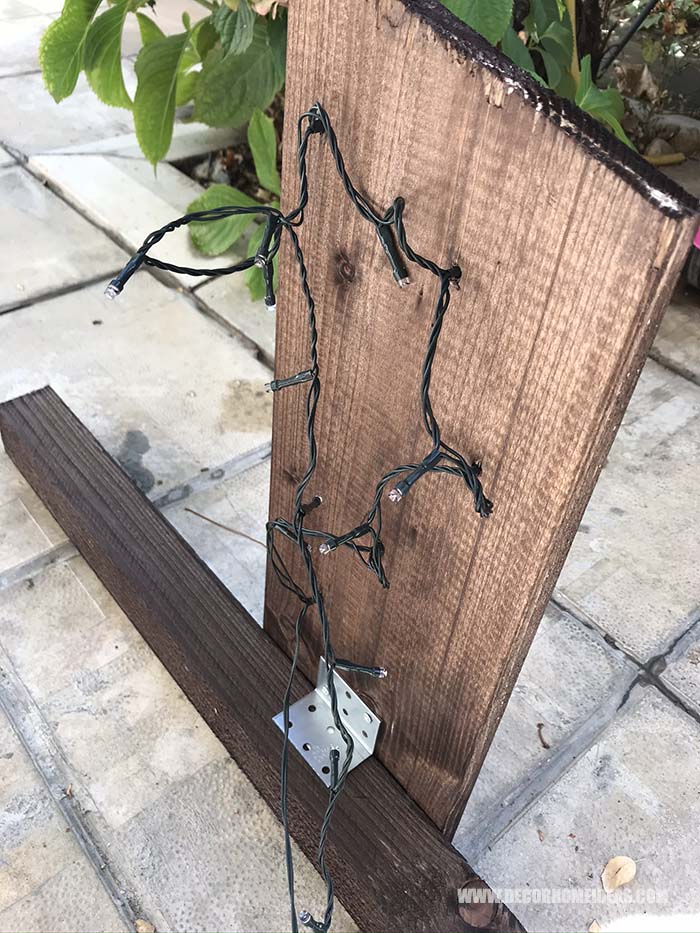
When you are ready with the first board ( and lights ), you proceed with the second one ( Level 2 ).
Repeat the same for all the right-side levels 1 to 9.
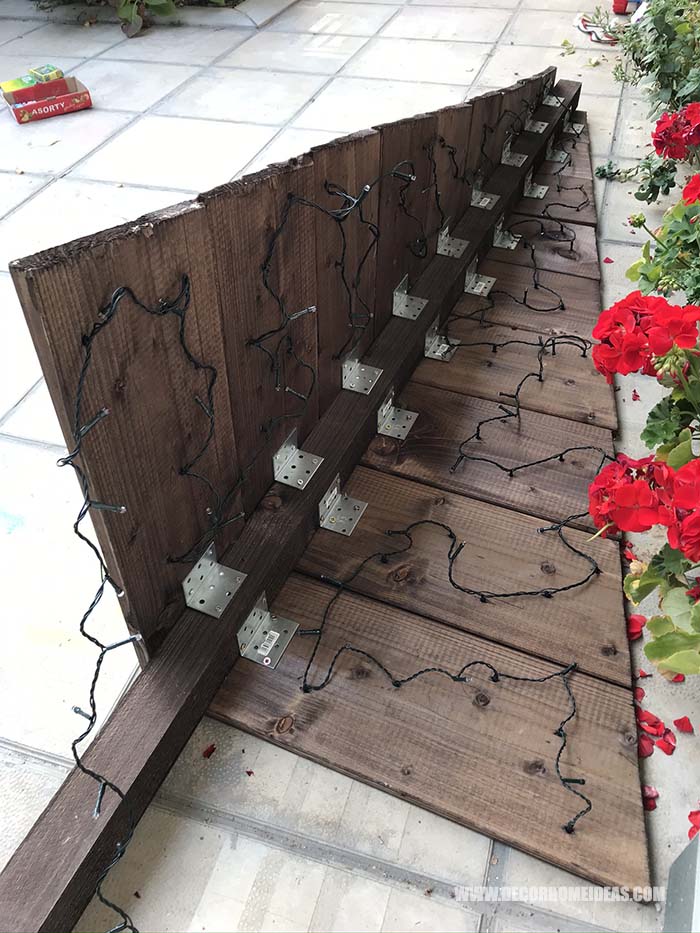
8. Once all the brackets are in place you can begin to hang your lights and put them in the holes. Its important to start from the bottom upward to make an evenly distributed light sequence.
9. Once you have finished the right side and reach the top of your Christmas tree you can then repeat the same process of the left side.
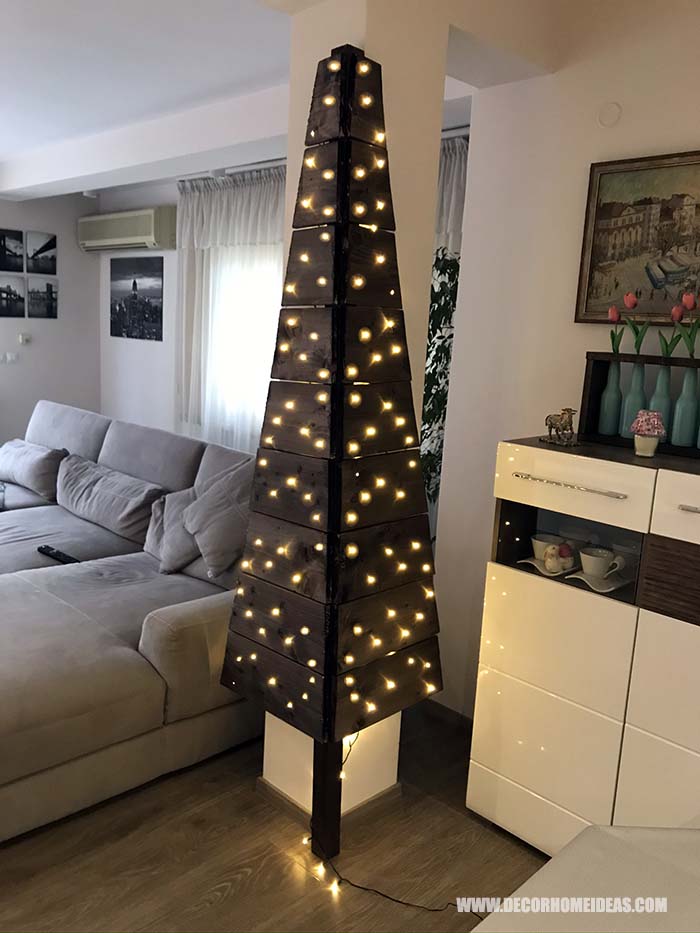
10. Now for the finale, when you put your tree up you can either lean it against your corner or you can mount it. Either way they both work and will look phenomenal in any rustic home.
This is the final result and even though the photos are not so good it’s really lovely and would be a nice addition to any rustic interior.
I hope you enjoy this DIY and tell others about this new and innovative way to make the perfect tree from scratch, not only will people be asking how you did it and want to do it for themselves but everyone will be talking about how you have the most unique tree they have ever seen.
I can promise you that no one else will have a tree like yours, and it can be used again and again over the years. You can change the lights out whenever you want to and add garland and other accessories as well.