When you’re on the hunt for a good piece of furniture, the key to an amazing discovery is looking at an old or thrown away furniture and envisioning what it could become.
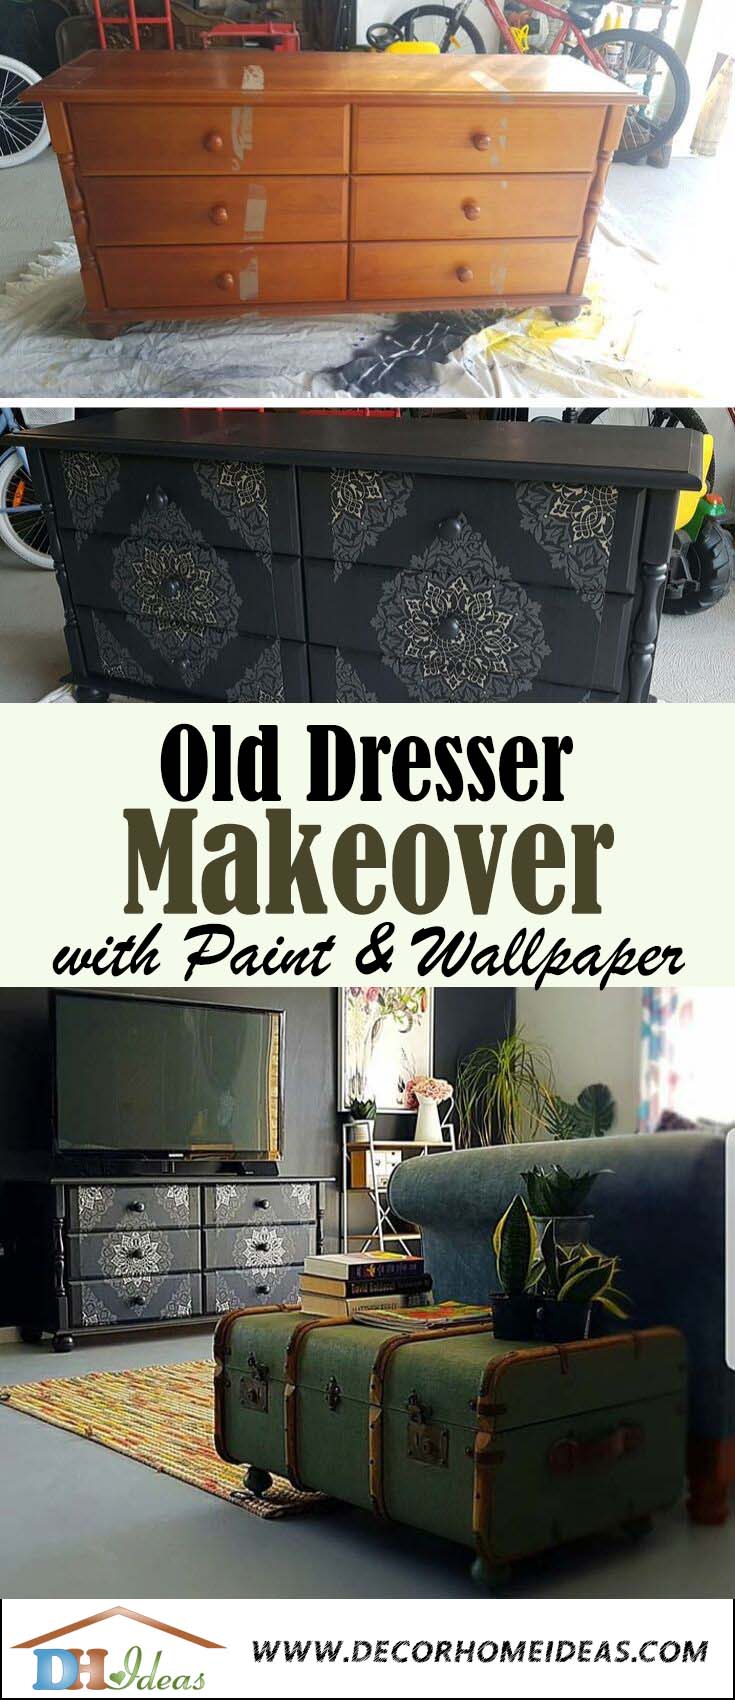
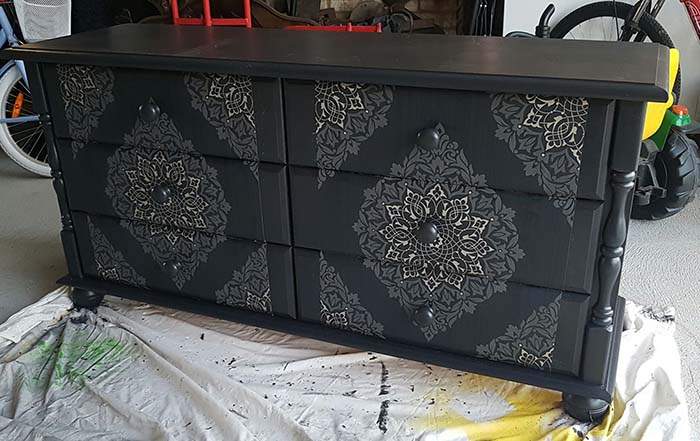
Carmen Blanch ( follow her on Instagram here ) stunning old dresser makeover is the perfect example. It’s not too much to say that we’re currently obsessed with one of her most recent makeovers that actually transformed an old dresser into a fabulous piece of furniture.
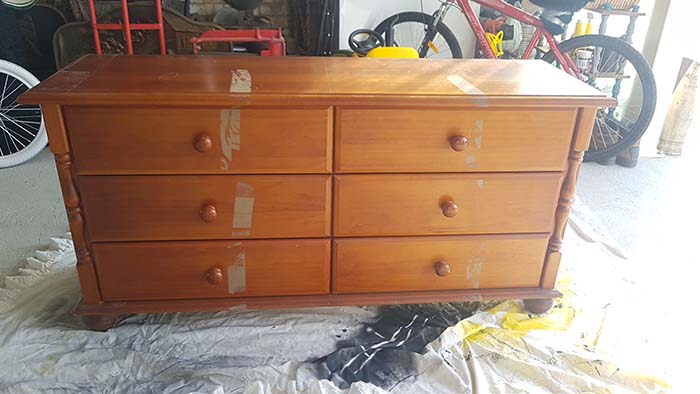
She got this dresser for free a while back. A lady was advertising it on BSS and wanted it to be picked up as soon as possible. It’s not at all surprising considering the weight and the size of the dresser.
So even though her husband wasn’t at home that day she decided to get it by herself , squeezed it in her car and managed to bring it home. If there’s a will there’s a way they said, right?
Step By Step Instructions:
To get started, she needed to remove the packing tape sticked to it by using a hair blower to heat it up and after softening it, she used a steel scraper to remove it.
Then she started sanding the whole unit she was positive the paint will stick firmly to it. Grit size of sandpaper was P80. After sanding she wiped off all the dust using a damp rug.
When all was cleaned up, she started painting it, using a bathroom/kitchen water based paint that was left over from a previous job, using a brush.
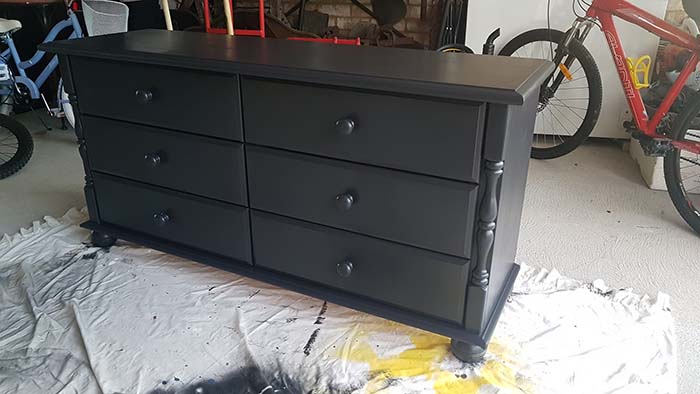
She layered 2 coats of paint leaving it for 24 hours between them. After the second coat she left it for another 24 hours before starting with the wallpaper.
On the 3-rd day of the project she carefully removed the handles using a screwdriver. It should be taken with great care as it is possible to scratch the paint if you are not very precise.
Once handles were removed, she measured from the top of the drawer to the bottom and cut the wallpaper accordingly with scissors and divided the wallpaper onto 3 pieces as there are 3 drawers.
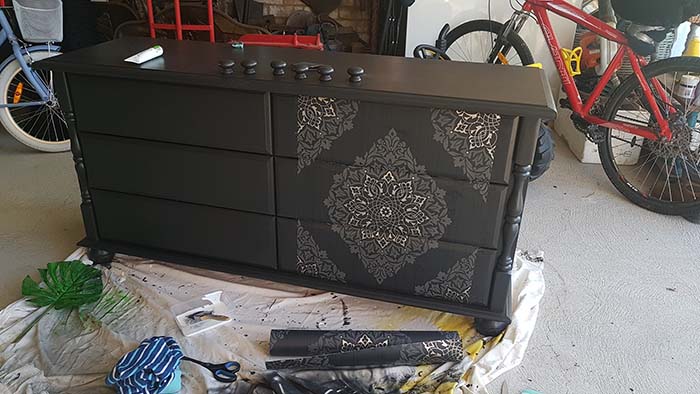
Then the hardest part started! She put PVA glue on the face the drawer starting from the top and using a brush.
One drawer at a time. When each piece of wallpaper was sticked to the drawer, she used plastic scraper to slide the wallpaper and put out any bubbles trapped between the drawer and the wallpaper.
The tricky part here is to align perfectly each piece of wallpaper with the one next to it.
Once all the wallpaper is attached she put all the handles back.
Pro Tip: To make it easier to align the wallpaper you can use a tape to mark each side of the drawers.
Supplies and Tools Used:
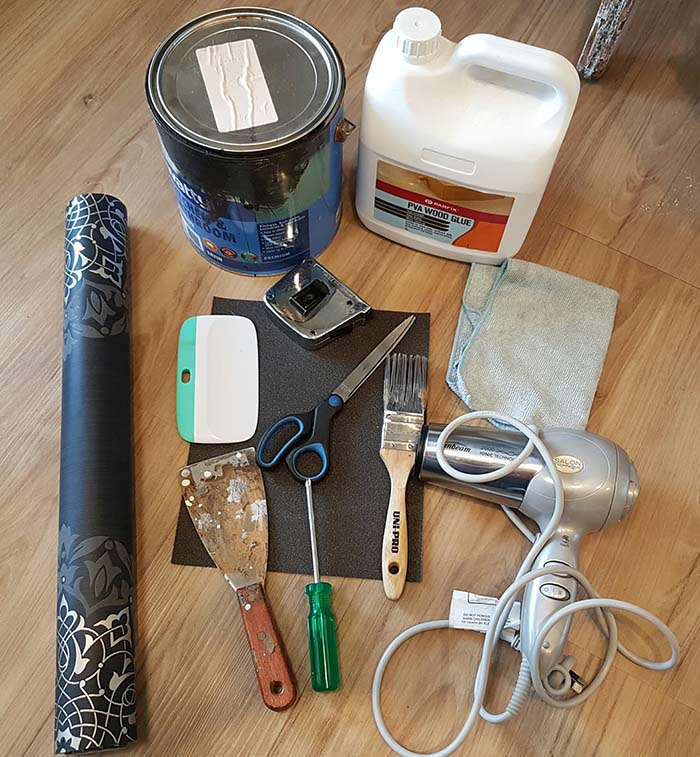
- Wallpaper
- Hair Blower
- Tape Measure
- Scissors
- Plastic Scraper
- Steel Scraper
- Brush
- Rug
- PVA Glue
- Water Based Paint
- Sandpaper
- Screwdriver
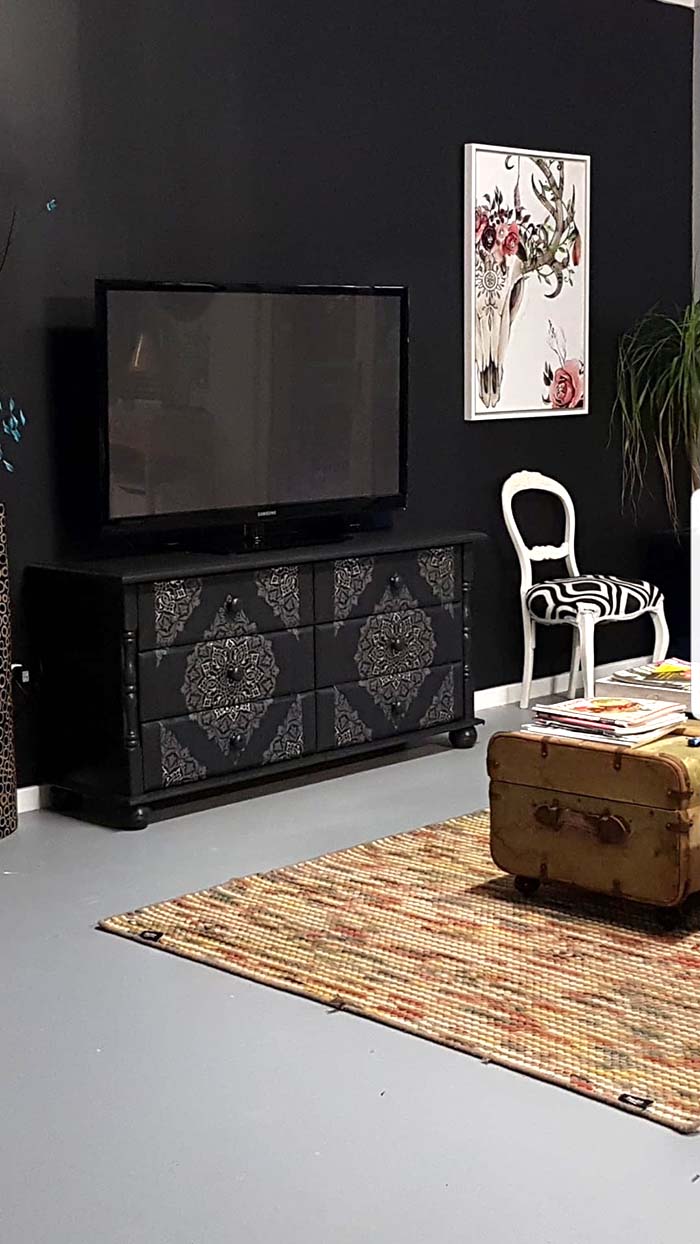
Here are some photos of the finished project:
and another one…
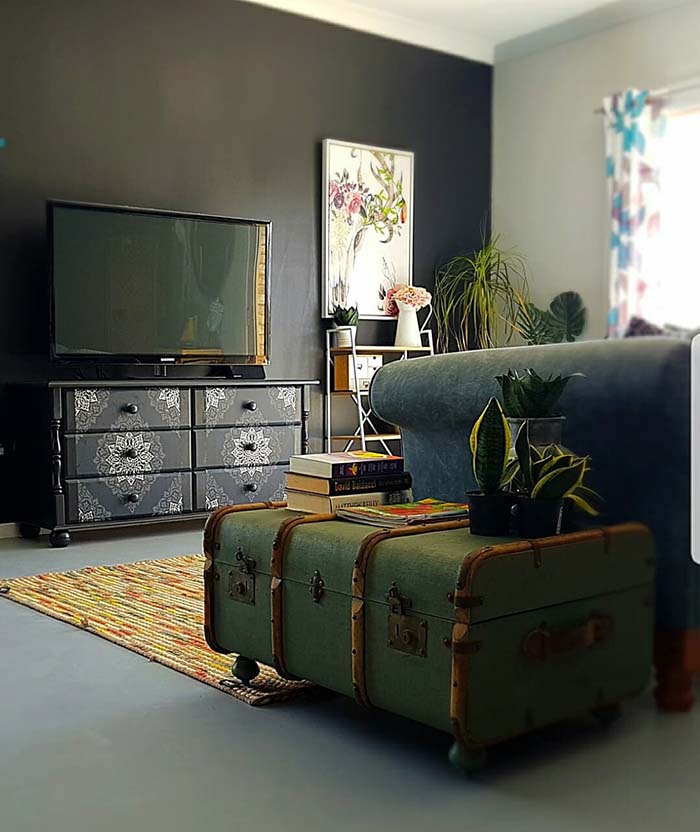
It could be a stunning statement piece of furniture that draws attention to it. Could be used as a dresser again or TV stand.
If you have the chance to get one similar old dresser you could try to DIY the same project.